My sister asked me recently, “You’ve posted a sourdough recipe, right?” I was a little surprised to have to respond, “No, actually, I haven’t.” I’ve been baking sourdough bread since I moved to Los Angeles in 2014, a tiny container of my mom’s sourdough starter making the six-hour drive with me and mom in a sweltering hot car. That little bit of starter thrived, giving me loaf after loaf of excellent bread every week. I like to call it my baby—if someone looked at my phone and saw all of my “feed the baby” reminders, they might look at me strangely.
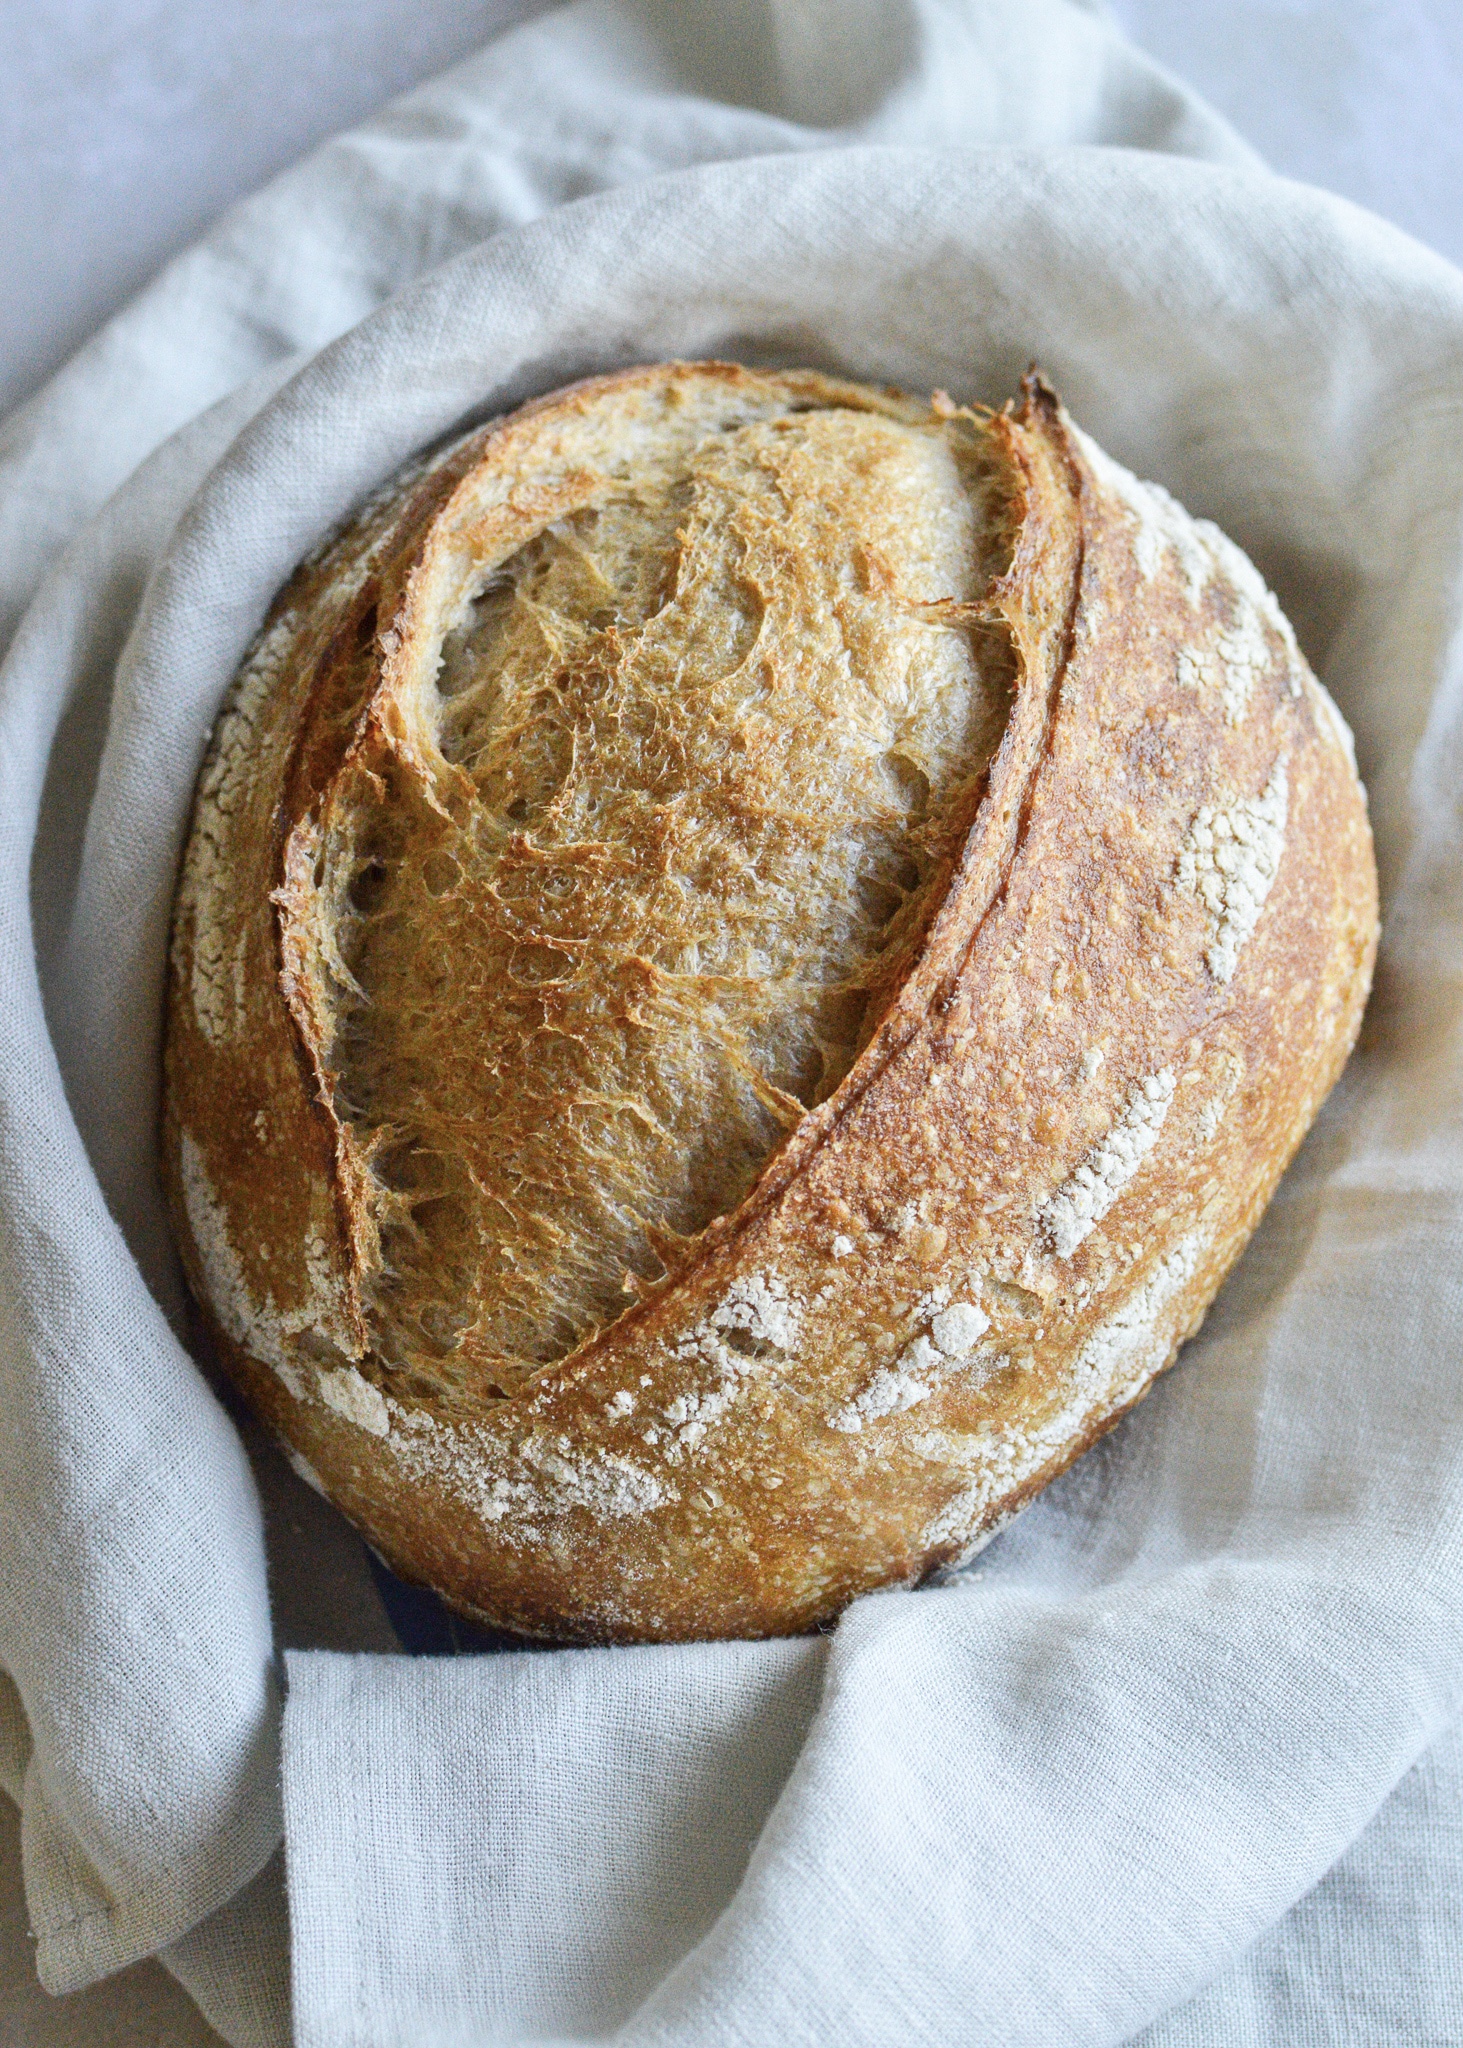
There’s little else that makes me as consistently happy as making sourdough bread does. I love the familiar ritual: the feeding, waking up to a bubbly starter, the sweet smell of damp flour, folding and turning, shaping plump blobs of stretchy dough, scoring, heating, baking. It makes me feel grounded—no matter what’s happening in life, this one thing is always the same. The crackling, whispered song of a freshly baked loaf is truly one of my greatest comforts.
I think a lot of people are daunted by the idea of making sourdough bread. But broken down into components, it’s truly simple. Mix a few ingredients together, fold a few times, and add time. If you’re new to sourdough, give yourself a bread day; I usually bake one or two loaves on Sundays, which sets us up for the week.
I will preface this post by saying I have not included a recipe for a sourdough starter, or levain. My mom successfully made hers using Tartine’s methodology, but I’ve known others have had issues with creating a starter from scratch. Therefore, I suggest finding a friend who has one and taking some of theirs (I’m happy to share mine), or do the research on creating your own. I recommend reading either Tartine Bread or the Tivoli Road Bakery book—both are excellent, serious bread baking manuals that I have used to great success. And, of course, there are countless online bloggers who have taken a deep dive into sourdough.
Helpful Tips
I keep a mix of 50/50 all-purpose and whole wheat flour in a large container so that I don’t have to measure out both when I feed my starter. I find that it saves me time, but feel free to simply measure 100g of each into your starter.
Your starter will probably survive, unused in your fridge, for about a month, but it’s best to feed it at least every two weeks. Even if you don’t want to make bread every two weeks, I recommend feeding it on that schedule (or more often). If you haven’t used it for a while, it may develop a grayish liquid on top—don’t be alarmed, just pour and scrape it off when you feed it next.
I’ve included a few links to supplies that I find helpful. Feel free to buy them if you’re serious about bread baking, but you can also make do with whatever tools you do have.
Bread reacts to outside temperature. This means if you live somewhere warm and humid, your bread will rise more quickly and be ready to bake faster. Therefore, plan to complete the minimum turns and rest times, or else you may over-prove* your dough. If your kitchen is very cold, complete the maximum number of turns and resting times. Over time, you will learn what your bread needs depending on the seasons and your particular climate.
*Over-proving means the air bubbles have expanded as far as they could go and then collapsed, which will result in a flat loaf. Fortunately, sourdough is forgiving—so far that has not happened to me!
If you want freshly baked bread by midday or even a little earlier, you can start your bread the day before you want to eat it and simply extend the first or second resting period. To extend the first resting period: after you’ve completed your turns on day 1 and let the bread rise for 2–3 hours, put the whole thing, covered, in the fridge overnight. On the morning of day 2, take the dough out of the fridge and let it come back to room temperature, about an hour. Pick the process up where you left off by completing the first shaping. To extend the second resting period: when you’ve shaped your dough for the second time and placed it in its basket, let it rest, covered, for at least an hour before wrapping it well with a kitchen towel or two (not too tightly) to keep it moist while it’s in the fridge. The next morning, take the rested dough out of the fridge and let it come to room temperature—this should take 1-2 hours. At this point you’re ready to bake.
Try different whole wheat flours. I love finding small batch flours at Farmer’s Markets or local bakeries (the one I love is called Full Belly Farms and their flour is fantastic). Small-batch producers process the flour less and it’s usually a lot fresher when you buy straight from them rather than from a grocery chain. Feel free to try alternative flours, like spelt or rye, but start out by using just a little bit in place of some of the wheat flour and increase each time you make bread in order to find the sweet spot. Many alternative flours have a lower gluten content and therefore need more time and more folds to develop the correct structure.
This recipe uses a digital scale. If you want to make bread, go buy one—they’re not expensive and it will probably last forever. It’s the best way to get accurate results for bread and most baking recipes. Click on the link in the recipe to find the one I use.

Sourdough Bread
makes 1 loaf • adapted from The Tivoli Road Baker book
For the starter:
200g 50/50 flour mix using all-purpose flour* and whole wheat flour
200g cool (not cold) water
For the bread:
300g bread flour
120g whole wheat flour
315g cool water
115g sourdough starter
12g fine sea salt
*Be sure to use an all-purpose flour with no additives, as those can render the starter useless.
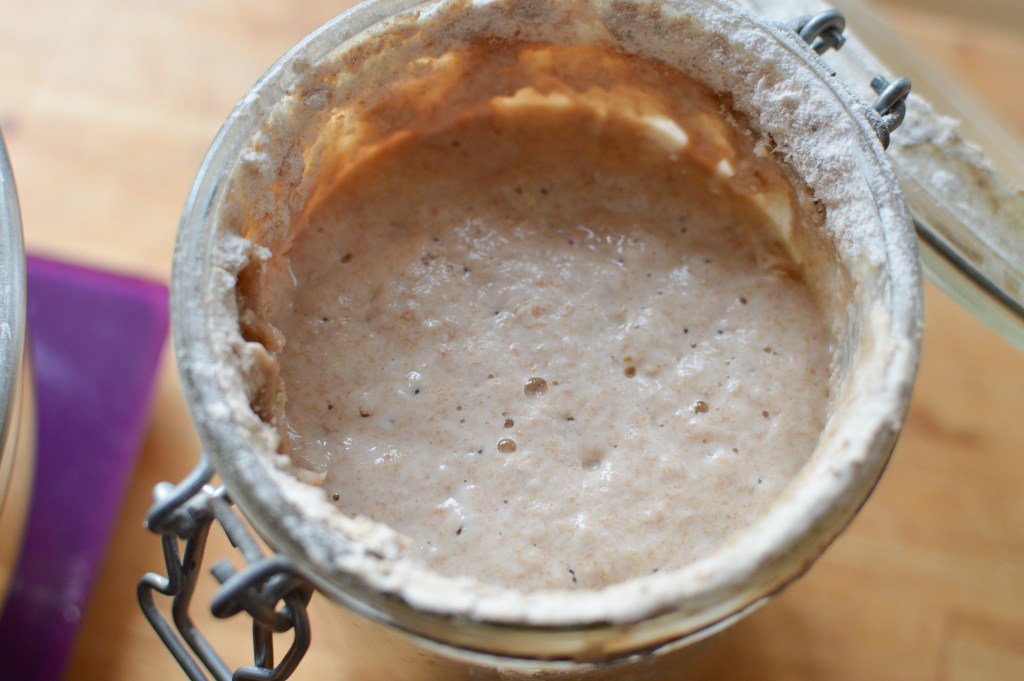
Feed your starter the night before you intend to use it. Scoop out all but about 1/4–1/2 cup of your old starter. Using a kitchen scale, pour 200g cool water into your container, then add your 200g 50/50 flour. Stir it all together well, making sure to incorporate the bits on the bottom. Put the lid on lightly (it needs air, so never fully close the lid), cover with a kitchen towel, and secure with a rubber band. Leave on the counter over night. (If you live in a warm area, especially during summer, you may want to feed your starter early in the morning instead. In that case, it should be ready to use within 4-6 hours.)
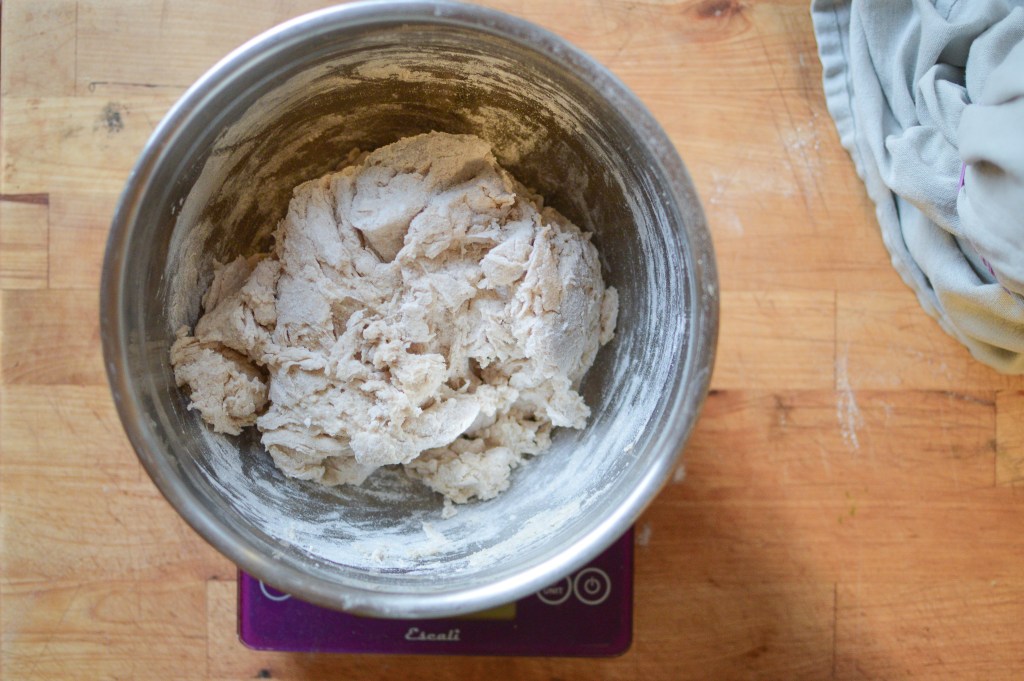
The next morning, mix the 300g bread flour and 120g whole wheat flour together in a large bowl. Stir in the 315g cool water with a wooden spoon until you have a shaggy dough, then get in there with your hands and knead a little bit until it’s mostly all mixed—some dry flour will remain, but don’t worry about it. Cover the bowl with a kitchen towel and leave for 30–60 minutes (this is called the autolyse—it’s when gentle gluten development begins, contributing to a better texture and flavor). Add the 115g starter, or levain,* (levain is starter that has been fed and is ready to use) and fold/knead it in with one hand. Add 12g salt and fold in by hand until the salt is entirely incorporated and the dough is relatively smooth/cohesive. It will still look a bit rough. Close the lid on your remaining starter (again, don’t fully close the lid) and store it in your fridge (not too near the back or it will get too cold) until ready to use again, ideally within two weeks.
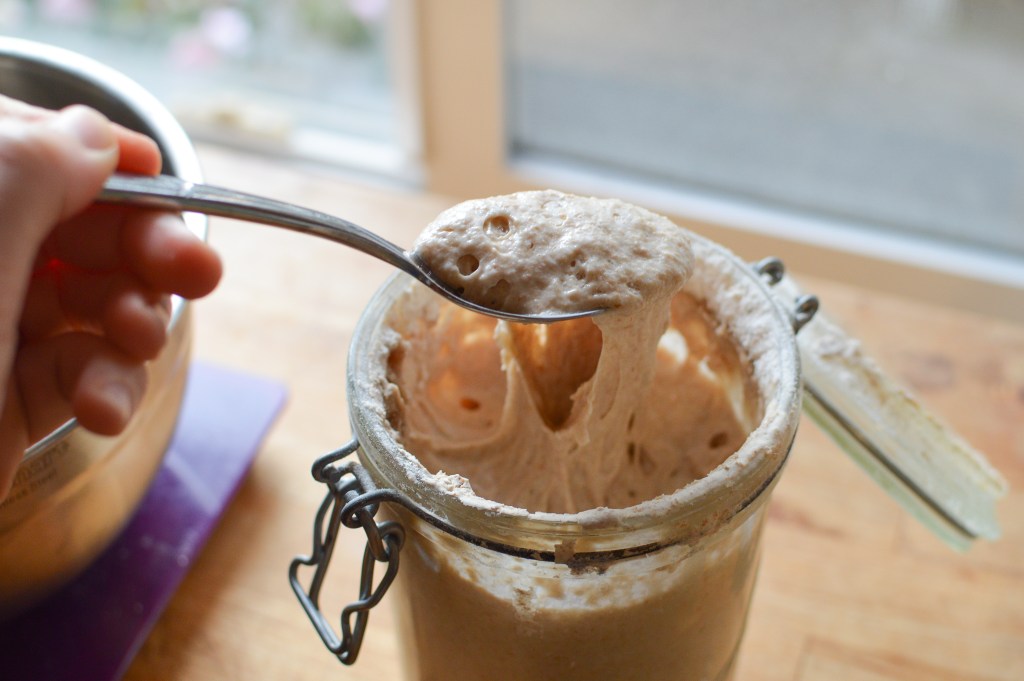
*Your starter is ready when it’s at least doubled in volume. If you want to make sure it’s ready, drop a small spoonful in a glass of water. If it floats, it’s ready. (If you leave it overnight, it should be good to go.)
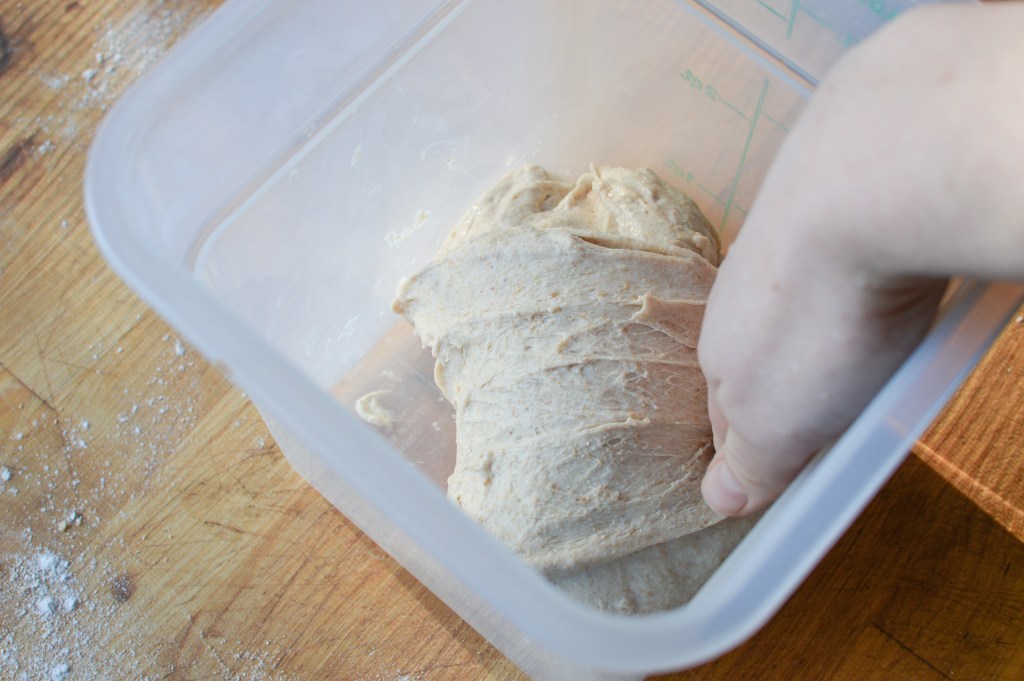
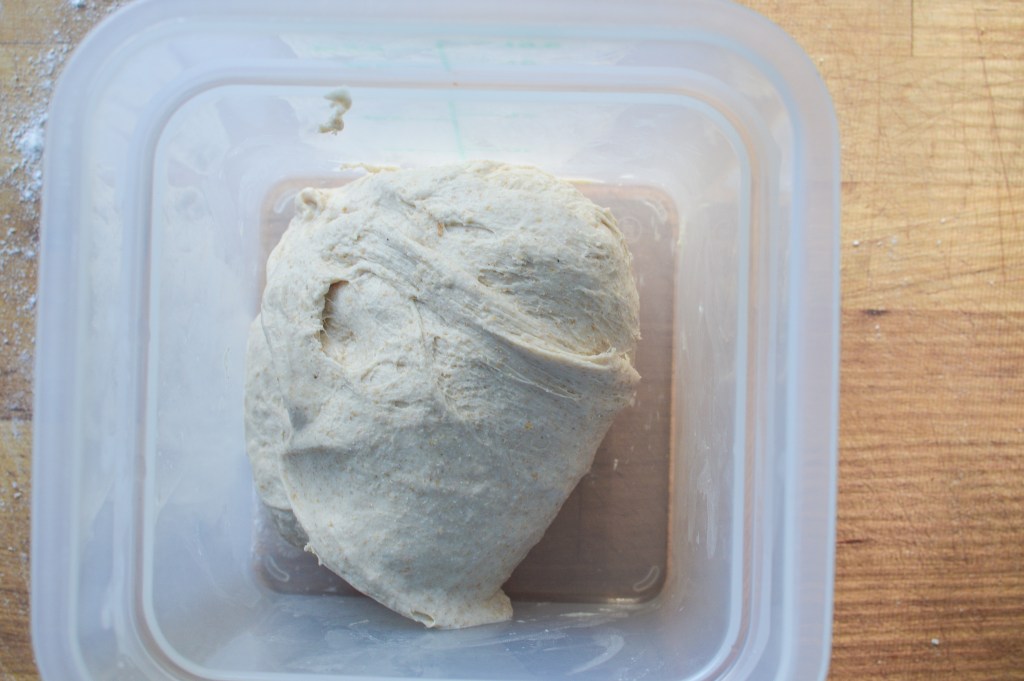
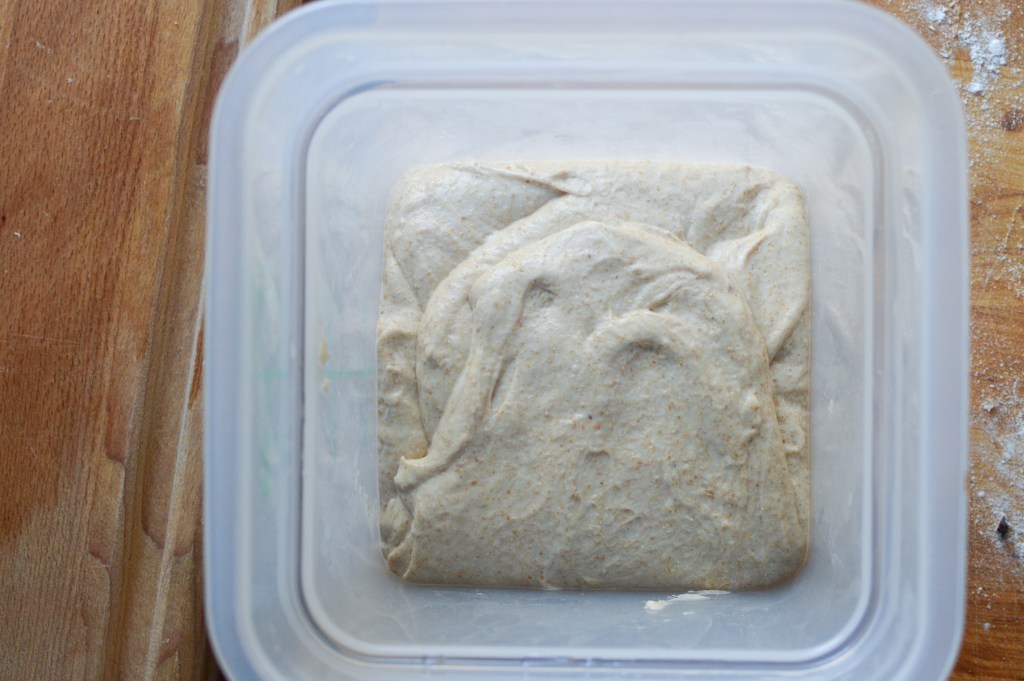
Place the mixed dough in a covered container or bowl (I like to use a professional food storage container with a lid). Leave to rest in a warm spot in your kitchen for 30 minutes. Every 30 minutes after that, perform a turn, meaning: lifting from the bottom, fold each corner of the dough over itself. Once you’ve completed at least 4 turns (2 hours) and up to 6-8 (3–4 hours), let the dough rest, covered, for 2-3 hours.
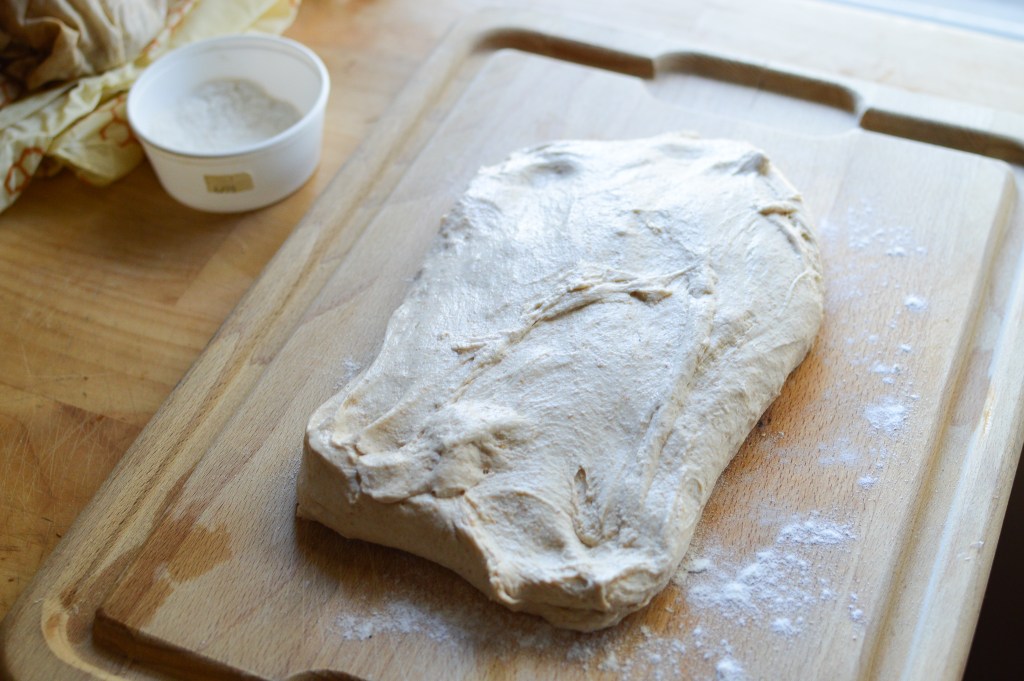
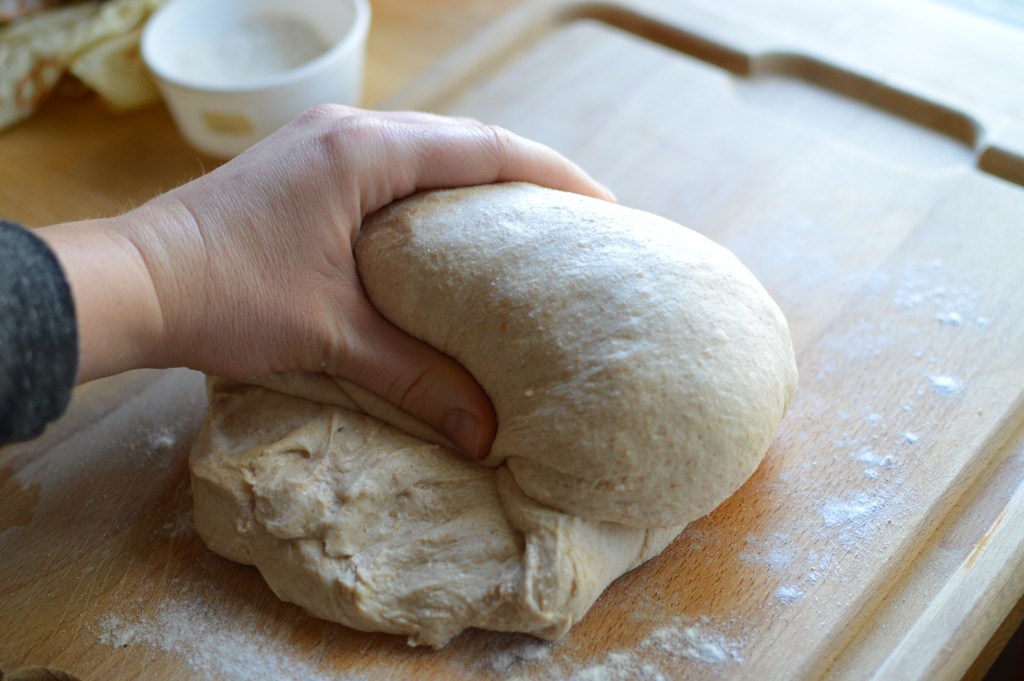
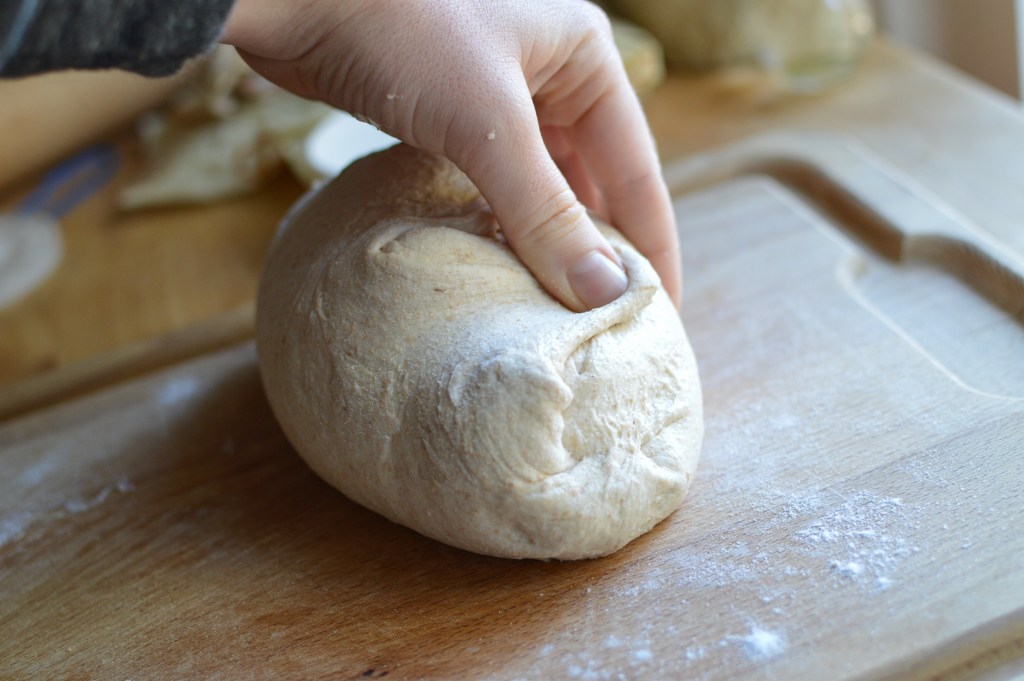
Complete the first shaping: turn the dough out onto a lightly floured surface. (Note that you’ll probably need a bench scraper to make your life easier with this step.) Pat the dough down into a rectangle and fold into your desired shape. For a round loaf, using both hands, fold the corners in, then roll, lift, and lightly stretch the dough until you have a relatively tight ball with a smooth top. For an oblong loaf, roll and press the short side of the patted rectangle towards you, using your thumbs to push the sides in as well. Seal the shape by pinching the seam together, and pat to get an even shape. Rest the dough, seam side down, under a damp kitchen towel for 20 min.


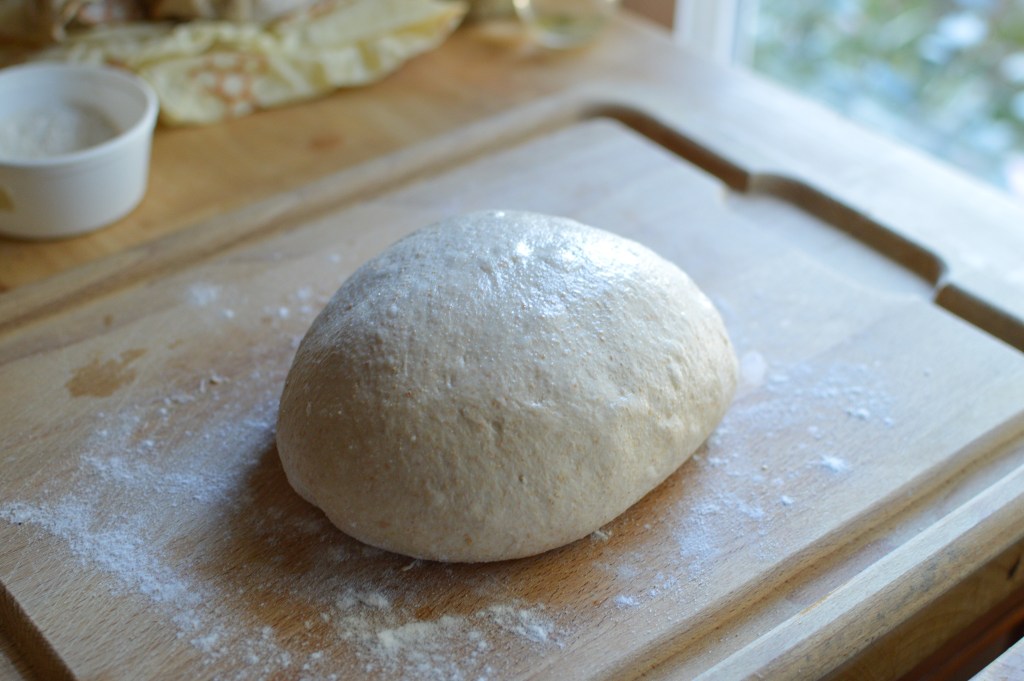

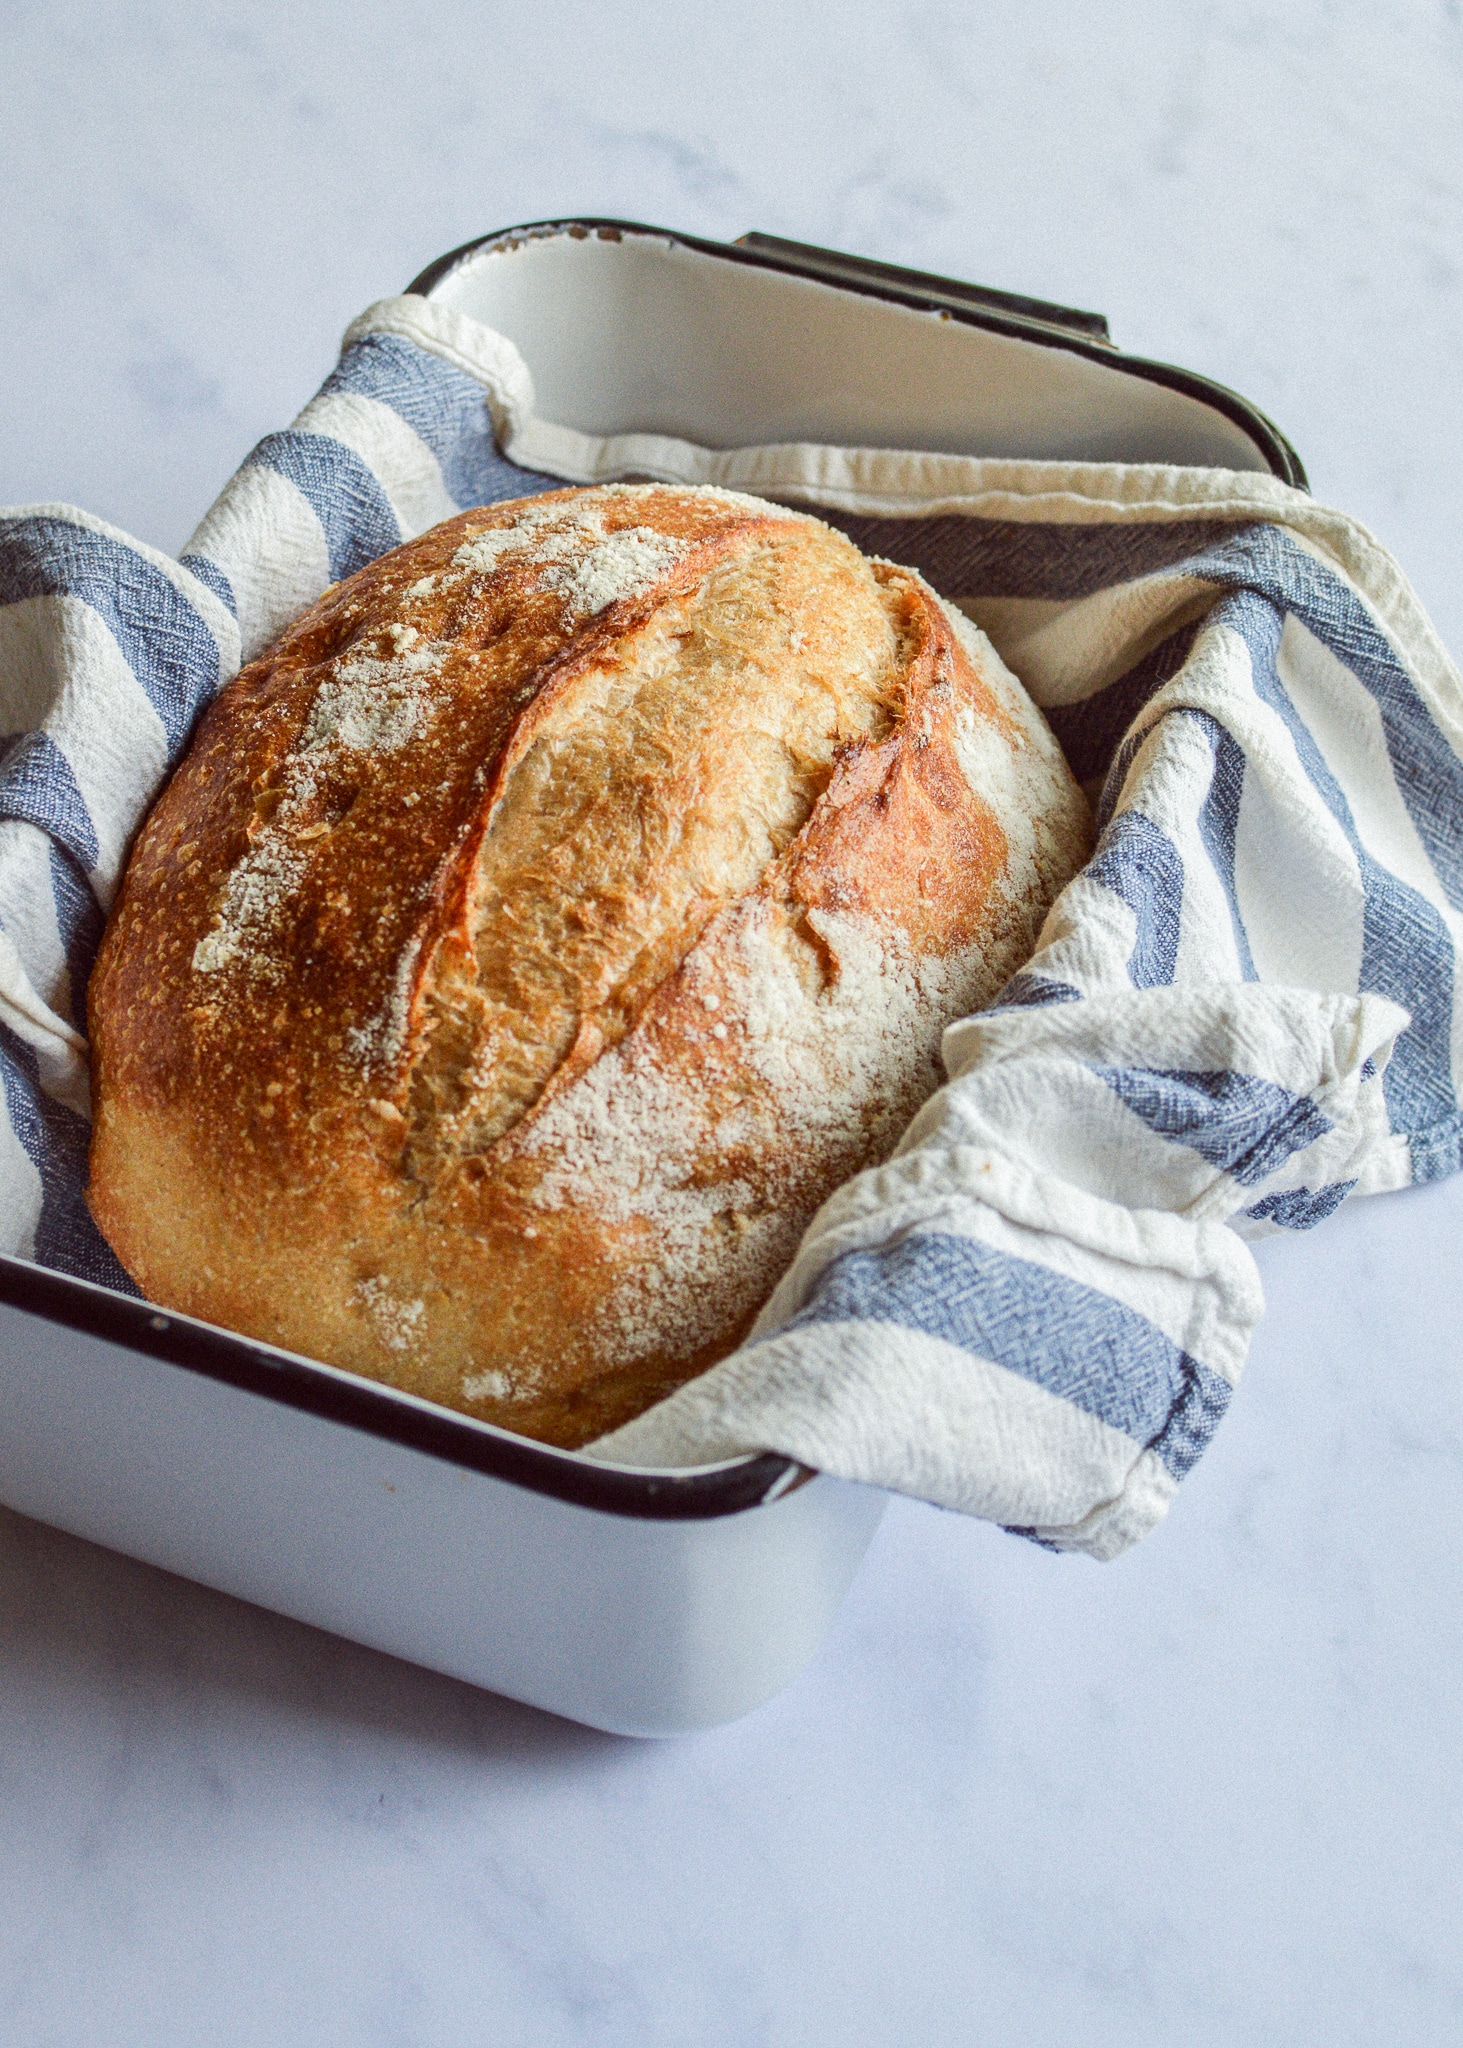
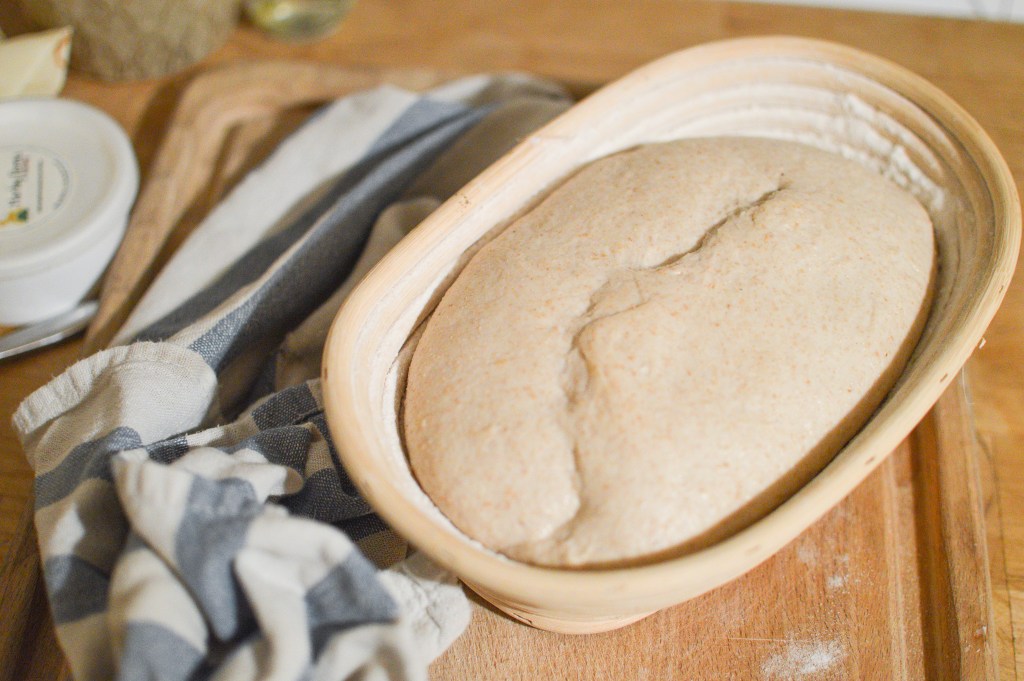
Pat down the dough and shape once more, using the same method. Generously flour a banneton (bread basket) or a standard loaf tin lined with a kitchen towel. Place your reshaped dough into the banneton or loaf pan, seam-side up. Cover loosely with a damp towel and let rise in a warm spot for another 2-3 hours.

Preheat your oven to 485°F (or 500°F if your oven runs colder). Place a large dutch oven (see end note if you don’t have one) inside (without lid) and let it preheat with the oven for 15–20 minutes.
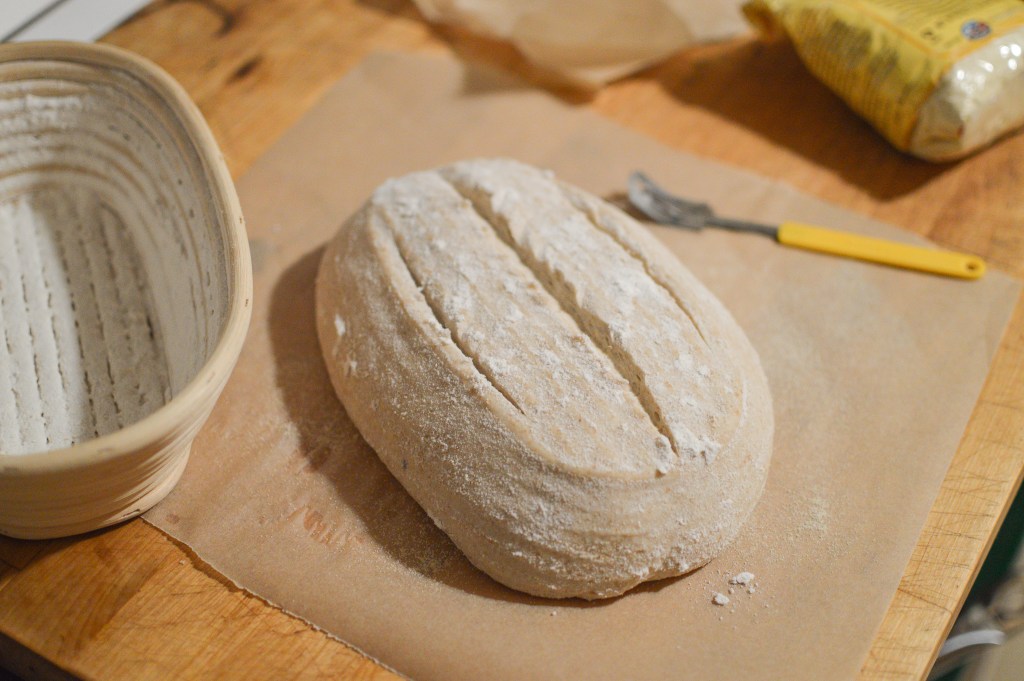
Boil a little water. Flour a large piece of parchment paper with a sprinkle of rice flour (or other flour). Once the oven is ready, turn your bread onto the floured parchment paper (seam side down) and score the top of the bread using whatever design you wish (I often default to one long slash—it’s easy and effective). To score, you can use a serrated knife, kitchen scissors, or a lame, which is essentially a tool made specifically for scoring bread that looks like a razor blade on a stick.
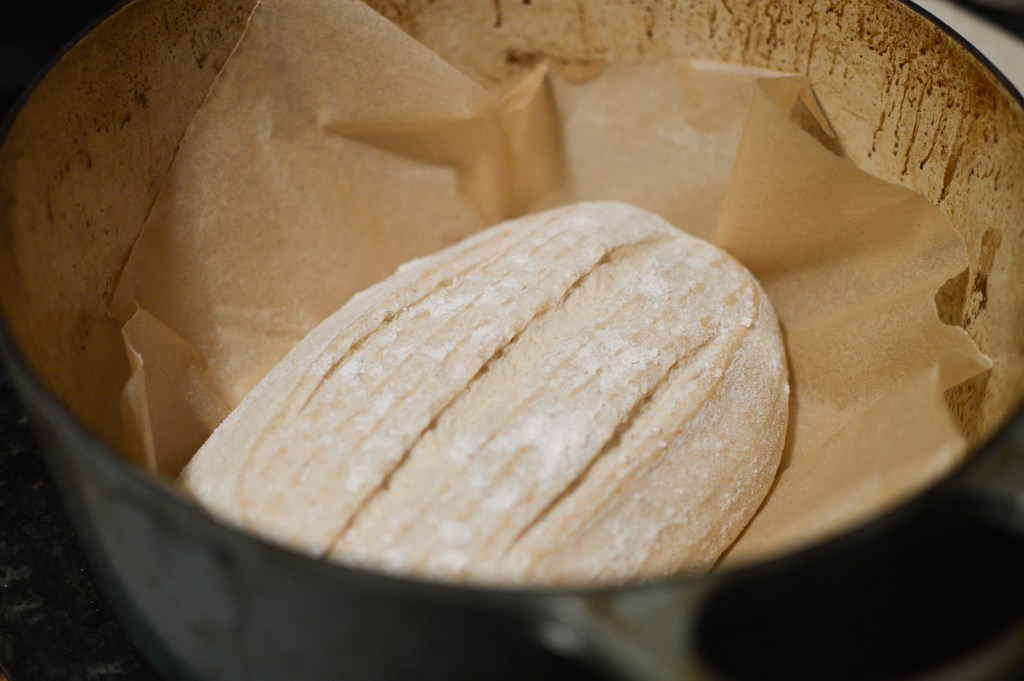
Carefully lower the bread on the parchment paper into the hot dutch oven. Quickly pour 1oz boiling water under the side of the parchment paper (not onto the bread). Immediately cover with the lid (watch out, the steam is hot!) and get into the oven as quickly, and safely, as possible. (You can also toss in two ice cubes beneath the sides of the parchment paper instead of the boiling water.)
Bake for 20 minutes with the lid on. Turn the oven down to 450°F and bake for another 10 minutes with the lid on. Remove the lid and bake for another 8–10 minutes, until the top is a lovely, rich golden brown.
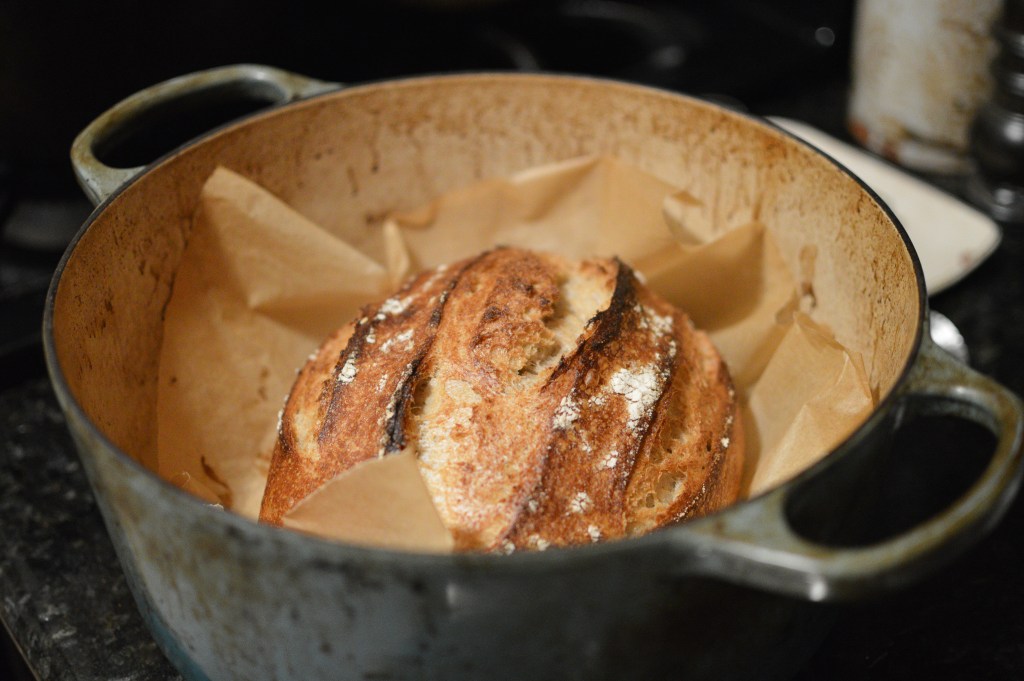
Using pot holders, remove the pan from the oven and immediately transfer the loaf to a cooling rack. Let the loaf cool for at least 30 minutes before slicing, but preferably a few hours to let the steam inside set—otherwise, you might damage the structure.
Store the cooled bread at room temperature, wrapped in bee’s wrap, for up to a week. If your home is warm, monitor closely for mold. If you eat bread slowly, cut the loaf in half and wrap one half tightly in bee’s wrap and a plastic bag, and freeze. When you’re ready to eat it, thaw in the fridge overnight and it will be ready to slice the next morning.
Enjoy!
Note: If you don’t want to do the steam/dutch oven method, you can also bake the loaf in a preheated heavy-duty, unlined ceramic loaf pan (like le Creuset) with a lighter metal loaf pan as a lid. Preheat both for 15-20 minutes. Flour the pan directly—no need to line with parchment paper. Bake the bread for 20 minutes with the lid on at 485°F and 20 minutes with the lid off at 450°F. I find that the dutch oven method makes for a lighter and more hole-y loaf, but do what makes you most comfortable. You can also bake the bread directly on a preheated pizza stone, adding boiling water to a pan on the lower shelf of the oven. I haven’t used that method, but I’m sure you can find success if you do a little research!

7 responses to “Sourdough Bread”
[…] and dipped in olive oil. It also goes incredibly well with hummus. If you’re already making sourdough bread, I urge you to give this a […]
[…] at room temperature for 2-3 hours, then proceed with the shaping and final prove (see my general sourdough post for details on the one-day method). Consider feeding your starter the night before, if you live in […]
[…] steps that can be made over the course of a day or two with a spare 20 minutes here or there (like sourdough bread). When I sold cakes as “Kitchen Hana” back in college, I baked a lot of cakes, but now I barely […]
[…] steps that can be made over the course of a day or two with a spare 20 minutes here or there (like sourdough bread). When I sold cakes as “Kitchen Hana” back in college, I baked a lot of cakes, but now I barely […]
[…] at room temperature for 2-3 hours, then proceed with the shaping and final prove (see my general sourdough post for details on the one-day method). Consider feeding your starter the night before, if you live in […]
[…] and dipped in olive oil. It also goes incredibly well with hummus. If you’re already making sourdough bread, I urge you to give this a […]
[…] and dipped in olive oil. It also goes incredibly well with hummus. If you’re already making sourdough bread, I urge you to give this a […]