We moved! Yes, during the pandemic. Fortunately, we both have incredible families and therefore had plenty of helping hands, which made the whole moving process so much easier. Packing an entire home is one of my least favorite things—knowing when to box up the things you use often (especially cookware, as I am not a one-pan kind of cook), spending a week or more surrounded by boxes, walls empty of art and photos—but we managed it and moved everything out on the first Saturday of May. As moving is inherently unpleasant, I won’t bore you with the details here. Just know that nothing broke, our family members are rockstars, and we ended the day with a bowl each of fantastic ramen eaten in the backyard.
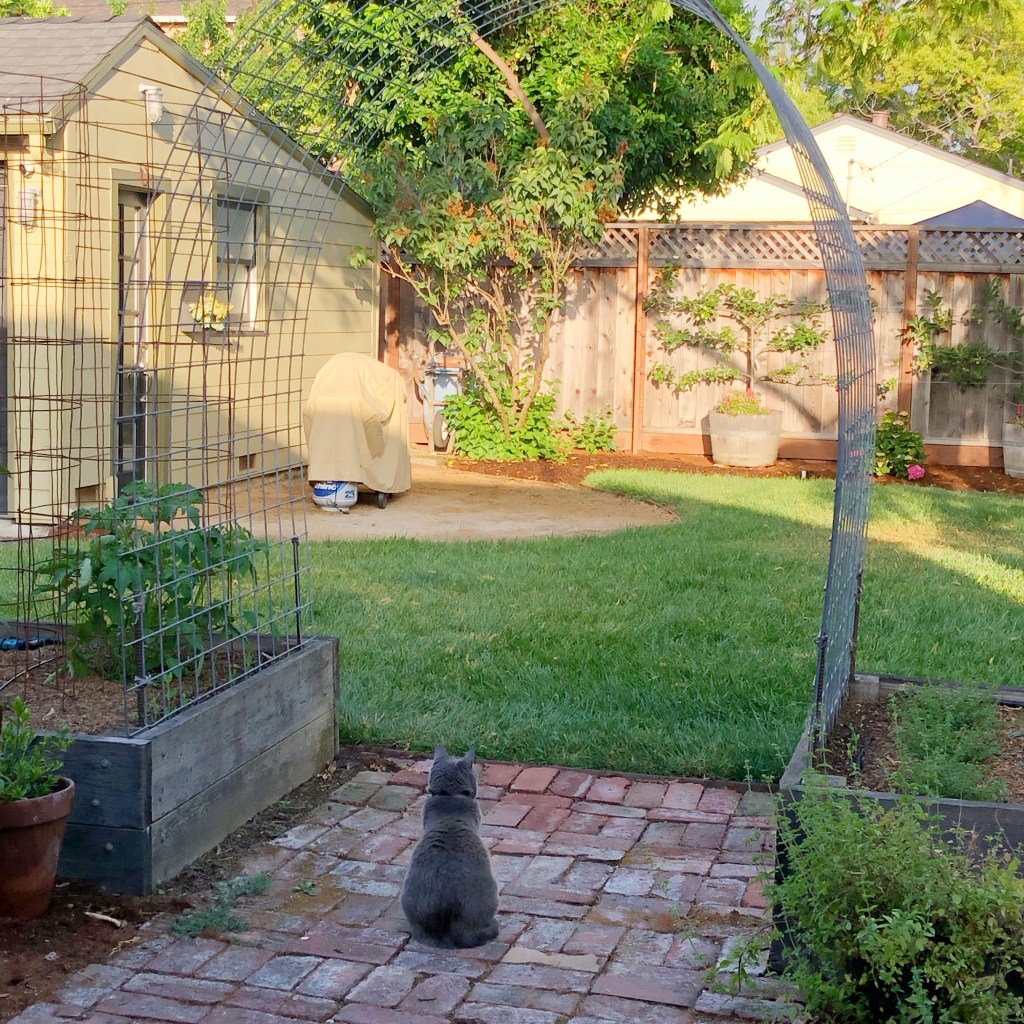
Our new home is in San Jose, only a 5 minute drive from the Rose Garden (and, more importantly, from Kelly, Tim, and Riley!). We struggled with the prospect of the longer commute for Jonji when we first toured the place, especially going from a 10 minute bike commute from our Palo Alto home, but the cute little updated two bedroom house with its incredible backyard won us over.

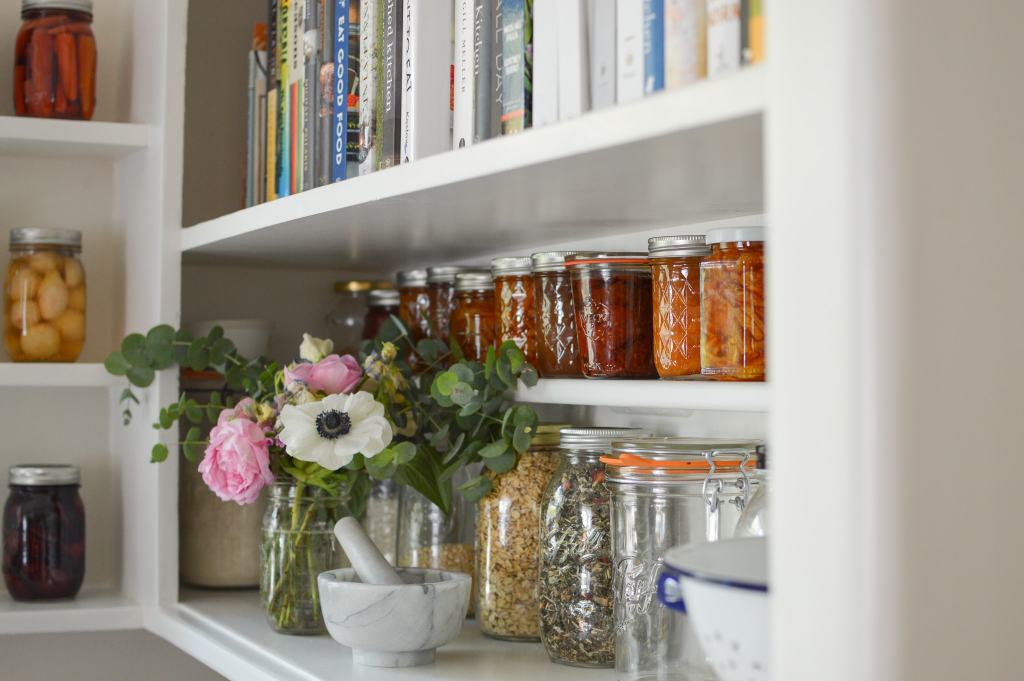
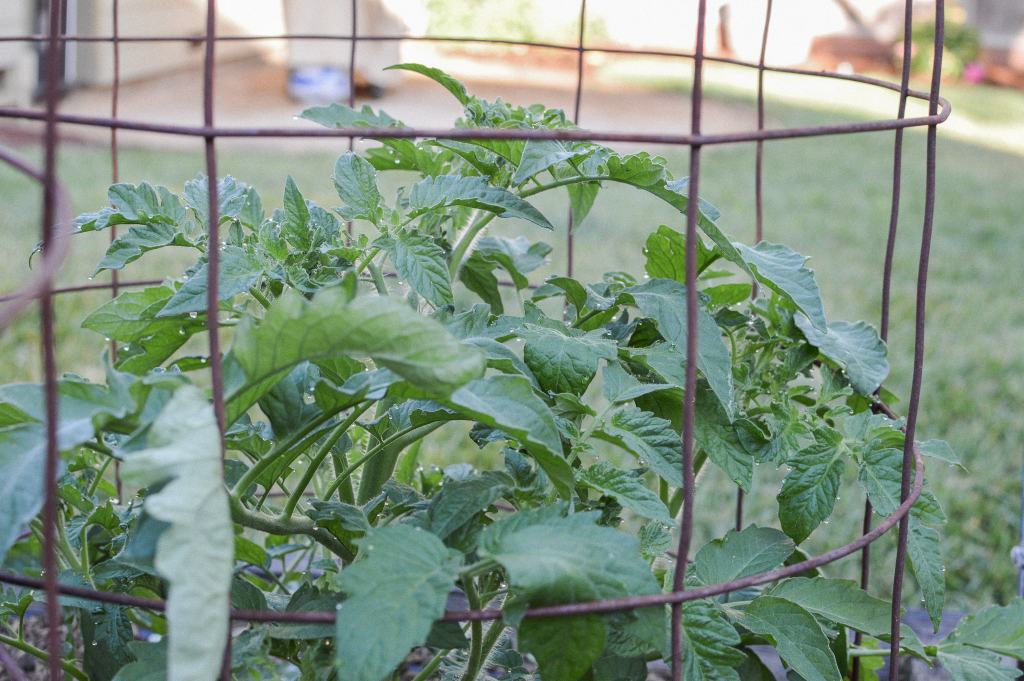
I took a few days off around the move, and my first order of business (apart from packing and then unpacking) was to get the garden beds up and running. The owners, who lived here themselves for ten years, made a couple of large planter boxes and set up a drip system in them. This, apart from the lovely gas range, built in kitchen shelves, good lighting, and flowering jasmine hedge, was a big part of why I was so excited to move here.
All of the garden centers on this side of the hill were closed to the public, so I made the trip to Santa Cruz to load up on starter vegetables, herbs, and soil amendments. I spent an afternoon digging the fertilizer and conditioner into the beds, aerating the dirt that would soon be home to some very happy plants. The next day the tomatoes, peppers, basil, and thyme went into the ground, soon followed by a blueberry plant, more herbs, and finally seeds for lettuce, kale, mustard greens, and chard. I altered the drip system to fit our needs, and the plants took off! Every morning I step outside our bedroom door and check on all the new growth, keeping an eye out for unwanted weeds or damage from rampaging critters.


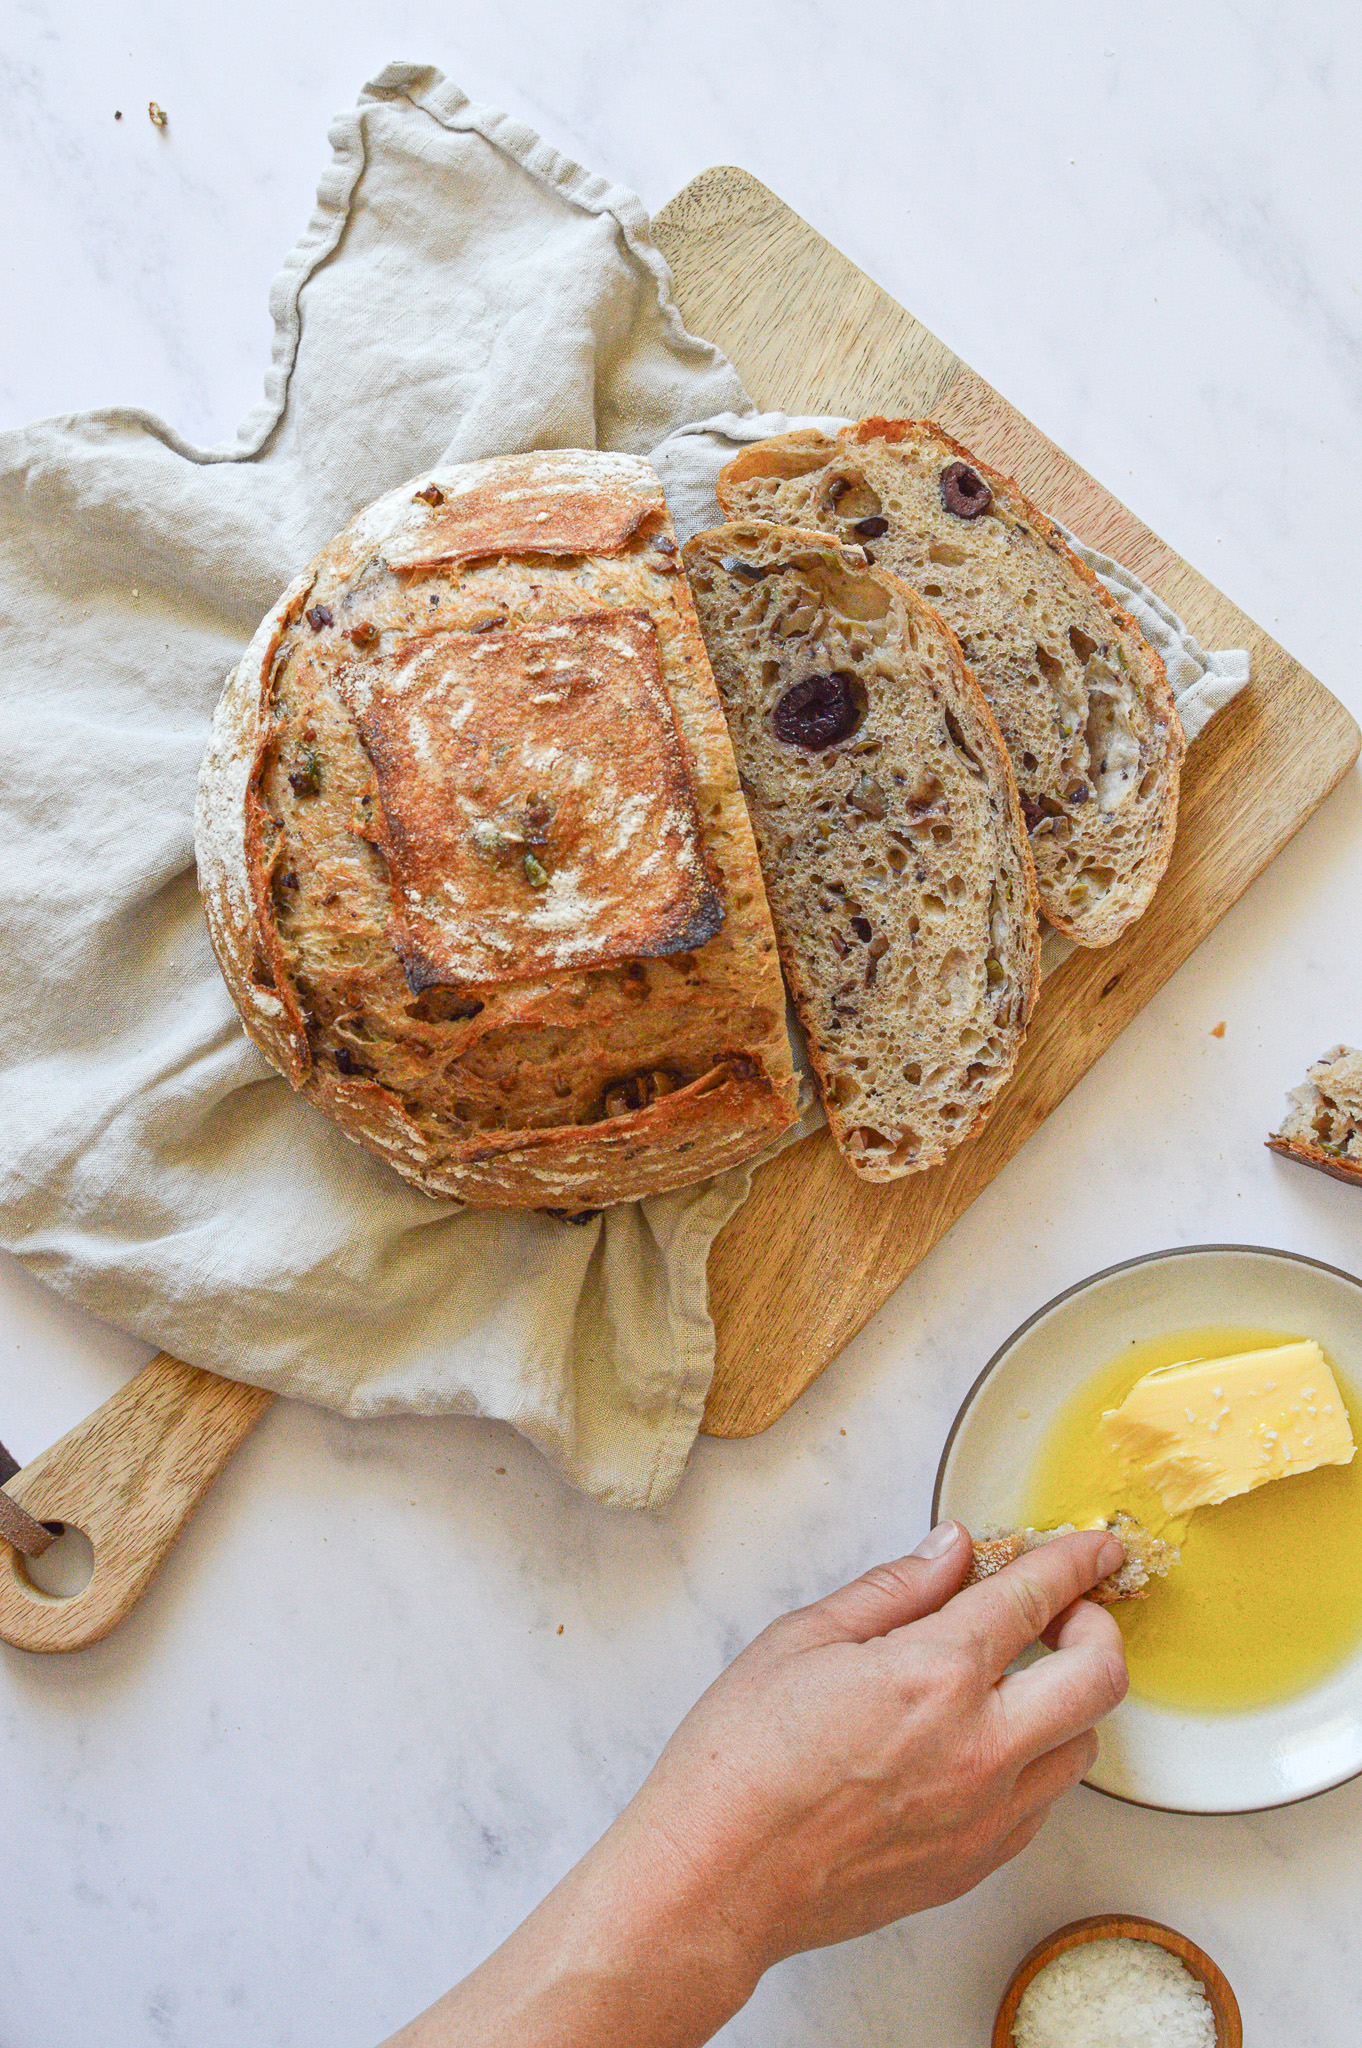
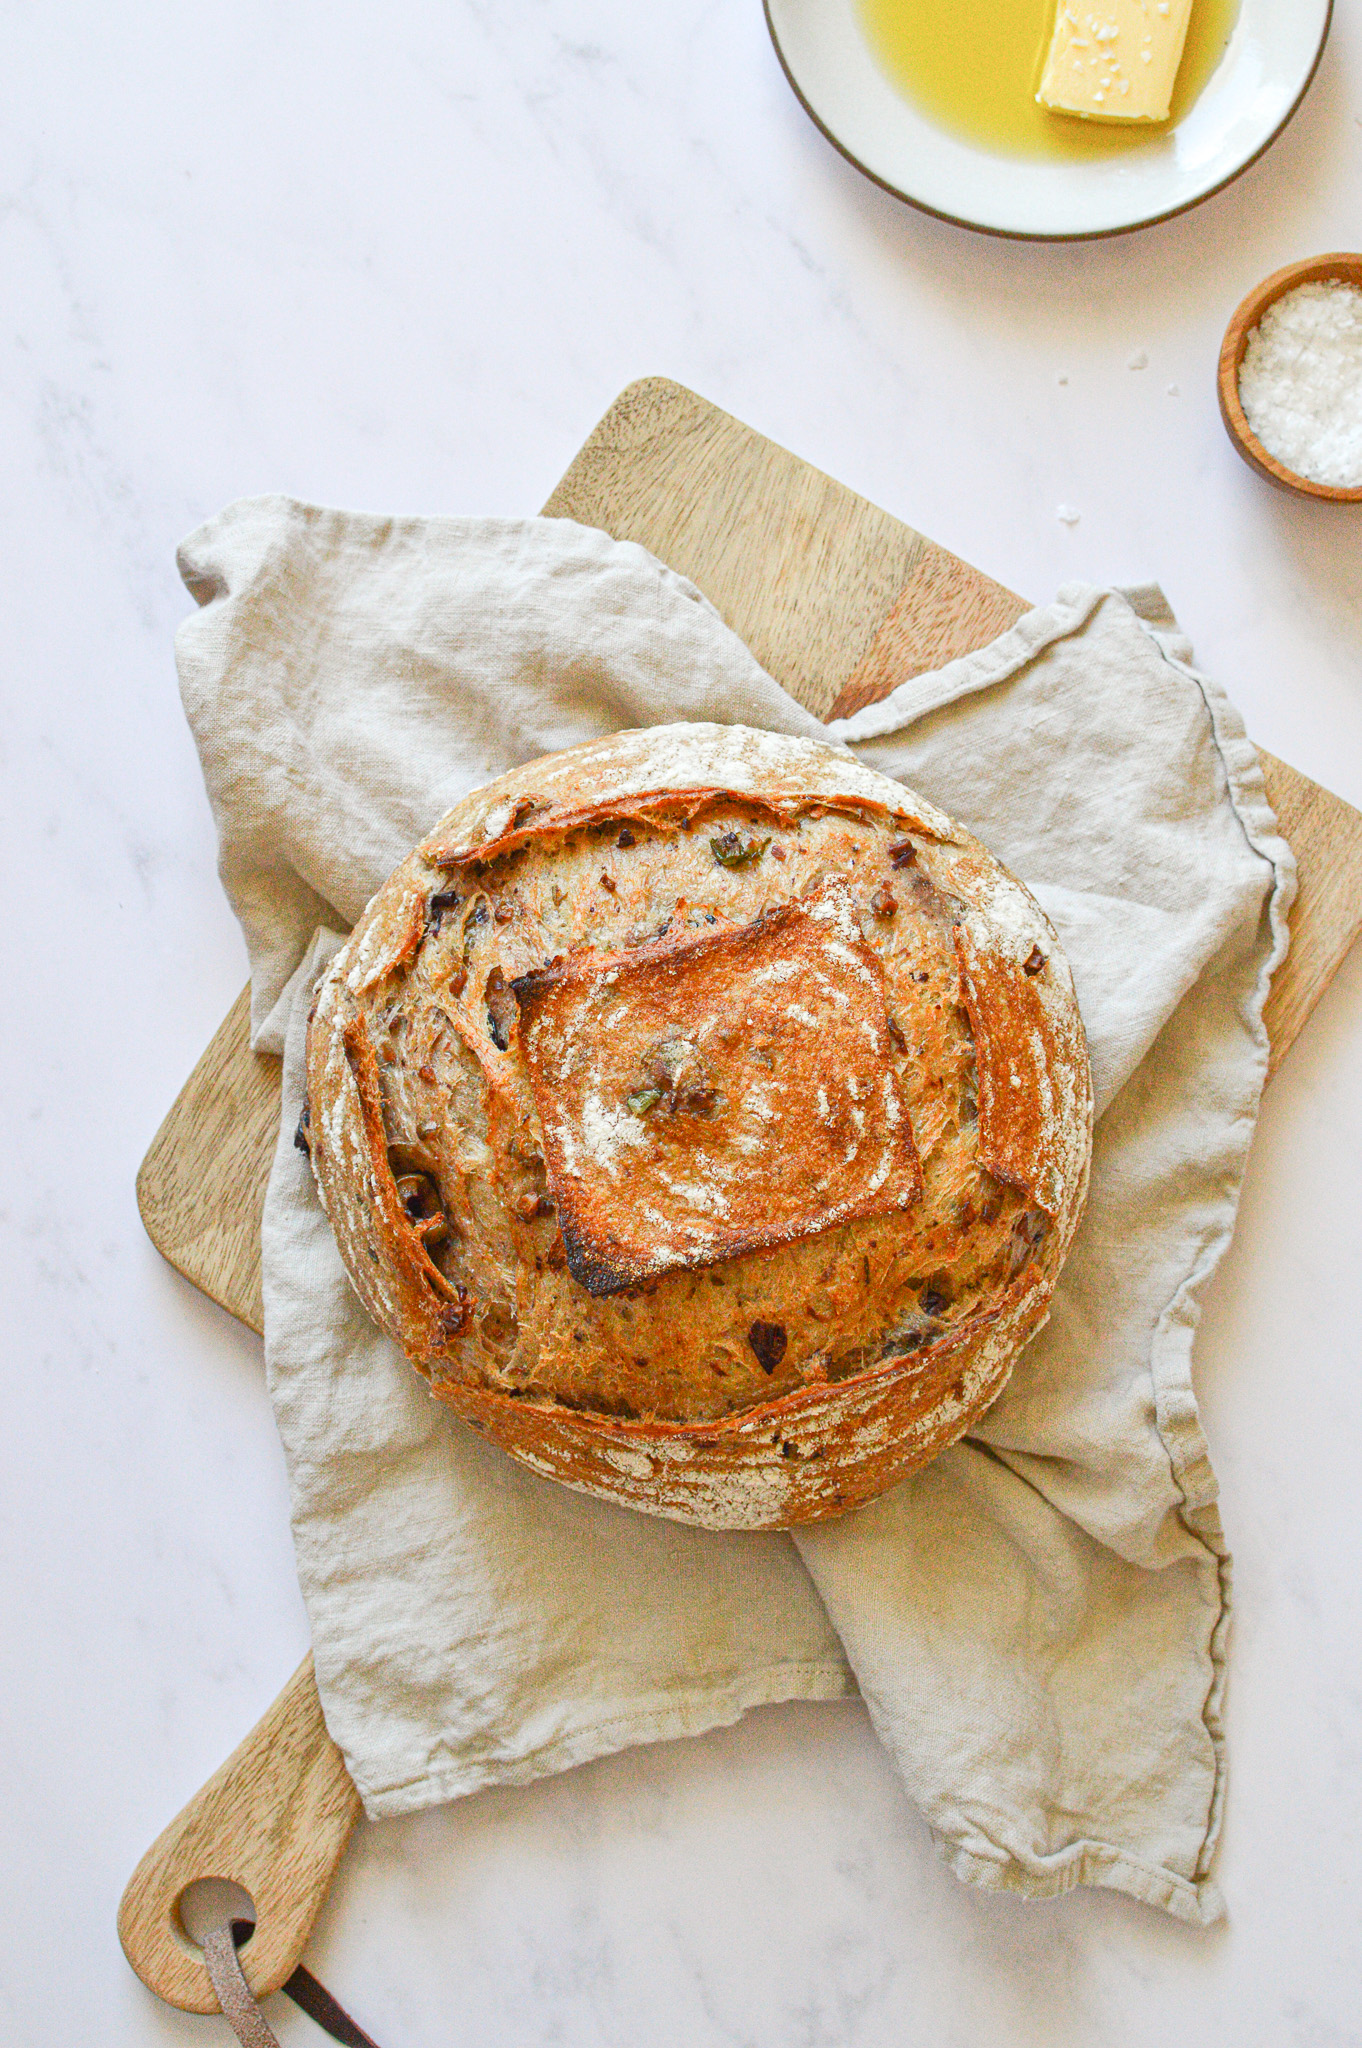
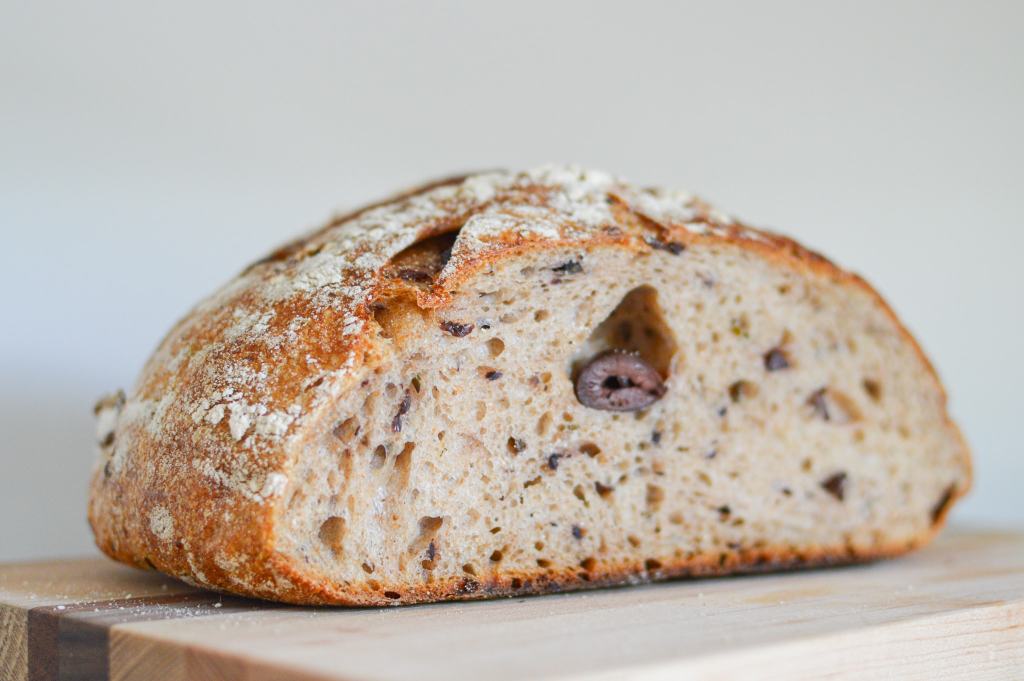
Besides gardening, I took that first week as a chance to test out the oven. I made bread, of course, because that’s the ultimate test of an oven. One of the loaves was this olive sourdough and, fortunately, the bread turned out beautifully. Olive bread has become one of my family’s favorite things to eat—when I show up at their houses without at least half a loaf, I get met with a disappointed, “You didn’t bring olive bread? Why??”
The oil from the olives and the marinade, coupled with the good quantity of herbs, makes this loaf tender and delicious. It’s the kind of bread you can’t help but eat when it’s still warm from the oven, slices torn apart and generously smeared with butter and dipped in olive oil. It also goes incredibly well with hummus. If you’re already making sourdough bread, I urge you to give this a try!
While I was writing this post, I figured I should do a quick round up of recipes that are good for this extended shelter-in-place period. Although beans, rice, and pasta are showing up on shelves again, it’s still good to have some recipes on hand that can be made with less. Some of these certainly require a trip to the store or farmer’s market due to their reliance on fresh vegetables, so perhaps plan to make those within the few days after that trip.
A few good shelter-in-place recipes:
Sourdough Bread
Everyday Greens Salad
Oat, Chocolate, Cranberry, & Almond Cookies
Spiced Coconut Granola
The Flakiest, Most Buttery Biscuits
Salted Chocolate Chip Shortbread Cookies
Spicy Chicken & Cabbage Bowl
Ginger Slice
Focaccia with Rosemary
Hummus
Quick Tuna Melt
Chocolate Chip Cookies, 2.0
The Best, Easiest Whole Roasted Chicken
Spicy Potatoes with Spinach
Raspberry Crumble Bars
Spaghetti with Sausage and Capers
Quick Egg Tacos
Sweet Potato Fries
Lentil Salad
Sticky Chicken
And more! Check out the full recipe index to explore them all.

Olive Sourdough Bread
makes 1 loaf • adapted from The Tivoli Road Baker book
Starter feed:
200g cool water
200g 50/50 whole-wheat and all-purpose flour
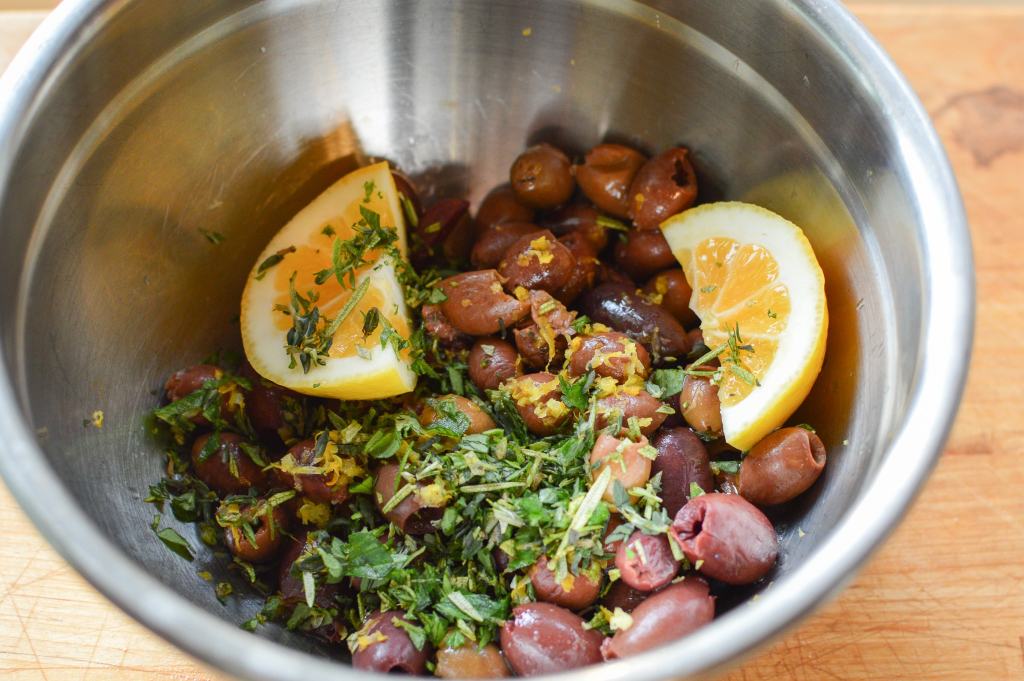
1/2 – 3/4 cup mixed olives (I use kalamata, castelvetrano, and other mediterranean olives)
zest and juice of half a lemon
1 tbsp olive oil
2 sprigs rosemary
2 large sprigs oregano
3 sprigs thyme
300g bread flour
120g whole-wheat flour
300g cool water
100g levain (fed and ready starter)
10g salt
For in-depth sourdough tips and images, see my sourdough post.
The night before you plan to make the bread (or a couple hours before, which is what I often end up doing), prepare the olives. Drain the olives and toss with the olive oil, lemon zest, and lemon juice. Toss in the juiced half lemon. Strip the herbs from their stems and chop the leaves (this can be pretty coarse), then stir the herbs into the olives. Cover and let it all marinade in the fridge over night or at room temperature if you’re making your bread on the same day.
Feed your starter the night before, if temperatures are cool, or in the morning, if the day is warm. Scoop out all but about 1/4–1/2 cup of your old starter. Using a kitchen scale, pour 200g cool water into your container, then add your 200g 50/50 flour. Stir it all together well, making sure to incorporate the bits on the bottom. Put the lid on lightly (it needs air, so never fully close the lid) and cover with a kitchen towel and secure with a rubber band. Leave on the counter overnight, or for at least a few hours.*
*Your starter is ready when it’s at least doubled in volume. If you want to make sure it’s ready, drop a small spoonful in a glass of water. If it floats, it’s good to go. (If you leave it overnight, it should almost certainly be ready.)
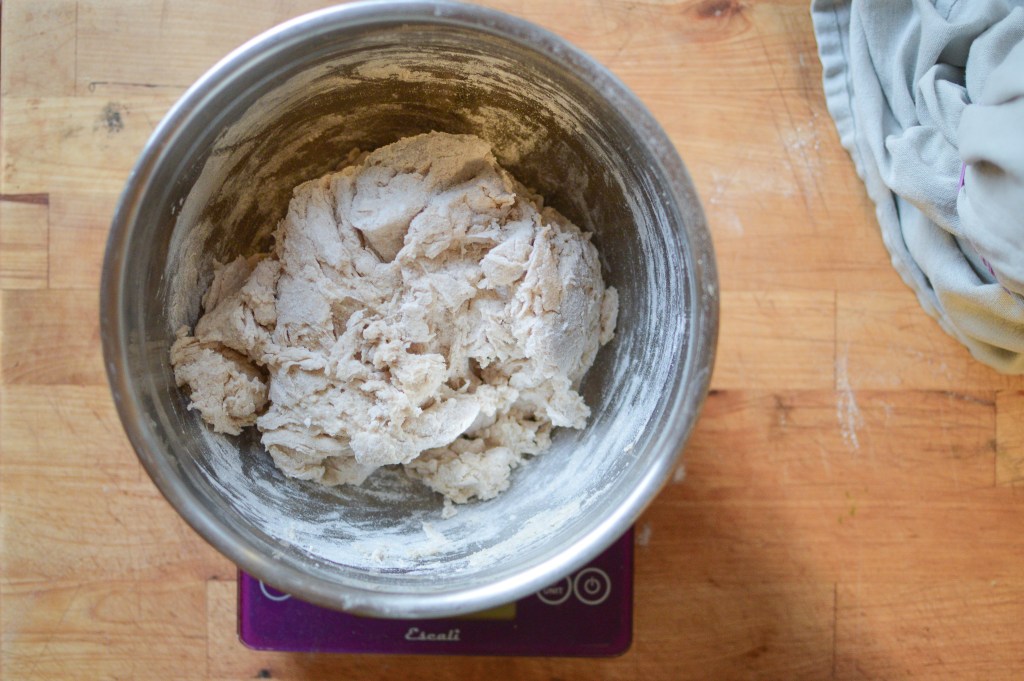
When your starter’s ready, start the bread dough. Mix the 300g bread flour and 120g whole-wheat flour together in a large bowl. Stir in the 300g cool water with a wooden spoon until you have a shaggy dough, then get in there with your hands and knead a little bit until it’s mostly all mixed—some dry flour will remain, but don’t worry about it. Cover the bowl with a kitchen towel and leave for 30–60 minutes (this is called the autolyse—it’s when gentle gluten development begins, contributing to a better texture and flavor). Add the 100g ready starter, or levain (levain is starter that has been fed and is ready to use), and roughly fold/knead it in with one hand. Add 10g salt and fold in by hand until the salt is entirely incorporated and the dough is relatively smooth/cohesive. It will still look a bit rough, and that’s ok. Close the lid on your remaining starter (again, don’t fully close the lid) and store it in your fridge (not too near the back or it will get too cold) until ready to use again, ideally within two weeks.
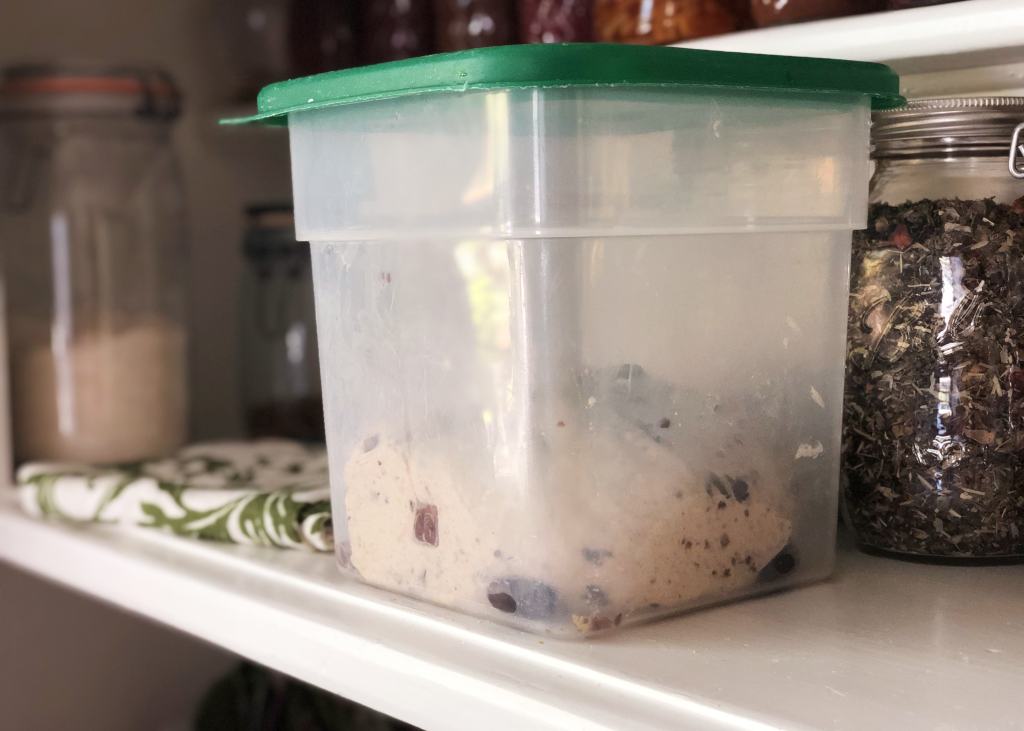
Place the mixed dough in a covered container or bowl (I like to use a professional food storage container with a lid). Leave to rest in a warm spot in your kitchen for 30 minutes. After that initial rest, add the olives. Drain the marinated olives of excess liquid and discard the lemon halves, then pulse 2/3 of the olives a few times in a food processor until you have a chunky tapenade. Scrape this into the dough container. Toss the remaining whole olives with a little semolina flour, if you have it (this allows for slightly easier incorporation into the dough), and scrape into the dough container. Knead the olives and tapenade into the dough as best you can, trying to distribute everything evenly. Don’t worry too much if the olives aren’t sticking to the dough at this point—they will get there eventually. Cover and set aside to rest.
Every 30 minutes after that, perform a turn, meaning: lifting from the bottom, fold each corner of the dough over itself. Once you’ve completed at least 4 turns (2 hours) and up to 6-8 (3–4 hours), let the dough rest, covered, for 2-3 hours.
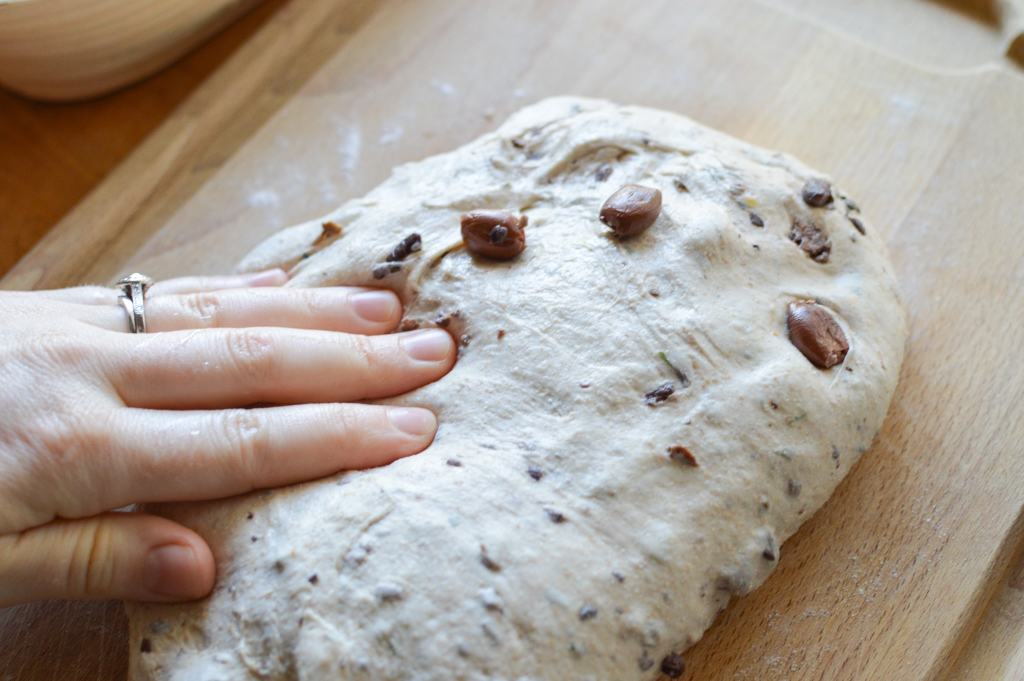
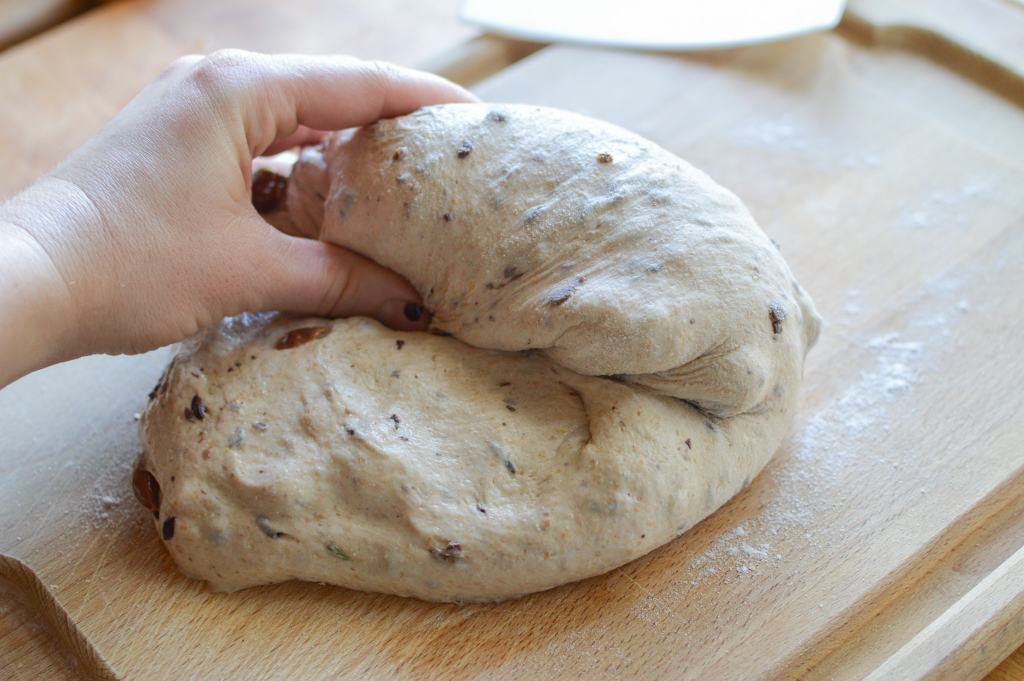
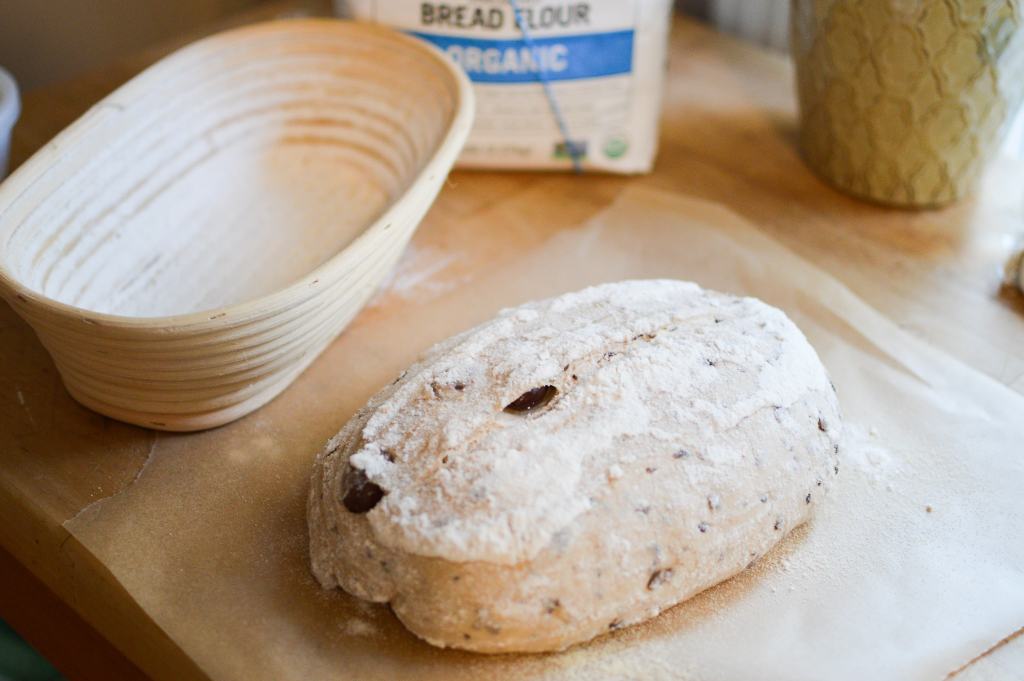
Complete the first shaping: turn the dough out onto a lightly floured surface. (Note that you’ll probably need a bench scraper to make your life easier with this step.) Pat the dough down into a rectangle and fold into your desired shape. For a round loaf, using both hands, fold the corners in, then roll, lift, and lightly stretch the dough until you have a relatively tight ball with a smooth top. For an oblong loaf, roll and press the short side of the patted rectangle towards you, using your thumbs to push the sides in as well. Seal the shape by pinching the seam together, and pat to get an even shape. Rest the dough, seam side down, under a damp kitchen towel for 20 min.
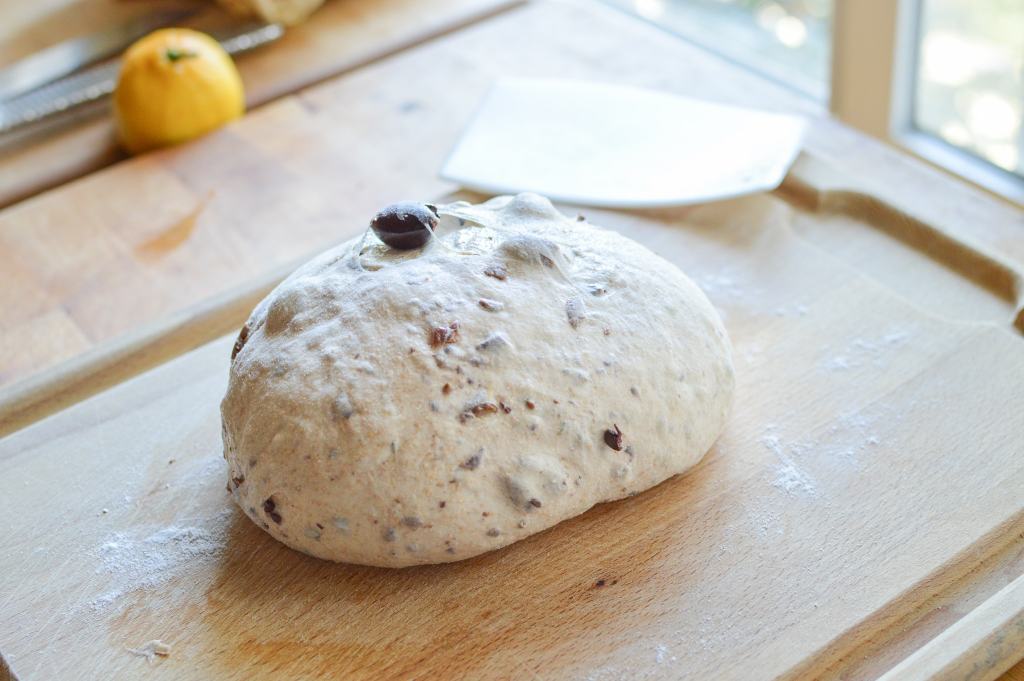
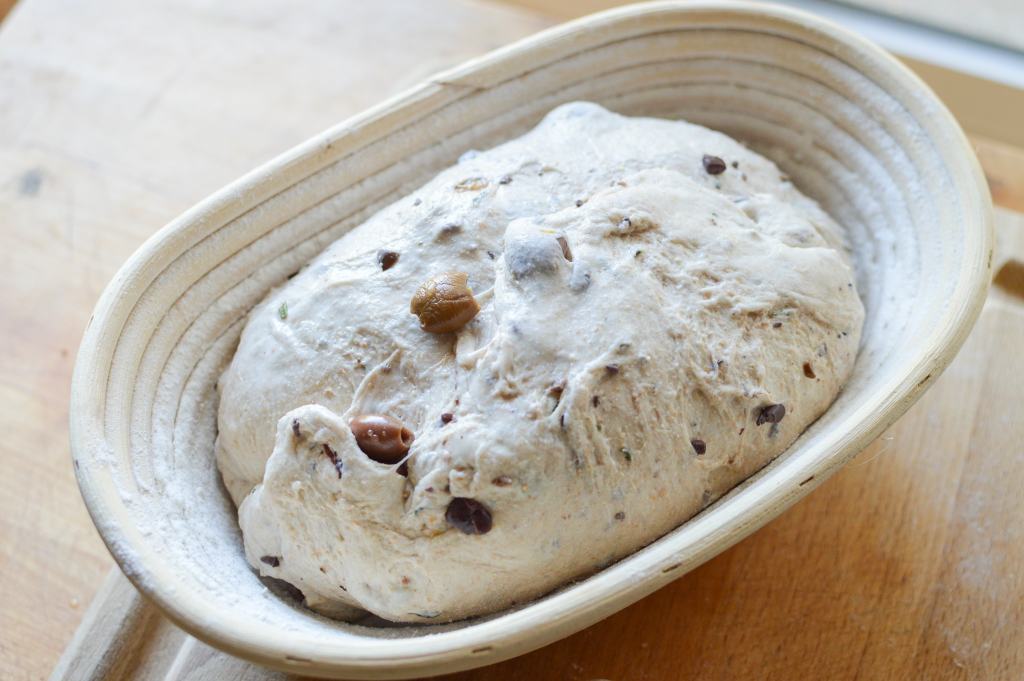
Pat down the dough and shape once more, using the same method. Generously flour a banneton (bread basket) or a standard loaf tin lined with a kitchen towel. Place your reshaped dough into the banneton or loaf pan, seam-side up. Cover loosely with a damp towel and let rise in a warm spot for another 2-3 hours.*
*After an hour or two, you can opt to finish the final rise in the fridge overnight. Make sure the exposed dough is moist (you can pat it with a little water), then cover lightly with a kitchen towel and put the whole thing in a large plastic bag. Keep it in the fridge overnight, and take it out an hour or so before you intend to bake the bread.
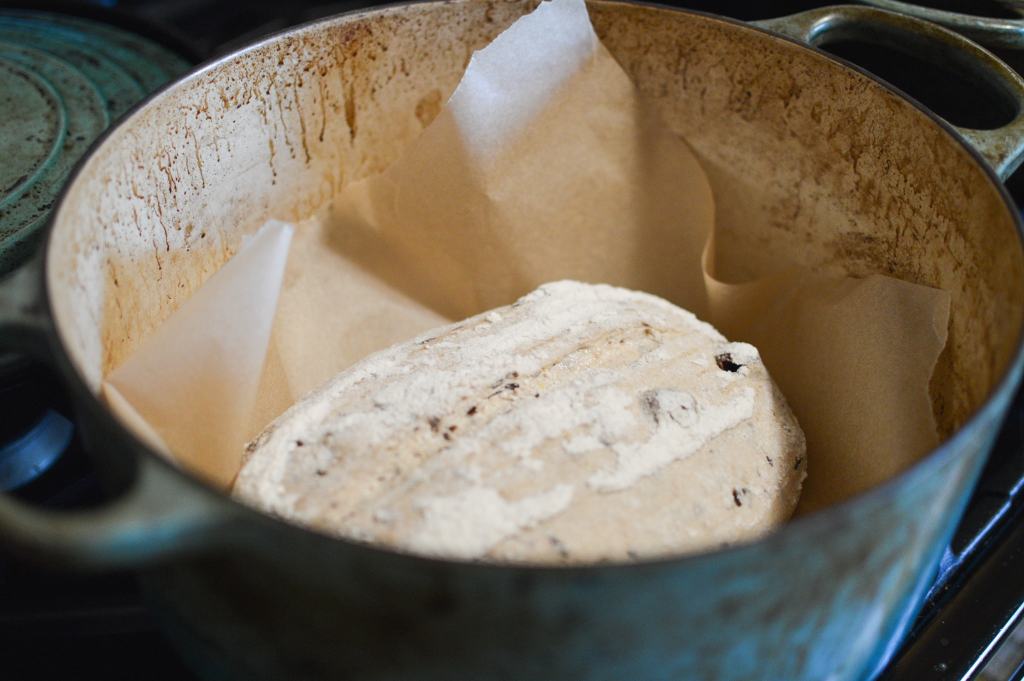
Preheat your oven to 485°F (or 500°F if your oven runs colder). Place a large dutch oven inside (without lid) and let it preheat with the oven for 15–20 minutes.
Boil a little water. Flour a large piece of parchment paper with a sprinkle of semolina flour (or other flour). Once the oven is ready, turn your bread onto the floured parchment paper (seam side down) and score the top of the bread using whatever design you wish (I often default to one long slash—it’s easy and effective). To score, you can use a serrated knife, kitchen scissors, or a lame, which is essentially a tool made specifically for scoring bread that looks like a razor blade on a stick.
Carefully lower the bread on the parchment paper into the hot dutch oven. Quickly pour 1oz boiling water under the side of the parchment paper (not onto the bread). Immediately cover with the lid (watch out, the steam is hot!) and get it into the oven as quickly, and safely, as possible.
Bake for 20 minutes with the lid on. Turn the oven down to 450°F and bake for another 10 minutes with the lid on. Remove the lid and bake for another 8–10 minutes, until the top is a lovely, rich golden brown. (To test for doneness, you can tap the bottom of the loaf—if it sounds hollow, it’s done. Just be careful not to burn yourself!)

Using pot holders, remove the pan from the oven and immediately transfer the loaf to a cooling rack. Let the loaf cool for at least 30 minutes before slicing, but preferably a few hours to let the steam inside set—otherwise, you might damage the structure.
Store the cooled bread at room temperature, wrapped in bee’s wrap, for up to a week. If your home is warm, monitor closely for mold. If you eat bread slowly, cut the loaf in half and wrap one half tightly in bee’s wrap and a plastic bag, and freeze. When you’re ready to eat it, thaw in the fridge overnight and it will be ready to slice the next morning.
Enjoy!

5 responses to “Olive Sourdough”
[…] the spread consisted of strawberries from P&K Farms (seriously the best strawberries), hummus, olive bread, snap peas, and a new chocolate sourdough loaf, the recipe for which I’d made up the day […]
Hello! I just tried this recipe and it turned out sooo beautiful – the most beautiful sourdough loaf I have ever made! But the paper stuck to the bottom. Do you have a suggestion for how to avoid this?! Thanks 🙂
Hey Anna, so glad you liked it! One of my all-time favorite recipes 🙂 Interesting, that’s never happened to me before but I know that some parchment papers have a side that can stick to baked goods. I use the brand “If You Care,” which I buy at Whole Foods and never sticks. Perhaps you could look into the brand you use to see if they have a sticky side or try another brand? Thanks for reading!
Thanks! I’ll try a different brand!
[…] the spread consisted of strawberries from P&K Farms (seriously the best strawberries), hummus, olive bread, snap peas, and a new chocolate sourdough loaf, the recipe for which I’d made up the day […]