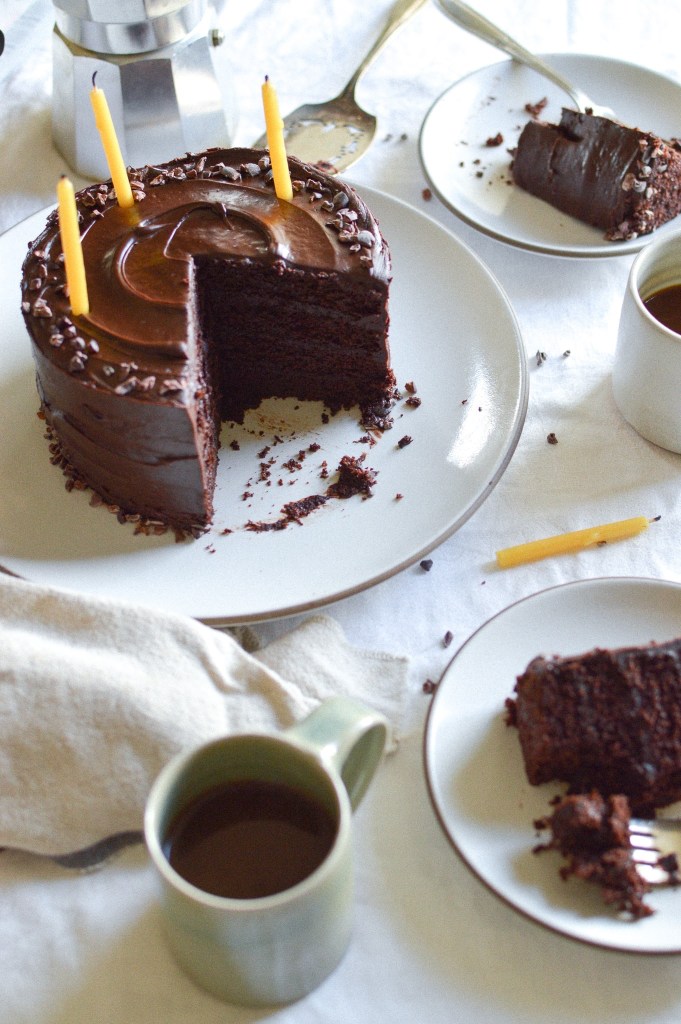
Every September growing up, without fail, Emma would respond to the question of which cake she wanted for her birthday without hesitation: “Cinnamon-chocolate,” she’d say in her high-pitched voice, giving one satisfied nod that acknowledged we all knew what she was going to say, and she was proud of her decision. She was a creature of habit when it came to dessert, never straying from whatever favorite she had established initially. Mom and Dad often used to drive us down to the wharf after dinner, headlights illuminating the pier and the restaurants stacked almost precariously on the churning black water below. A few brave seals bellowed beneath our feet as we piled into the tiny gelato counter tucked into a corner of Stagnaro’s and each ordered the same thing. My go-to was strawberry, while Emma always got one scoop of chocolate and one of raspberry. We used miniature spoons to eat our cold cups of gelato in the cozy car, trying to spot the highest heels as couples walked past in their date-night finest.
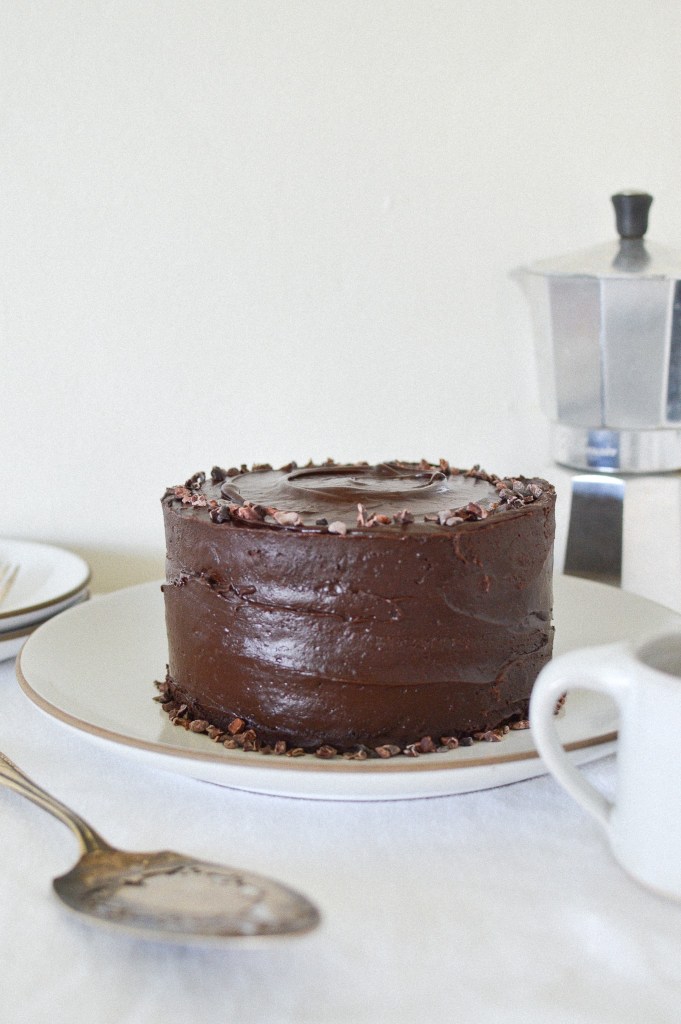
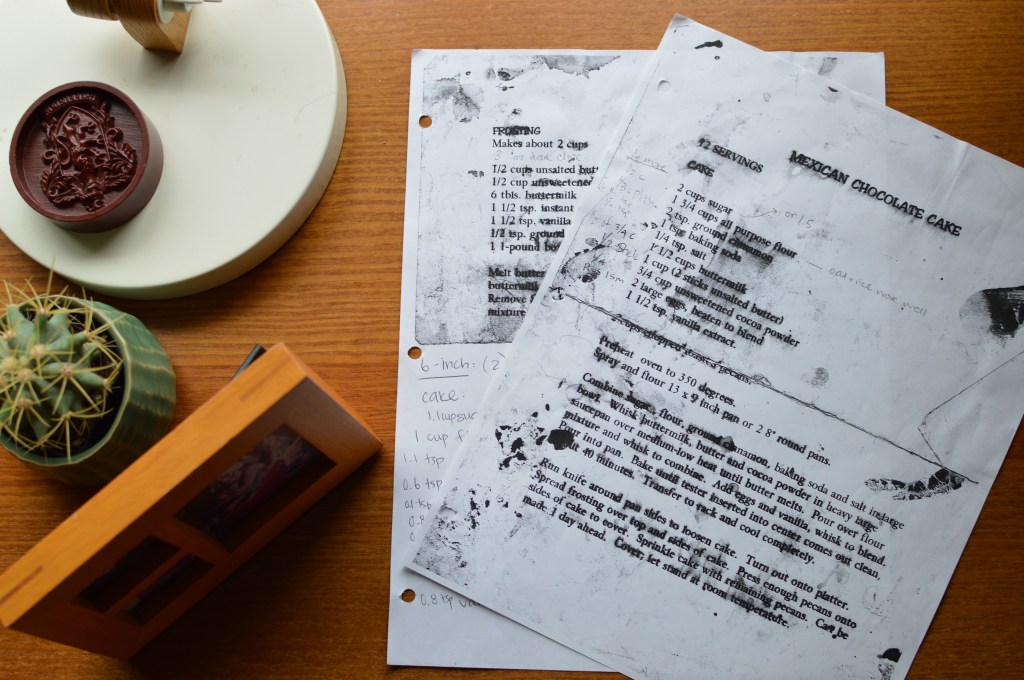
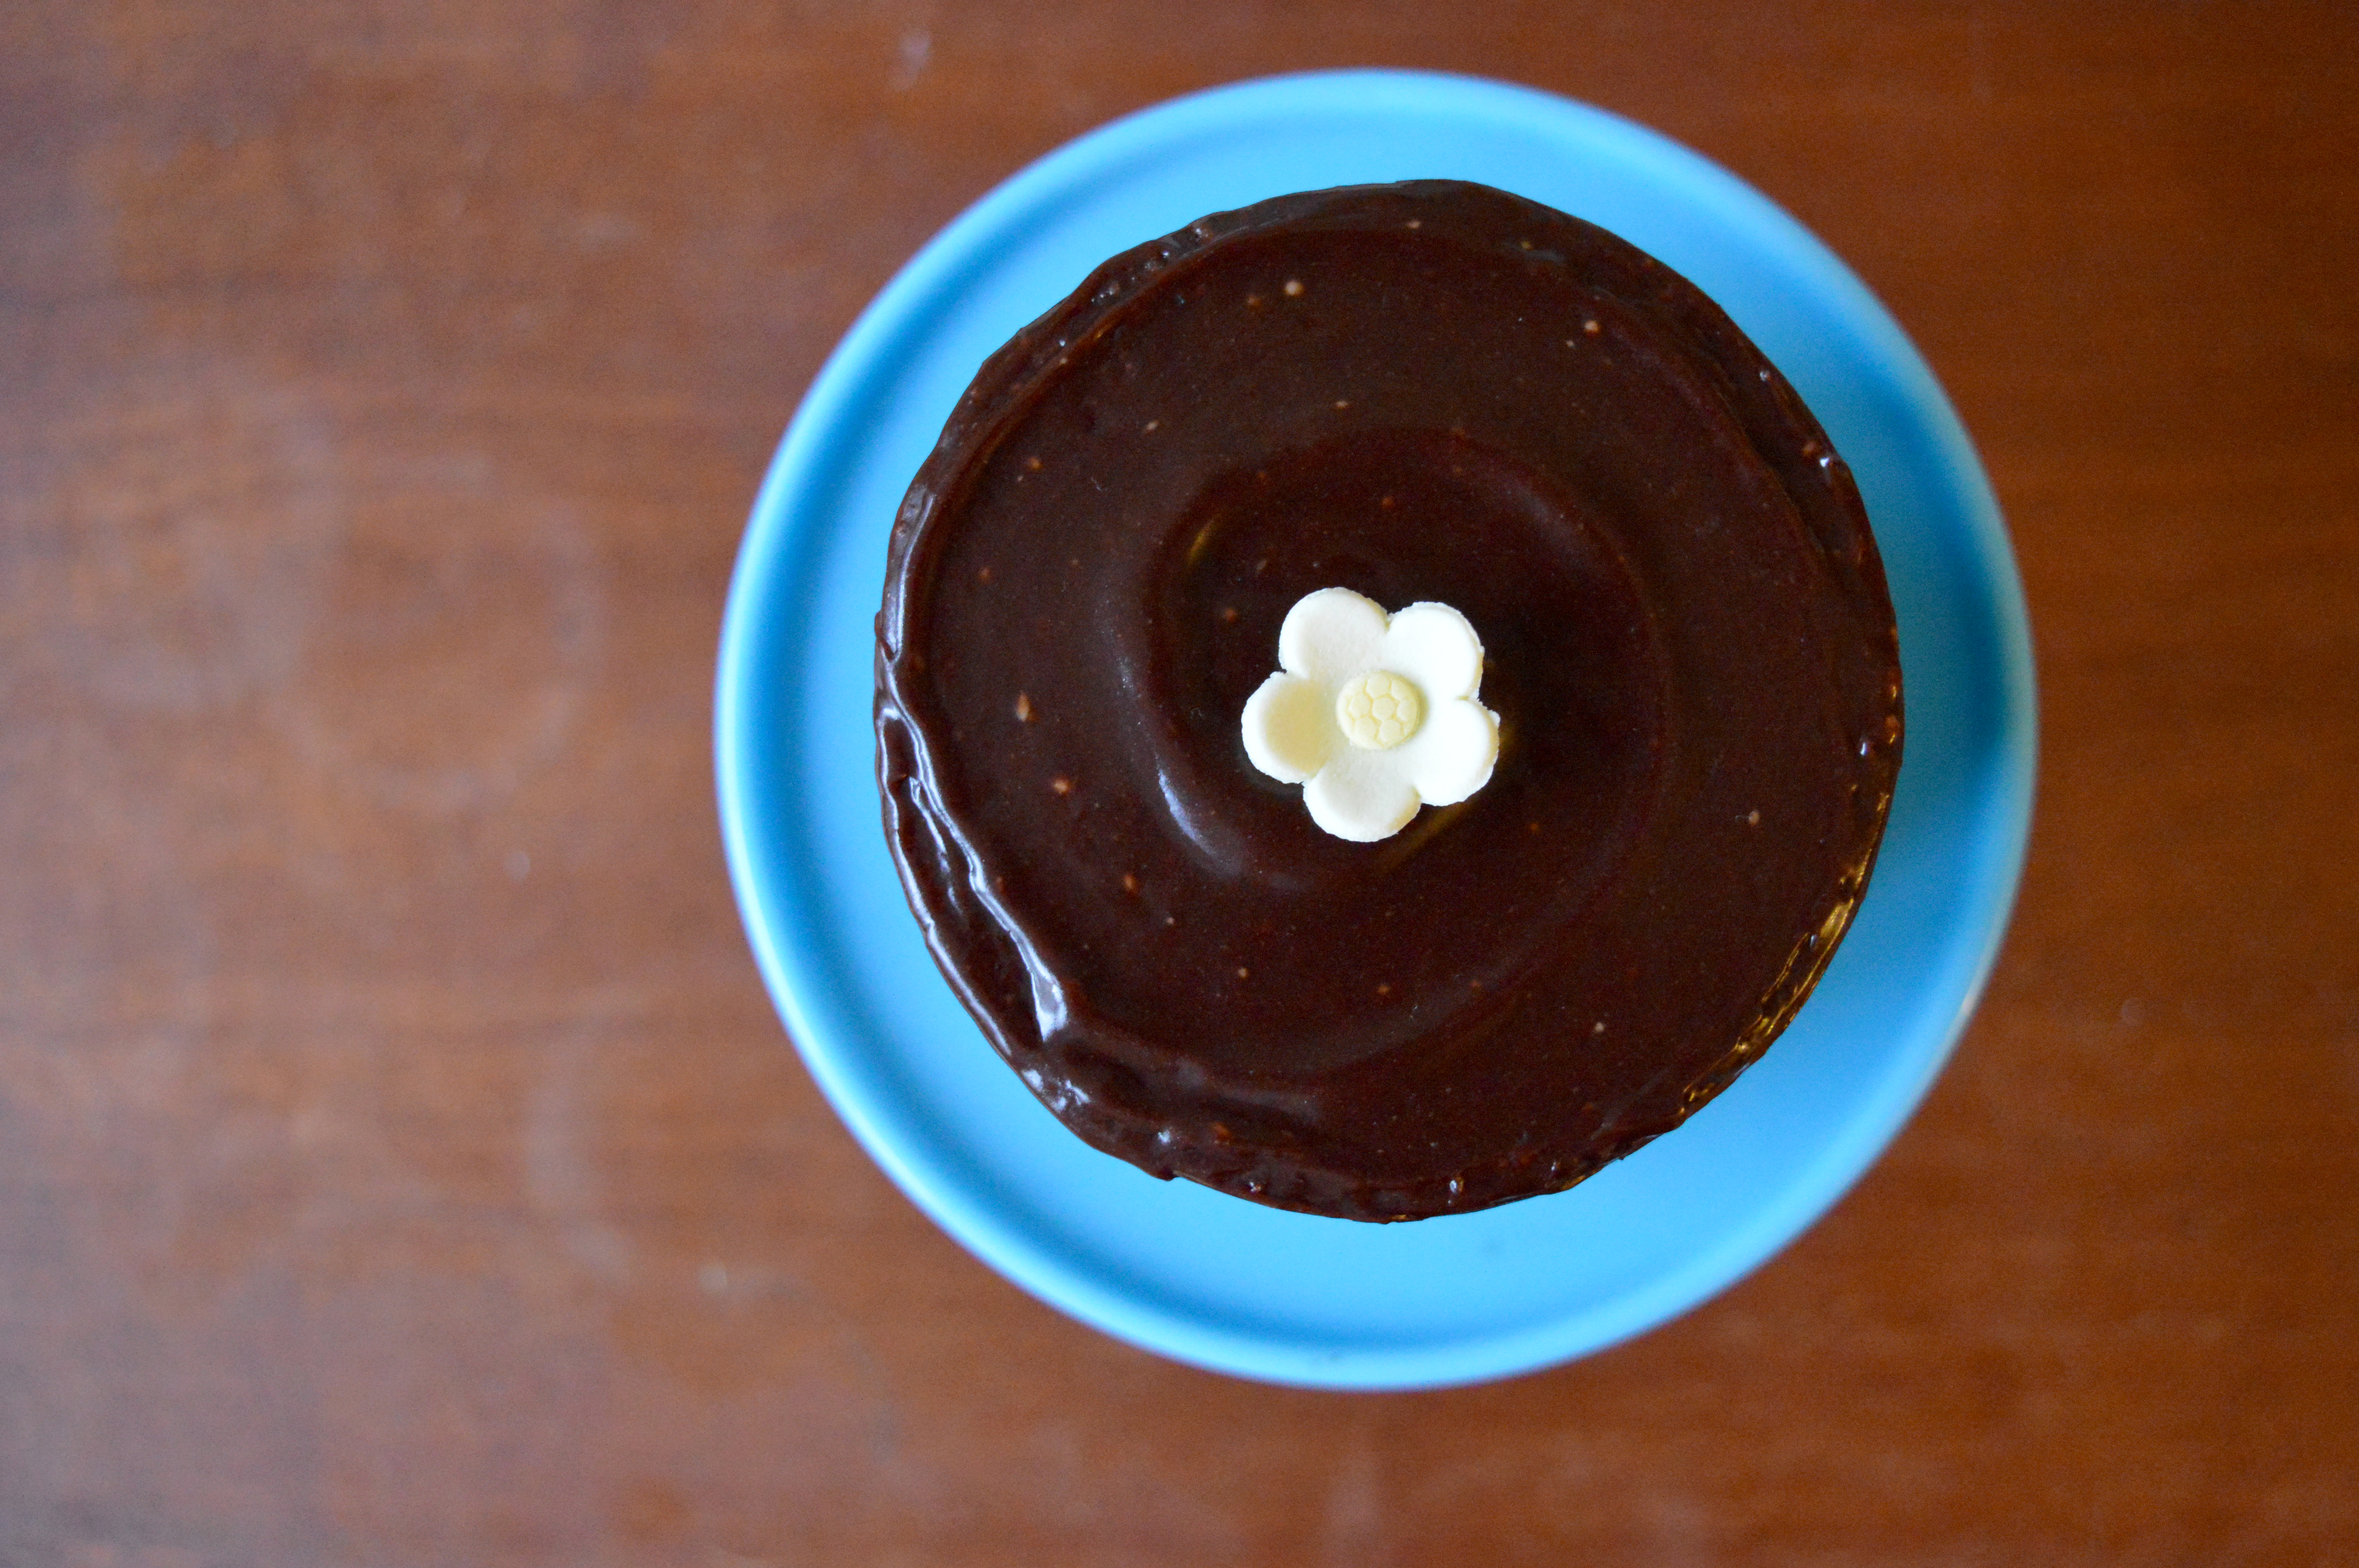
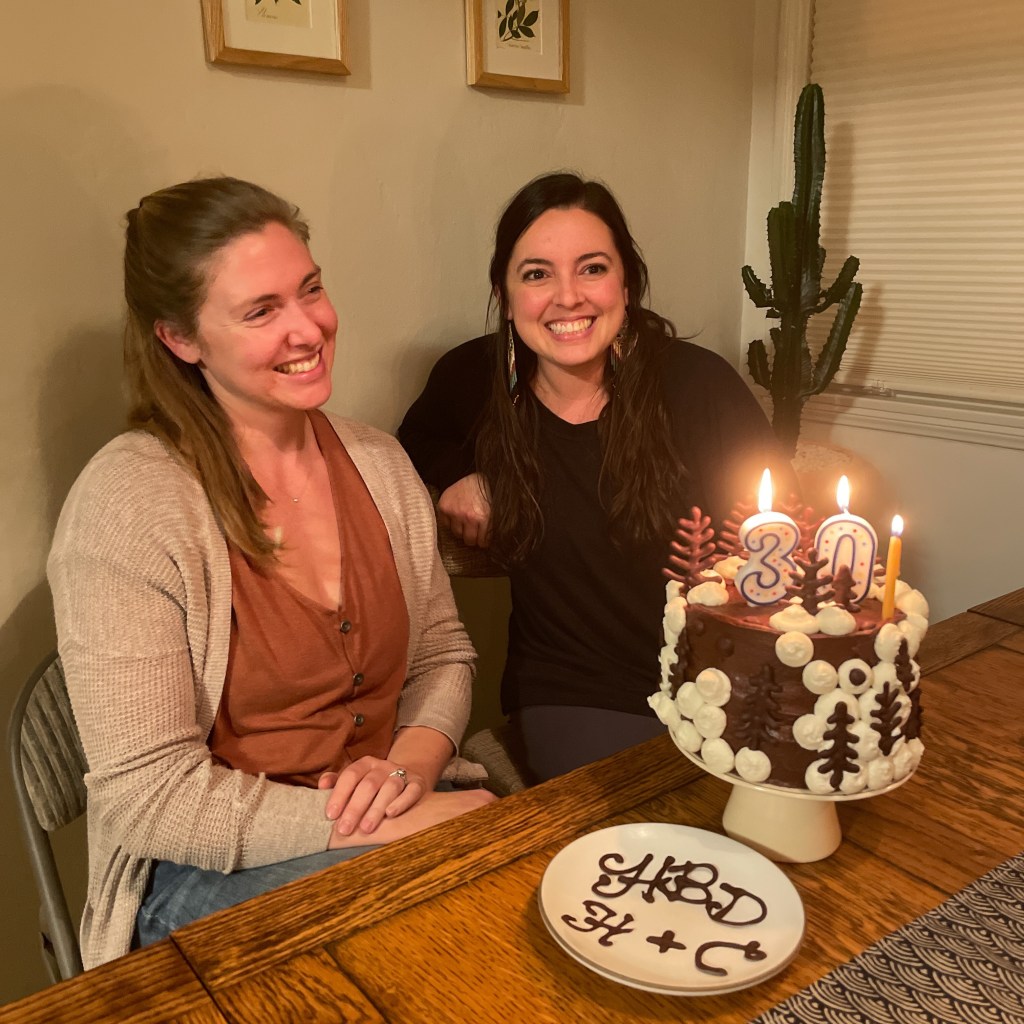
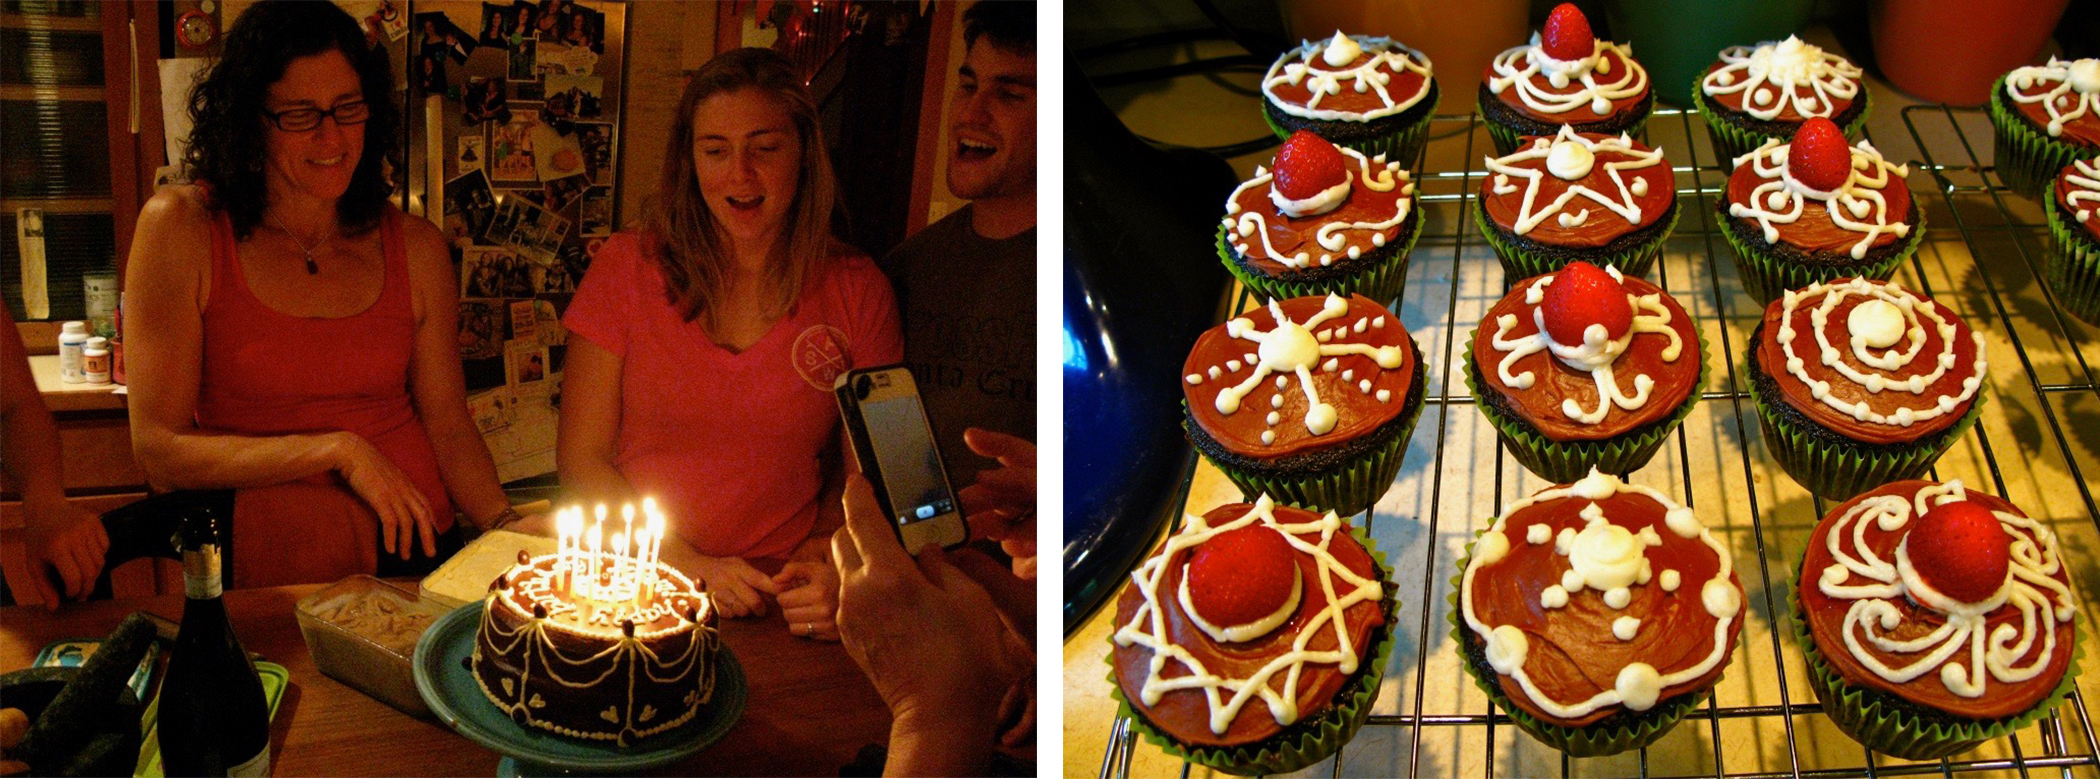
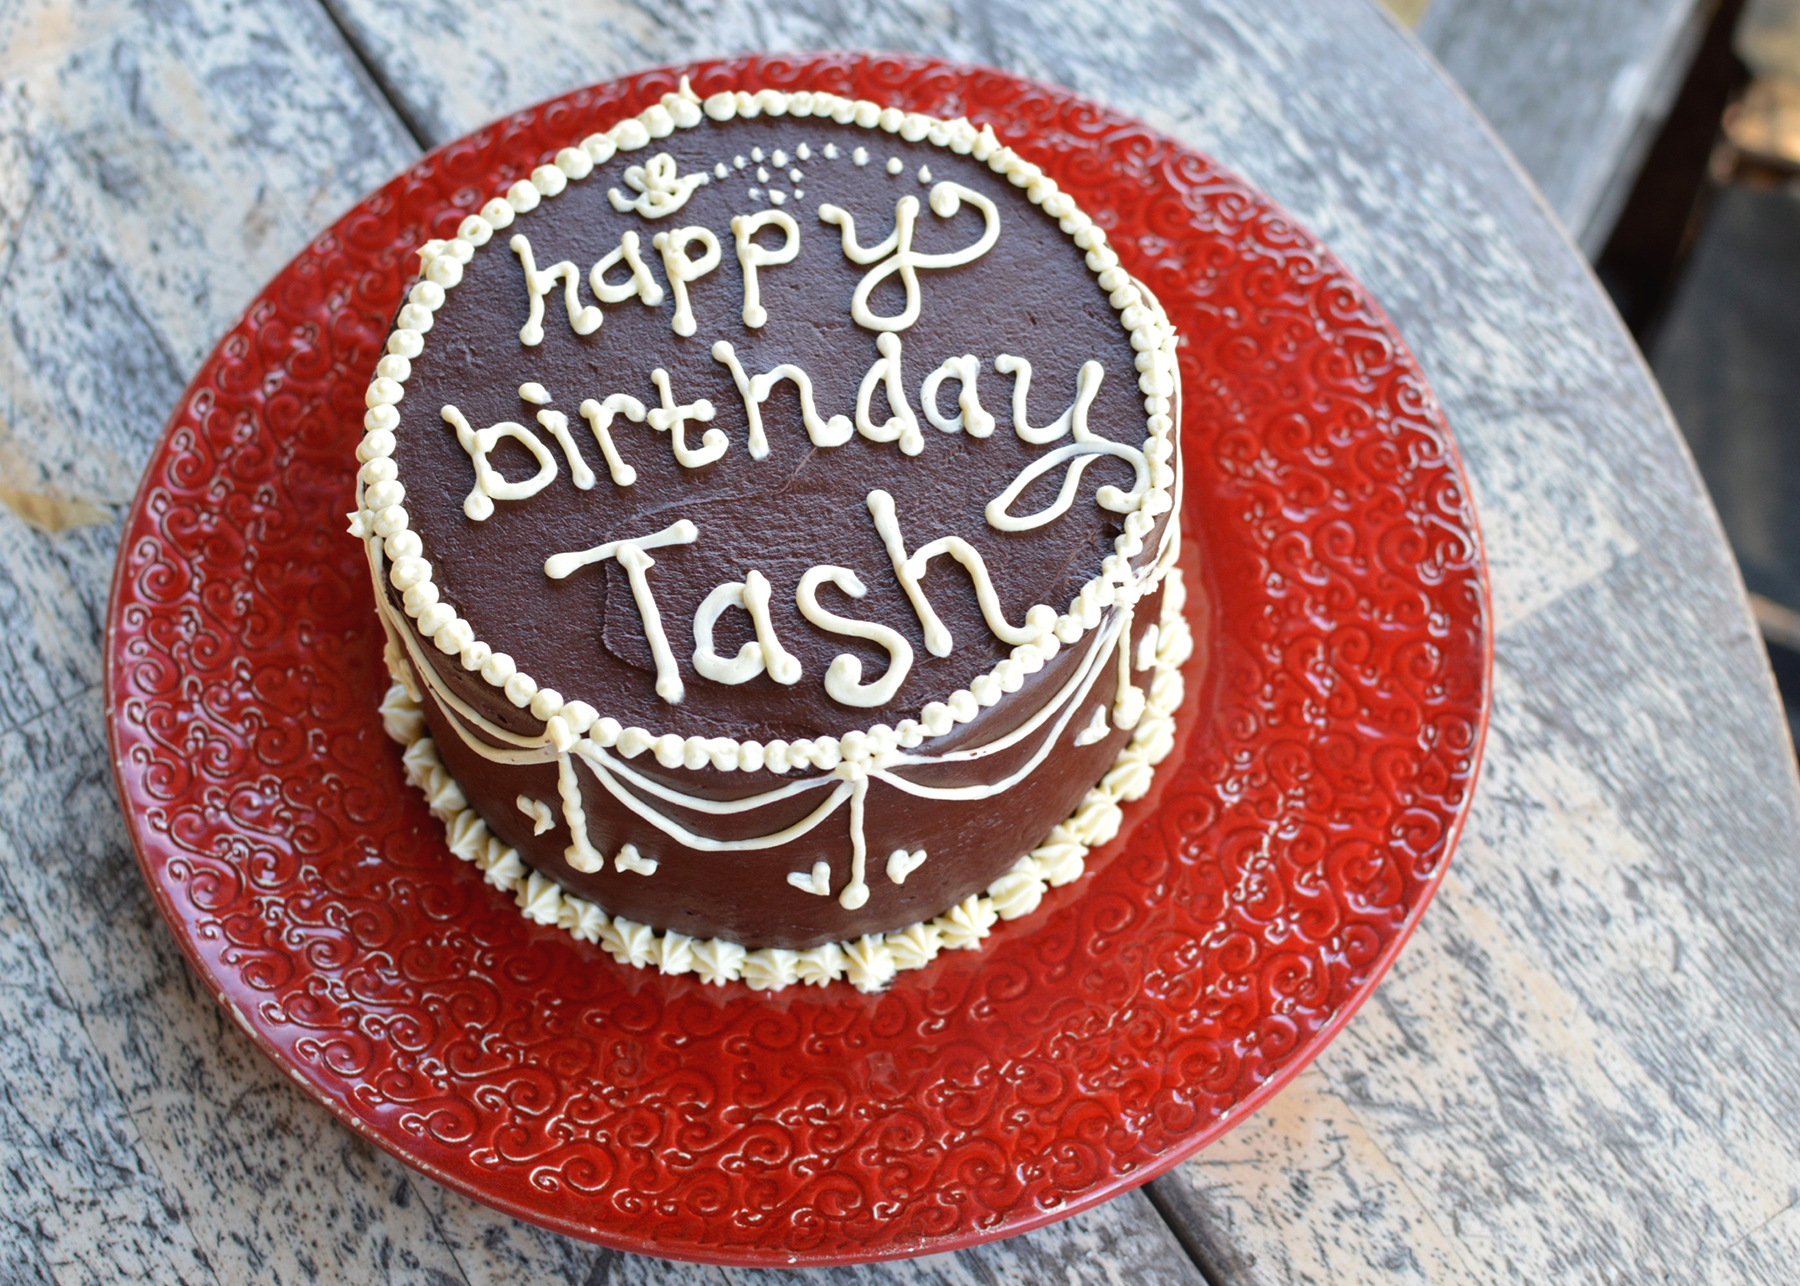
Emma never stopped loving that gelato combination, and she was consistently happy with her choice of birthday cake. She’s much more adventurous as an adult, but I know she’d never be able to resist a slice of this cake. A tender chocolate cake with a hint of warmth from the cinnamon and covered with sweet, cinnamon-mocha frosting, it’s one of the only cakes I gladly eat more than a few bites of. It’s the one cake I return to over and over because it’s, quite simply, always a joy to eat. It’s also probably the first cake I baked myself, smaller me poring over the stained, chocolate-smudged pages of my mom’s old recipe, typed up and printed for her by her long-time friend Carolyn. My photocopied version, hole-punched and placed in a binder of recipes Mom sent me off to college with, retains all the wear and tear of the original.
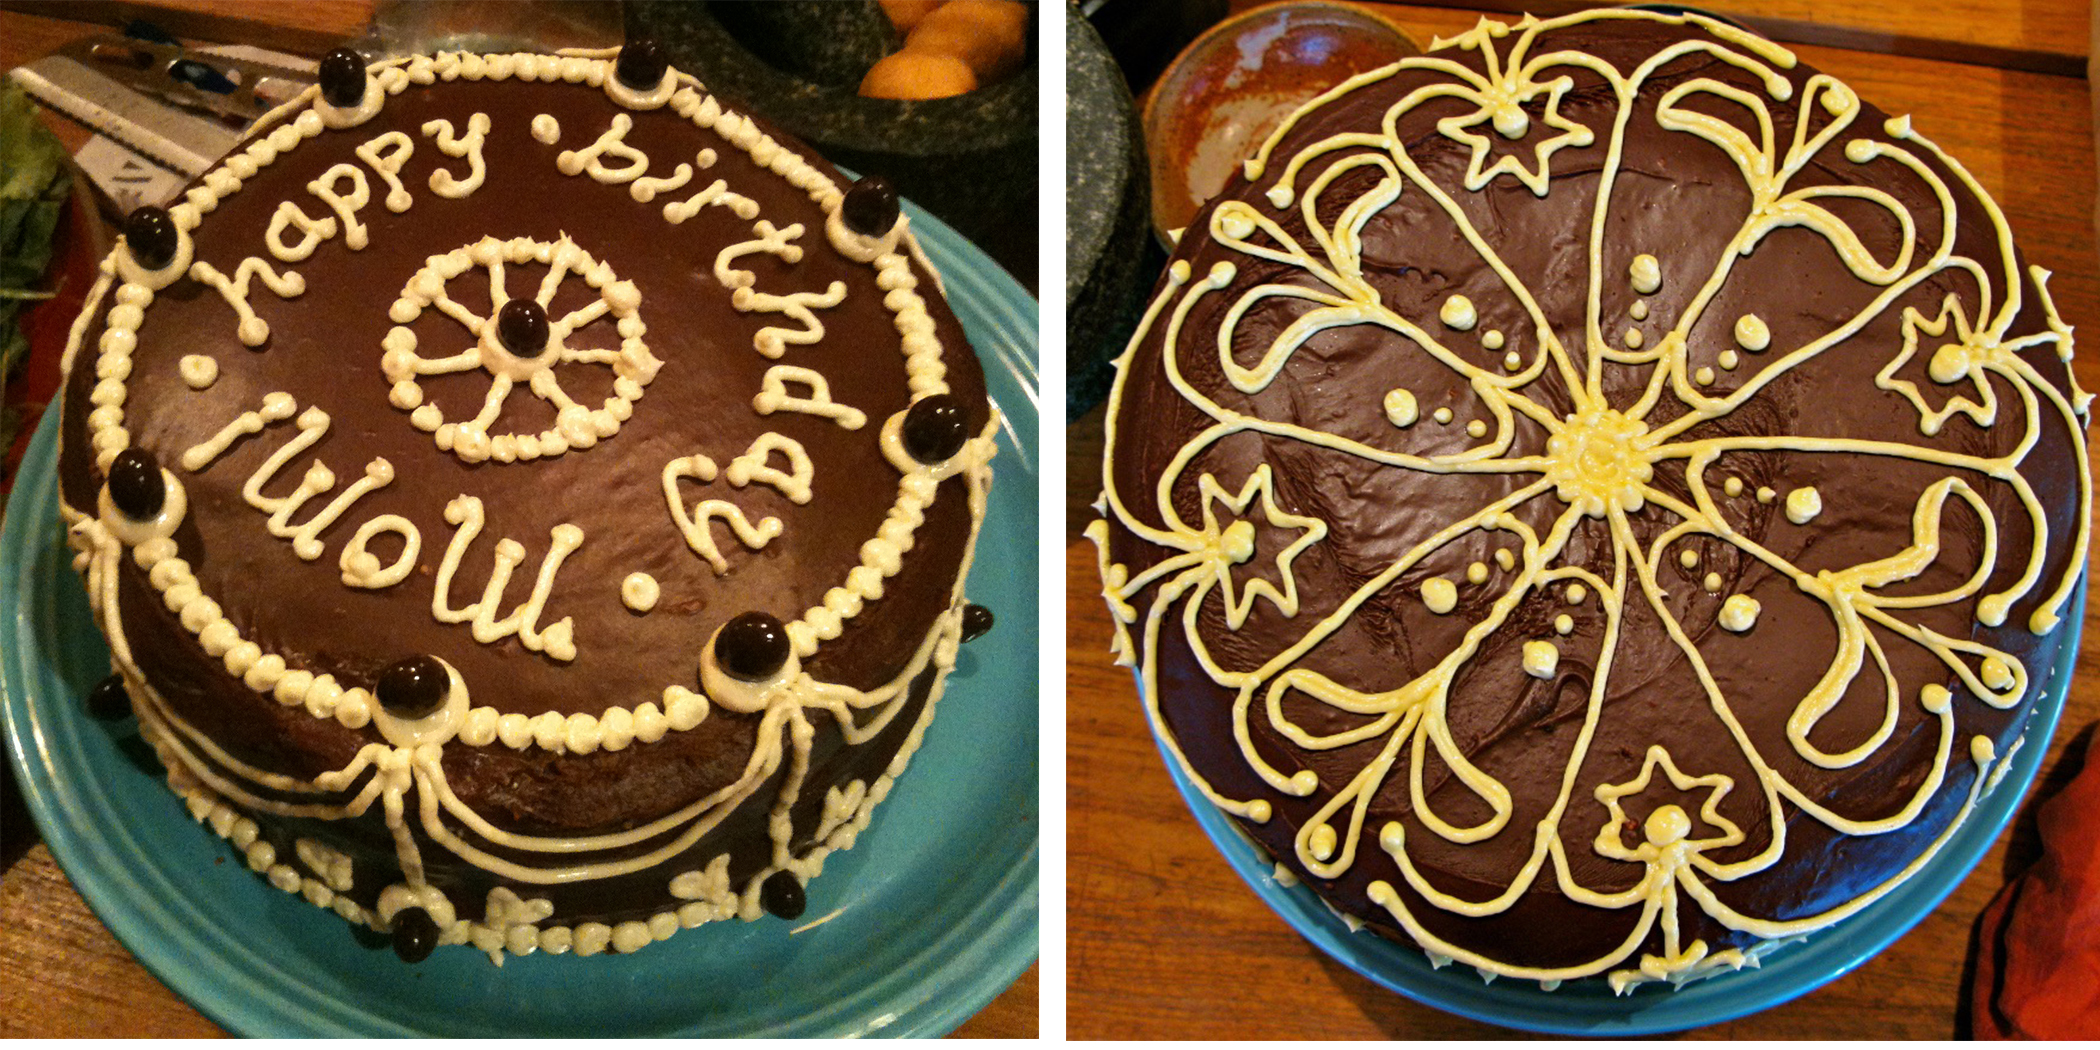
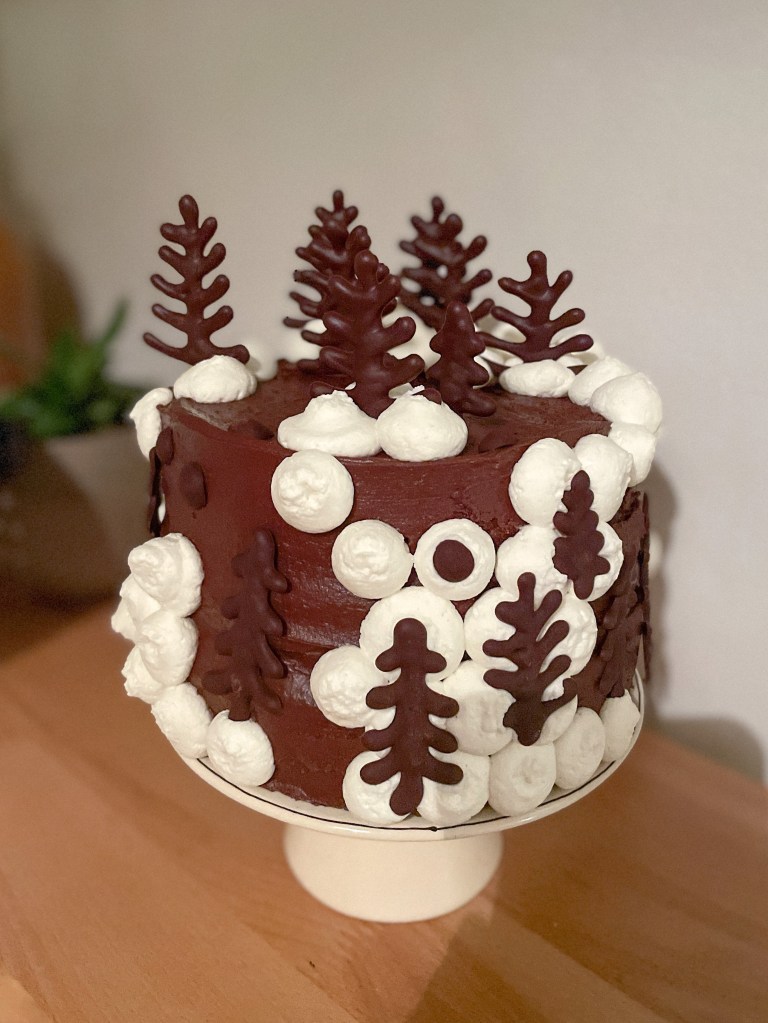
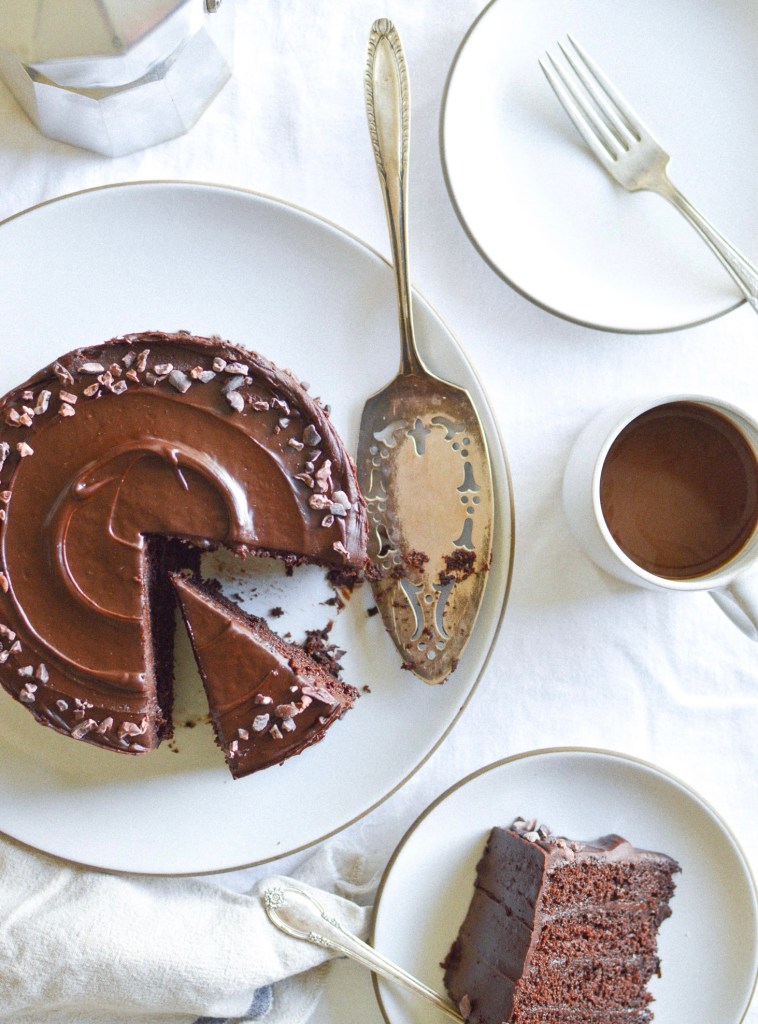
Due to the fact that I now spend most of my time with a 10-month old attached to one hip, I don’t get many opportunities to bake anymore. I sometimes make quick recipes like cookies or brownies, or I tackle recipes with multiple steps that can be made over the course of a day or two with a spare 20 minutes here or there (like sourdough bread). When I sold cakes as “Kitchen Hana” back in college, I baked a lot of cakes, but now I barely make any. My family often chooses pavlova, cookies, ice cream, or pie for their birthdays—none of us are super into cakes. Except for this one, which pops up again every now and then, when one of us realizes it’s just been too long since we last had it. Below are just a few of the past incarnations of this recipe over the years.
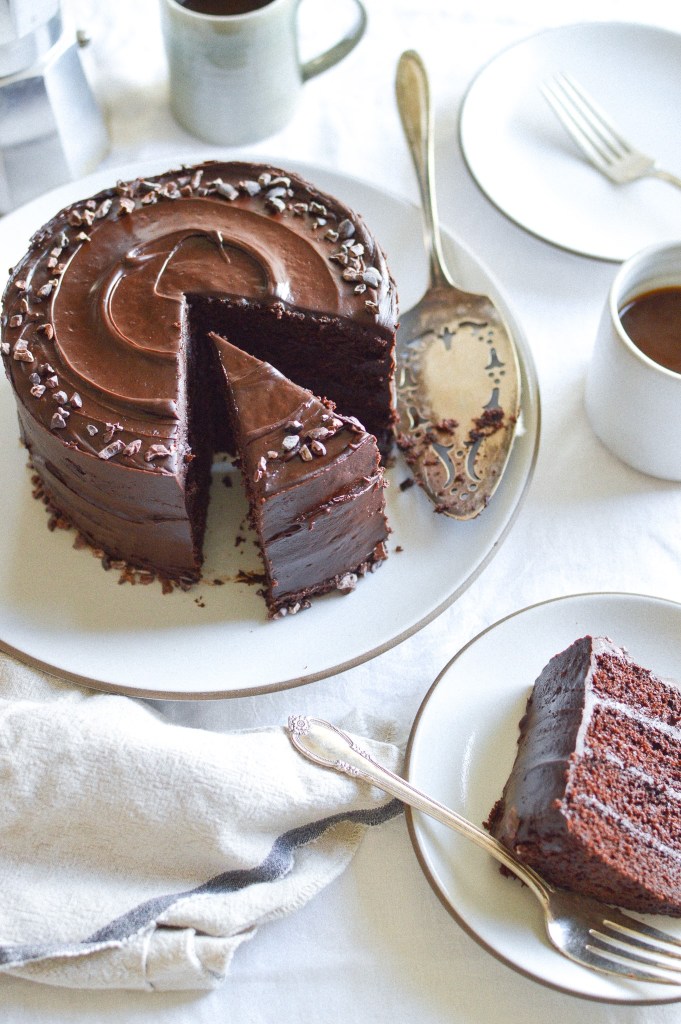
The frosting may change each time depending on how much powdered sugar you decide to add, but never fear—it will always taste great. I generally make two layers and then cut them each in half to make four total layers, but this is your cake journey so do whatever you want. It also holds up relatively well to gluten free flours, but it will be extra moist and therefore much harder to slice in half. (I spent a couple of years making cakes for people who were choosing to eat only gluten-free baked goods, and though on a couple of occasions the middles sunk quite badly, the GF cinnamon-chocolate cakes always tasted excellent despite the rather wonky appearance.) It’s a forgiving cake, and easy enough to bake even with a little koala baby holding tight to half of your body.
I would credit this recipe to its original author but, alas, I don’t know where it came from!

Cinnamon-Chocolate Cake
makes two 8-inch round cakes
Cake:
350g (1 ½ cups) granulated sugar
240g (1 ¾ cups) all-purpose flour
5g (2 tsp) ground cinnamon
1 tsp baking soda
¼ tsp fine sea salt
350ml (1 ½ cups) buttermilk
2 sticks (1 cup) unsalted butter, cut into big cubes
90g (¾ cup) unsweetened cocoa powder, sifted
2 eggs
1 ½ tsp vanilla extract
Frosting: (makes about 2 cups)
1 stick (½ cup) unsalted butter, cut into cubes
60g (½ cup) unsweetened cocoa powder
85g (6 tbsp) buttermilk
1 tbsp freshly brewed espresso or coffee
1 ½ tsp vanilla extract
½ tsp ground cinnamon
345g (about 3 cups) powdered sugar (or until the frosting becomes spreadable)
Preheat oven to 350°F. Butter (or use a non-stick spray) two 8-inch round cake pans. Dust the pans with cocoa powder, turning and tapping to ensure the cocoa powder coats the entire interior surface of each. If you want an especially easy turn-out experience, line the bottoms with parchment paper.
Make the cakes: In a large bowl, whisk together 350g sugar, 240g flour, 5g ground cinnamon, 1 tsp baking soda, and ¼ tsp fine sea salt. In a medium saucepan over medium-low heat, whisk 250ml buttermilk, 2 sticks cubed butter, and 90g cocoa powder until the butter melts. Pour the buttermilk mixture over the dry ingredients and whisk to combine. Add 2 eggs and 1 ½ tsp vanilla and whisk to blend. Divide the batter between the two cake pans and bake for 35–40 minutes, or until a toothpick inserted in the middle comes out clean. Transfer to a rack to cool in the pans for at least 15 minutes. Run an offset spatula or knife around the sides of the pan, then invert the cakes onto the wire rack and remove the pans. Let cool completely before icing. (Undecorated cakes can be stored, wrapped well in plastic wrap, in the fridge for a couple of days.)
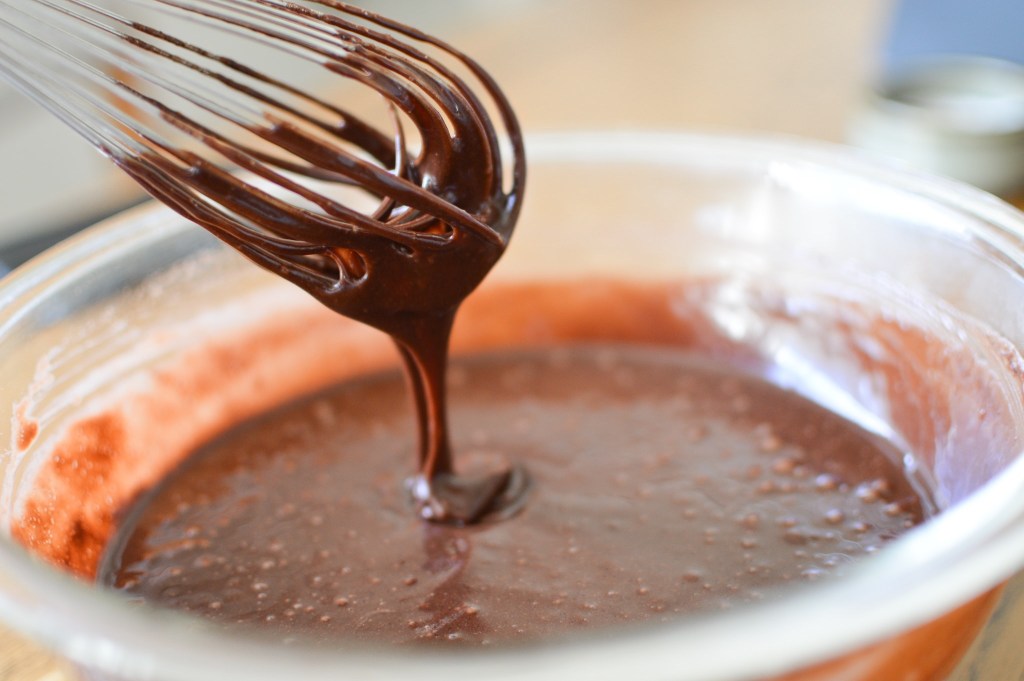
Make the frosting: Melt 1 stick cubed butter in a medium saucepan over medium heat. Sift in 60g cocoa powder, then add 85g buttermilk, 1 tbsp espresso or coffee, 1 ½ tsp vanilla, and ½ tsp cinnamon. Whisk until smooth, then remove from the heat.
Sift 345g (3 cups) of powdered sugar into the bowl of an electric mixer fitted with the whisk attachment. Pour the hot cocoa mixture over the powdered sugar and whisk on medium-high speed until smooth. Sift in more powdered sugar as needed, ¼ cup at a time, until it’s a spreadable consistency.
To ice the cake: To make four layers, cut each cake in half horizontally as equally as you can (a bread knife and a rotating cake stand are great tools for anyone who likes to make cakes). Dab a little frosting on whatever surface your cake will reside on to ensure the cake sticks and doesn’t slide around. Place your bottom layer on the cake plate or cake board* and spread a large dollop of frosting on top of the layer. You want each frosting layer in between to be enough to separate the cake layers, but not so much that you won’t have enough to ice the outside—if you’re doing two layers only, you can have more in the middle. If doing four layers, repeat the frosting process until you place the last piece on top.**
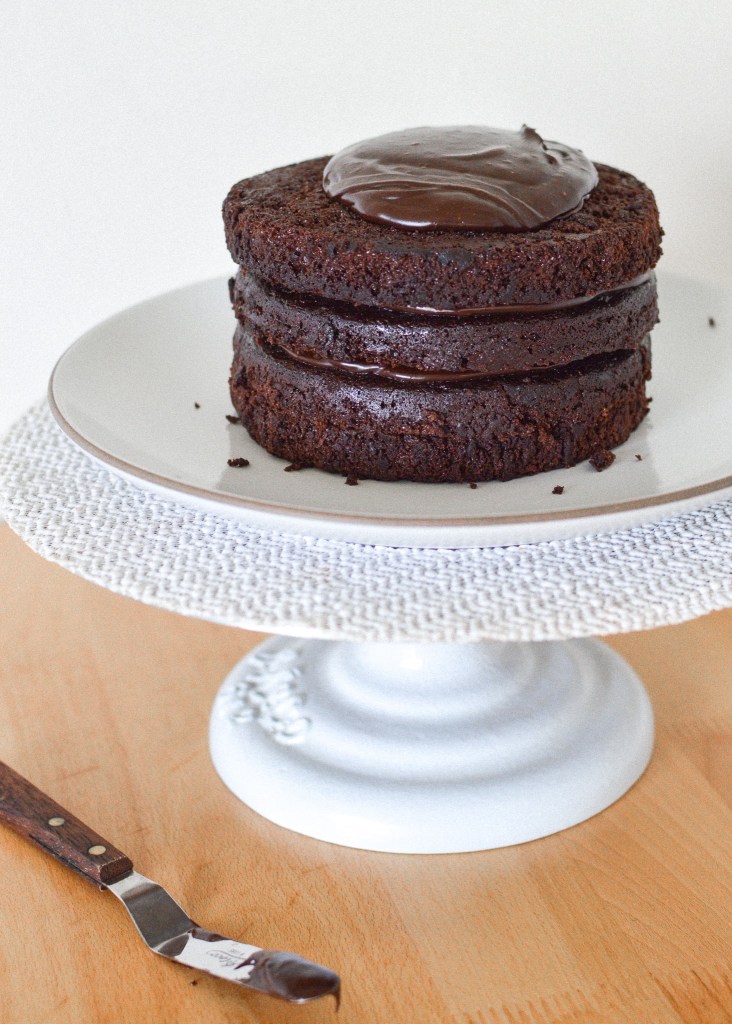
Using an offset spatula, frost the top and sides of the cake as evenly as possible. Luckily, messy-hair-day frosting is in, so don’t worry if it’s not totally smooth. If you’re looking for a more professional finish, create a crumb coat first—smooth a thin layer of frosting around the whole cake, put it in the fridge for at least 30 minutes, then take it out and finish frosting. This will ensure the cake is more stable and the cold layer of frosting won’t smear.
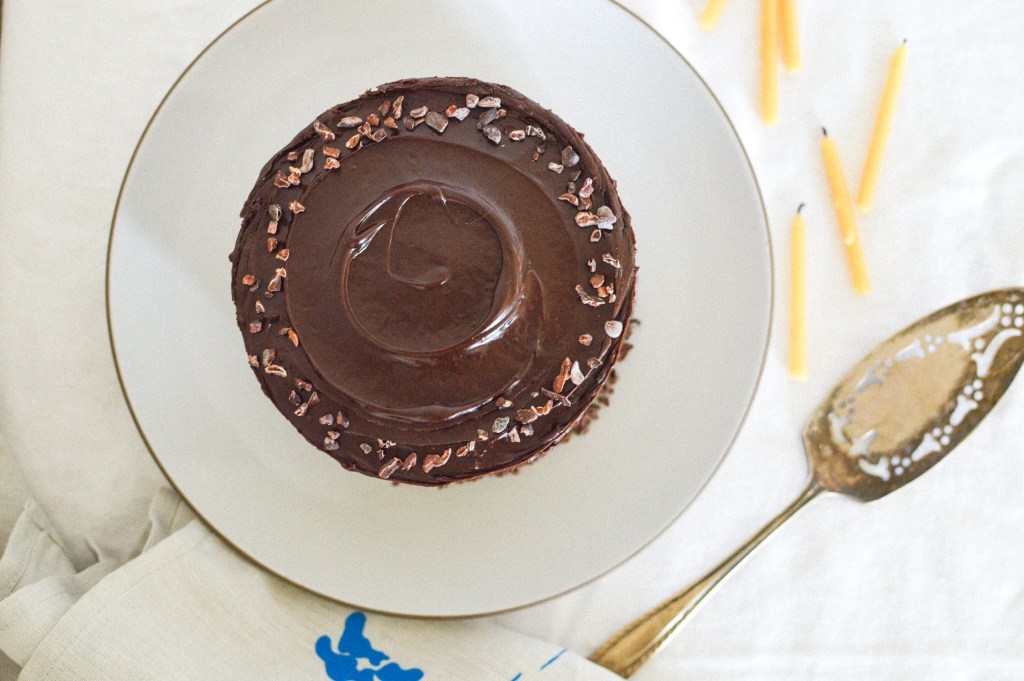
Decorate your cake with a piped light-colored frosting, cocao nibs, nuts of your choosing, anything chocolatey, stiffly whipped cream, or anything else you can think of. Enjoy!
*I like to tear strips of parchment paper and tuck them under the edges of the cake so that the plate it’s on is protected from frosting smears.
**I recommend reserving the flattest-sided cake layer for the top.