We had some friends over for Jonji’s birthday a few weeks ago, and I made strategic choices when it came to food because I don’t have many uninterrupted hours left in my days to dedicate to cooking. Therefore, the spread consisted of strawberries from P&K Farms (seriously the best strawberries), hummus, olive bread, snap peas, and a new chocolate sourdough loaf, the recipe for which I’d made up the day before.
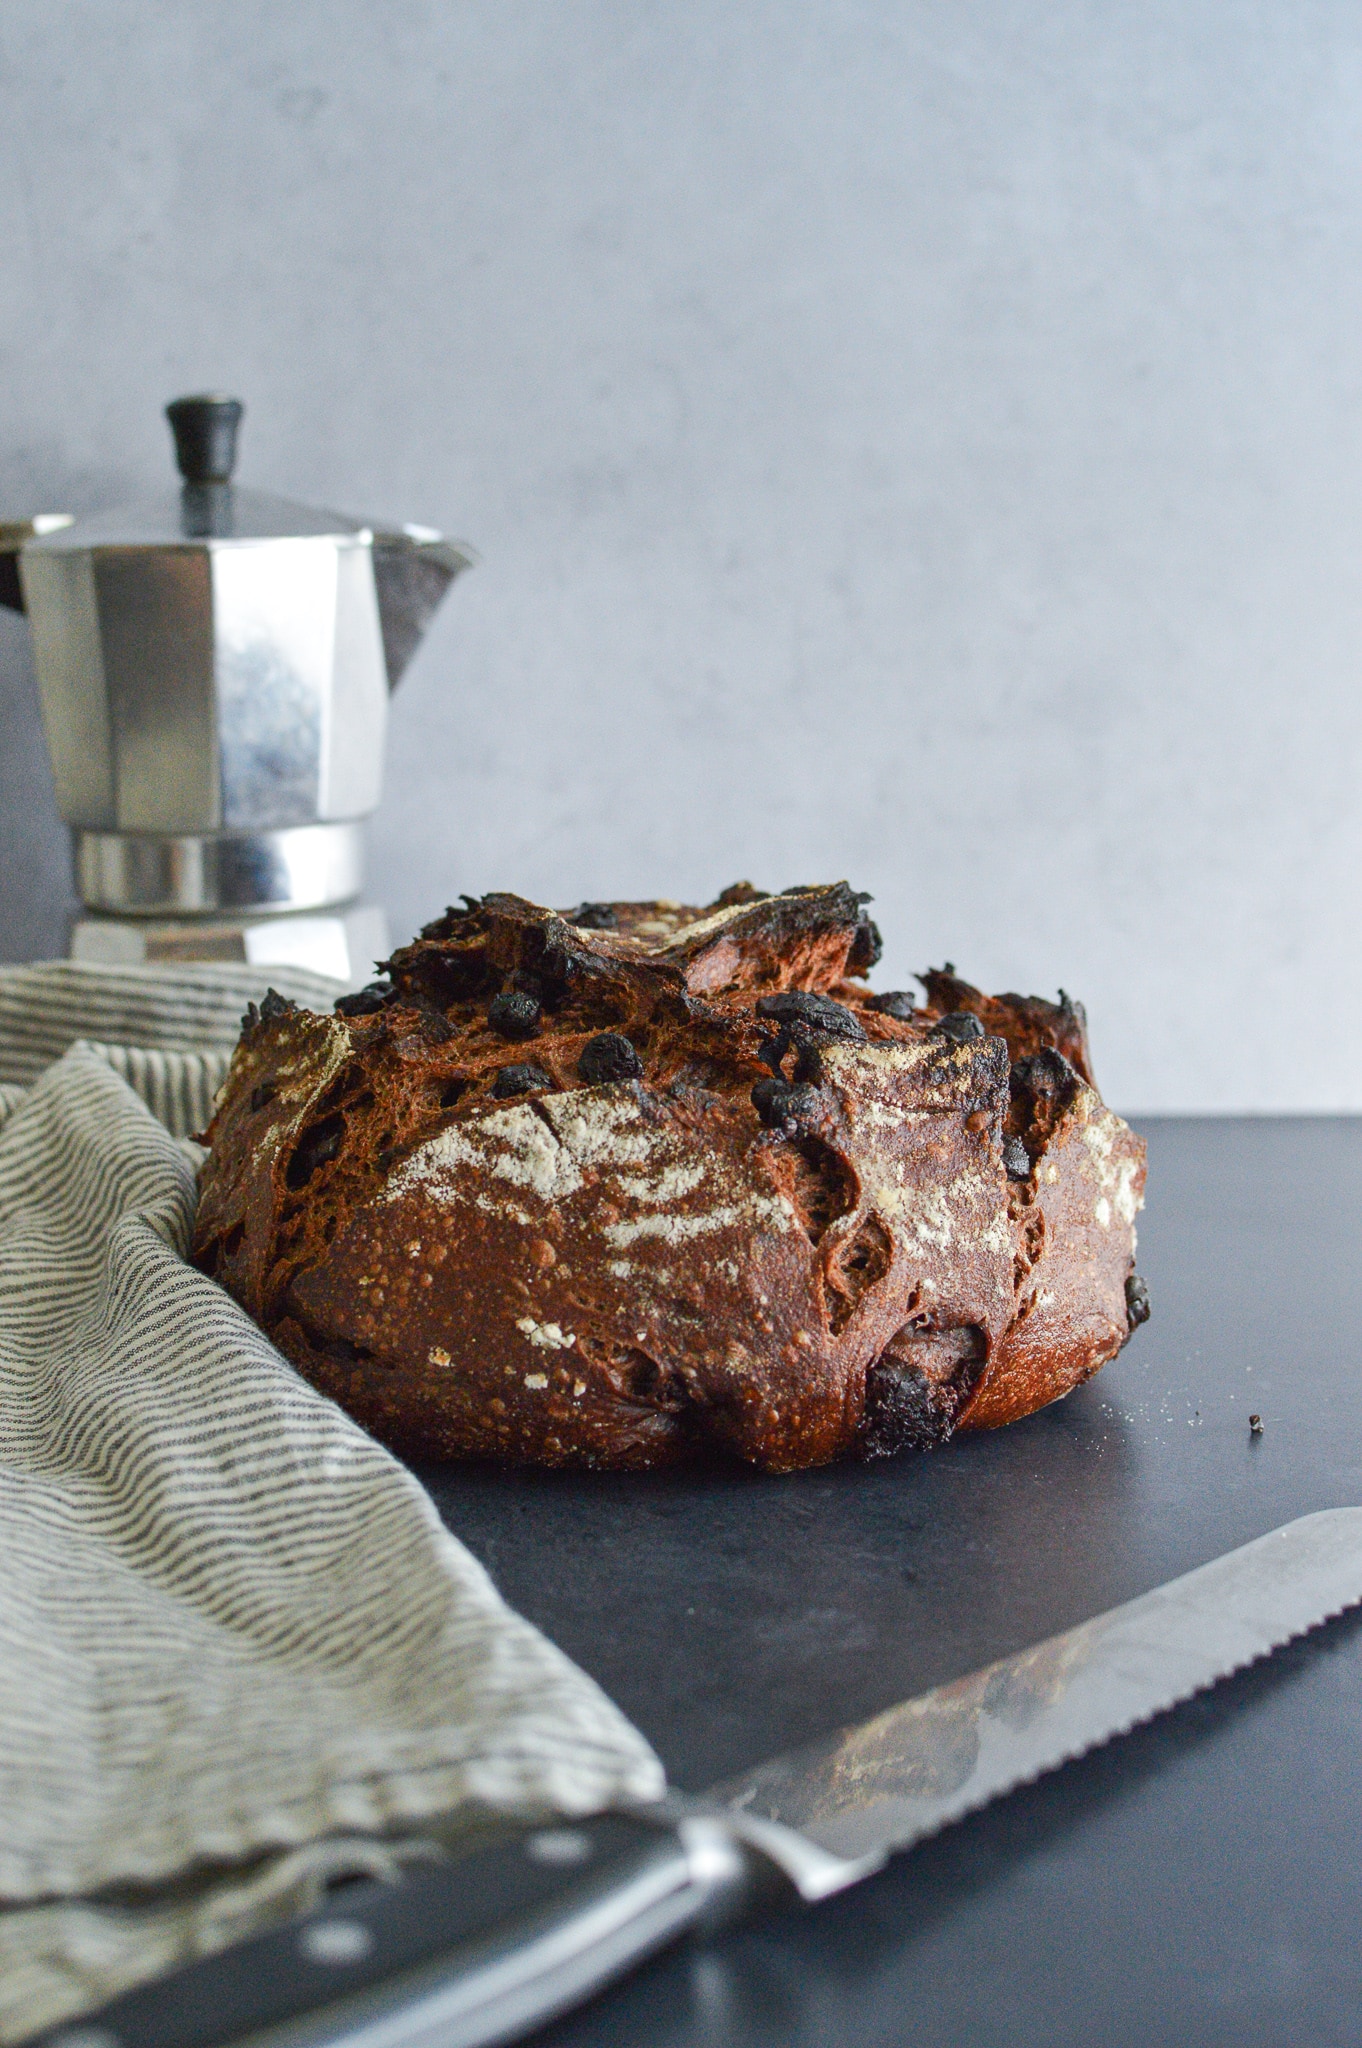
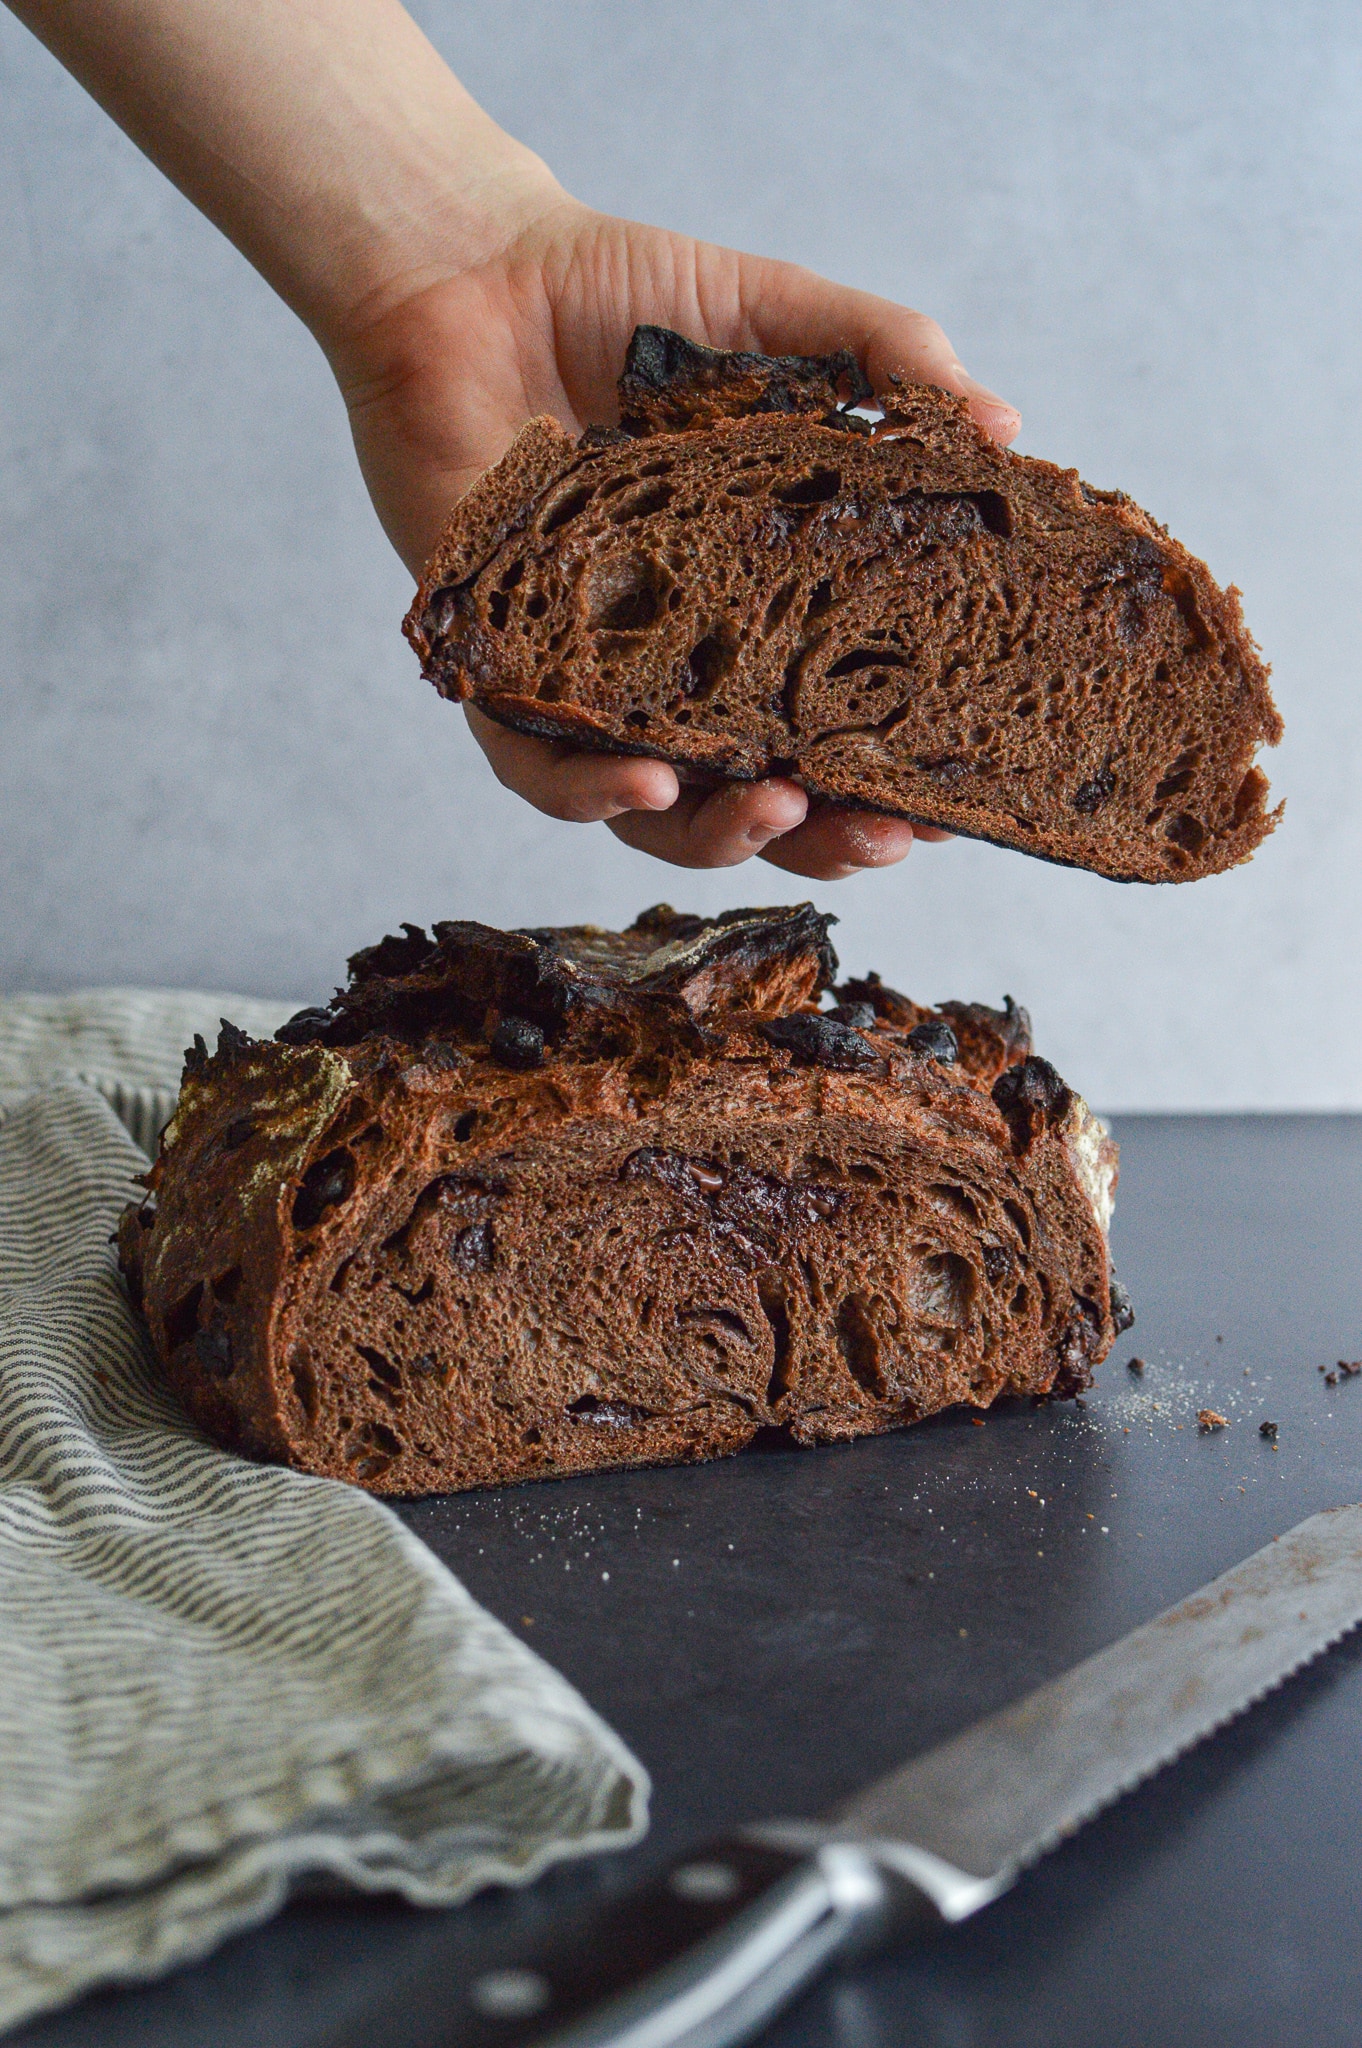
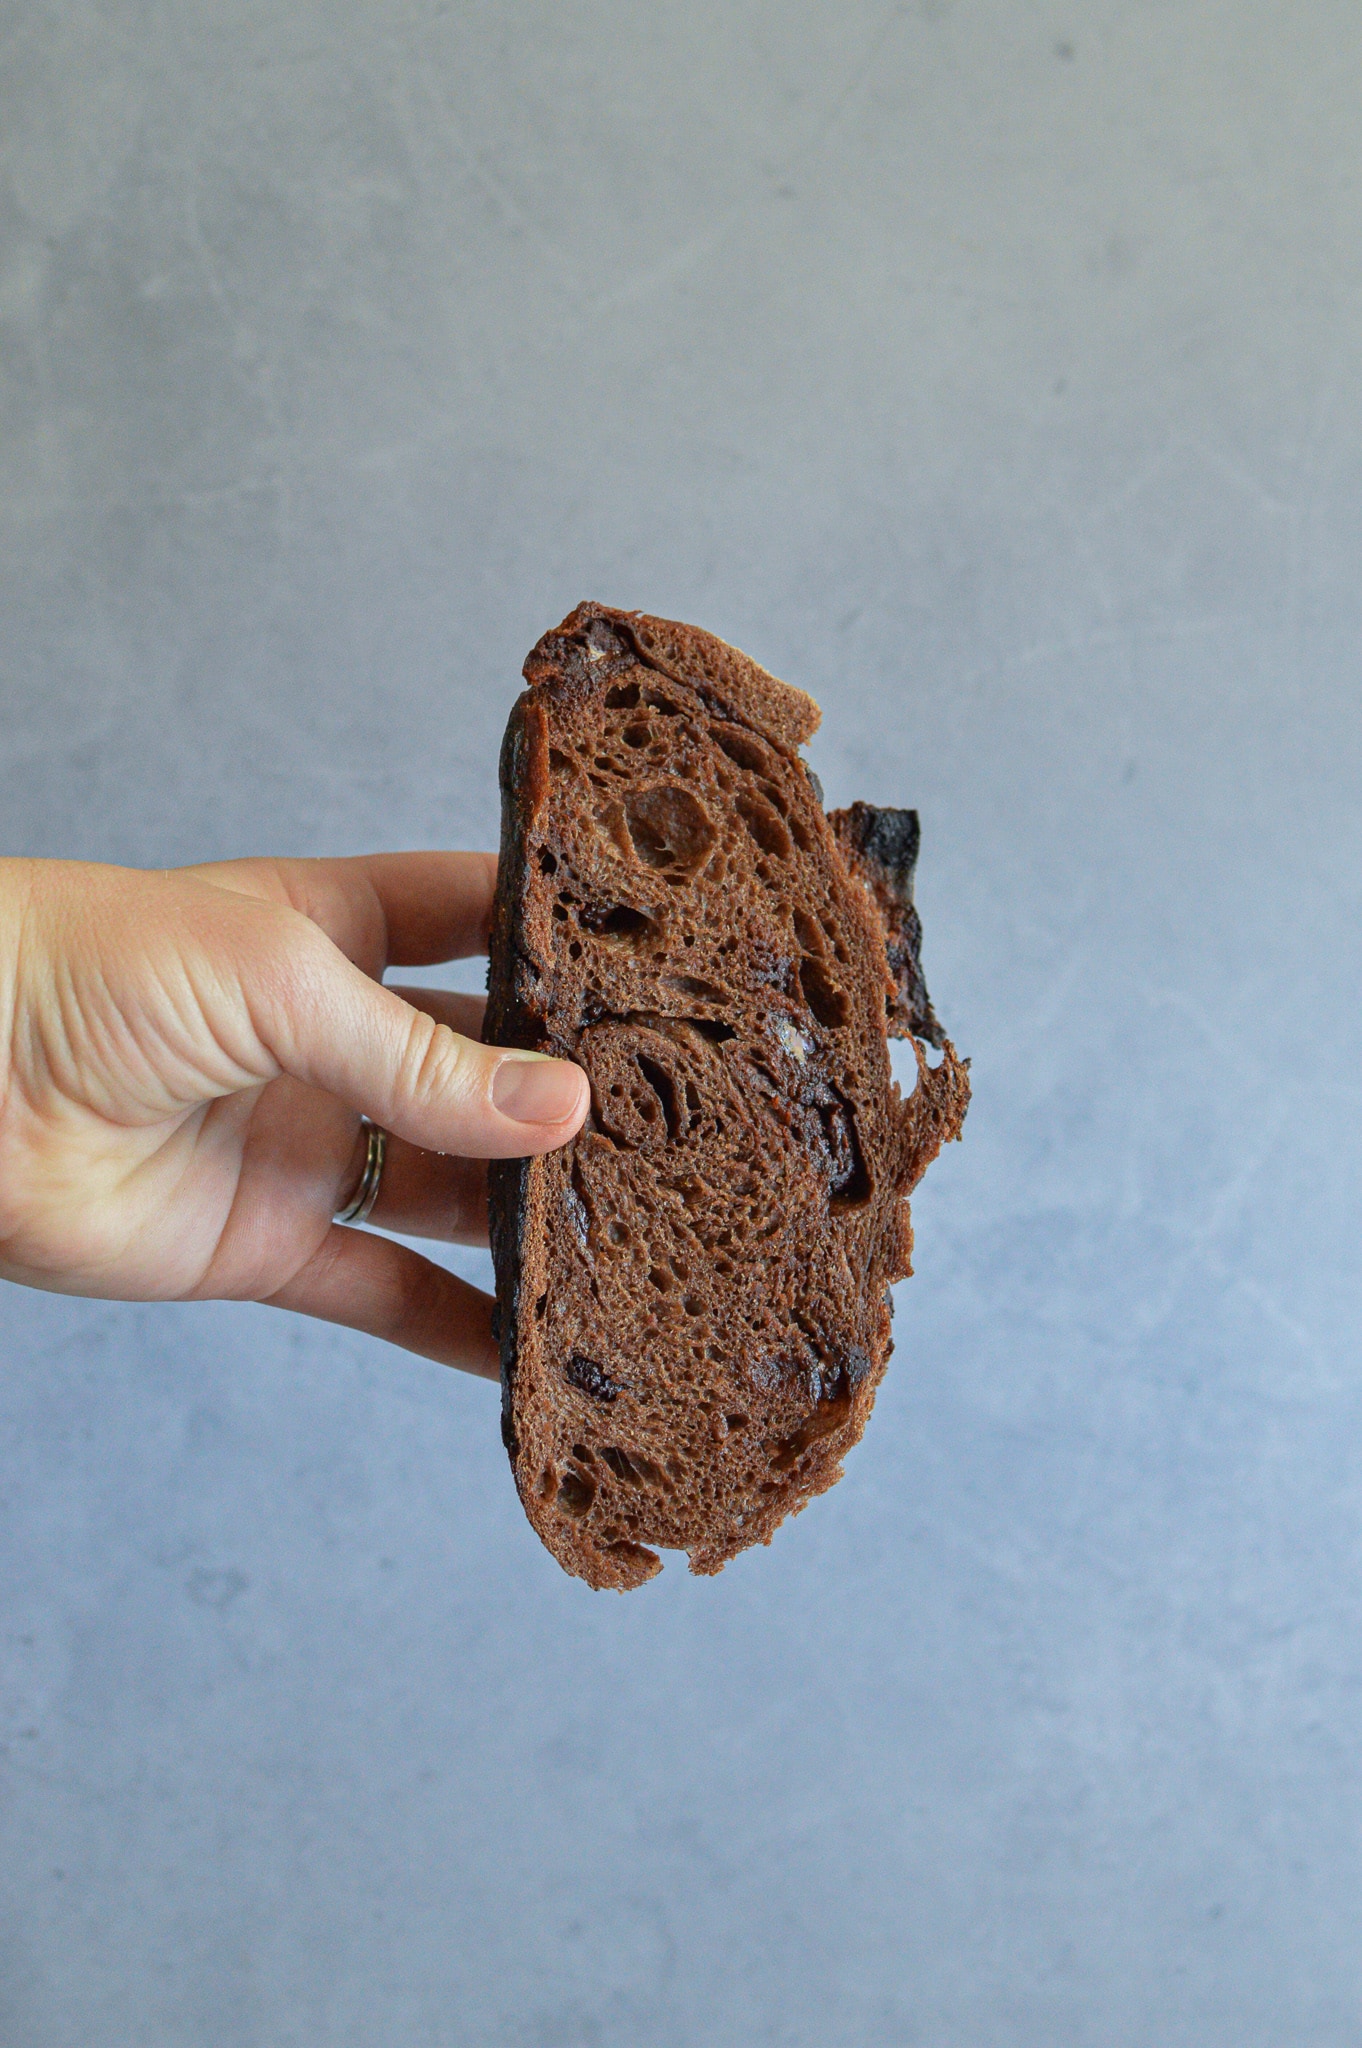
Besides the cake (lemon-poppyseed with strawberries and cream cheese frosting for the tenth year in a row), the star of the spread was this chocolate sourdough bread. I think I was actually the person most excited about it, going back for piece after piece and gleefully reveling in my ingenuity. It’s the dark and sexy cousin to the light and fruity olive bread, deliciously cocoa-flavored with a hit of sour, with generous chunks of chocolate suspended throughout. I usually think it’s blasphemy to eat bread without butter, but with this bread it’s totally acceptable to eat it plain—it has that much flavor! Mom said she wants to stick candles into a loaf of this instead of cake for her birthday. Have I said enough good things about it?
I made the recipe for a second time at my parents house one day because it was too hot to bake at our place. In a bit of a rush, I handed Phoebe to my mom, got the preheated pot out of the hot oven, plopped the prepared dough on parchment paper into the pot, and poured in the boiling water. Without thinking, as the steam hissed angrily and began to evaporate, I quickly grabbed the lid, which had been preheating in the oven for 30 minutes (I never preheat my lid), with my bare hand. My body reacted one second later, sending the lid crashing to the floor. Poor Phoebe, scared by the loud bang, cried loudly while I ran my severely blistered fingers under cool water. It was all I could do not to shriek myself, and the only relief I felt was when I was holding an ice pack in a death grip. As soon as I let it go—to change Phoebe’s diaper, for instance—the burning sensation roared back. Quite the predicament.
Dad, Phoebe, and I met Bailey, Poppy, and Emma at the beach, me holding onto my ice pack for dear life. As it melted, I traced my fingers in the cool ocean water, finding a few more seconds of relief. As soon as I took my hand out, it felt like I’d plunged my fingers into flames rather than simply bringing them back into the air. Later, I tried putting aloe vera on my fingers and that helped immensely. I could finally let go of my new friend, the ice pack, and was able to function mostly as normal. So please, learn my lesson without having to go through the ordeal yourself—always, always grab lids with potholders, even if you never preheat your lid. Otherwise, that muscle memory won’t do you any favors. I found comfort, at least, in multiple slices of fragrant chocolate bread.

I use the overnight method for this loaf because I think it enriches the flavor, but by all means make it in one day. Do the first bulk prove at room temperature for 2-3 hours, then proceed with the shaping and final prove (see my general sourdough post for details on the one-day method). Consider feeding your starter the night before, if you live in a cooler climate, and leave it to bubble up overnight.
Chocolate Sourdough
Starter feed:
200g cool water
200g 50/50 whole-wheat and all-purpose flour
290g bread flour
100g whole wheat flour
25g cocoa powder
10g sugar
300g cool water
100g active sourdough starter
10g sea salt
2oz bittersweet baking chocolate, chopped or broken by hand into 1/4–1/2 inch chunks
115g bittersweet chocolate chips
For in-depth sourdough tips and images, see my sourdough post.
Feed your starter in the morning, as early as you can. Scoop out all but about 1/4–1/2 cup of your old starter. Using a kitchen scale, pour 200g cool water into your container, then add your 200g 50/50 flour. Stir it all together well, making sure to incorporate the bits on the bottom. Put the lid on lightly (it needs air, so never fully close the lid), cover with a kitchen towel, and secure with a rubber band. Leave on the counter overnight, or for at least 4-6 hours.*
*Your starter is ready when it’s at least doubled in volume. If you want to make sure it’s ready, drop a small spoonful in a glass of water. If it floats, it’s good to go. (If you leave it overnight, it should almost certainly be ready.)
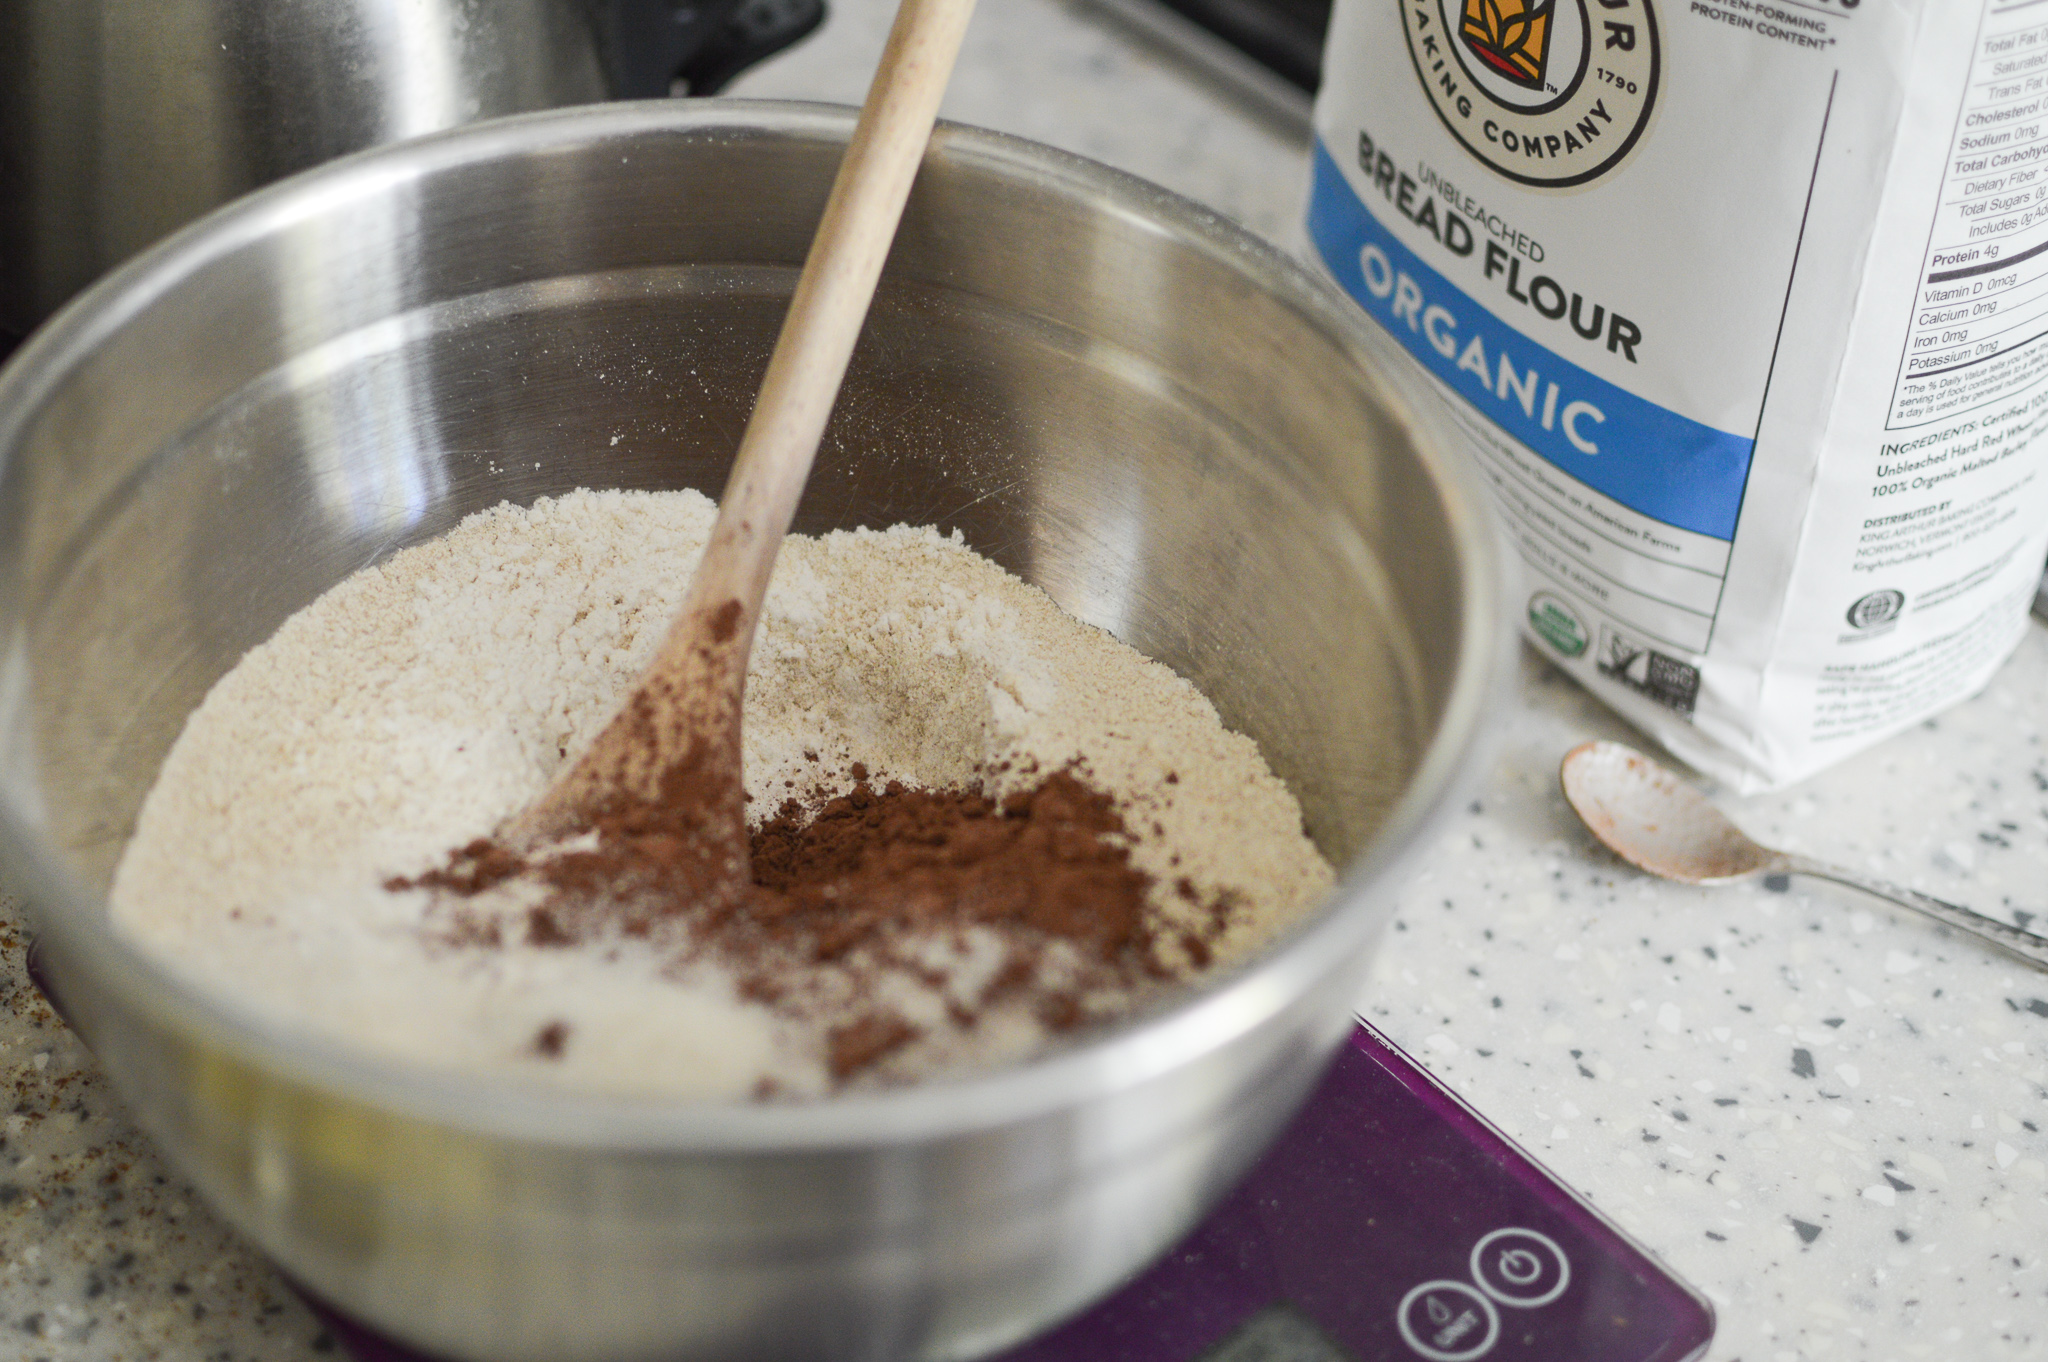
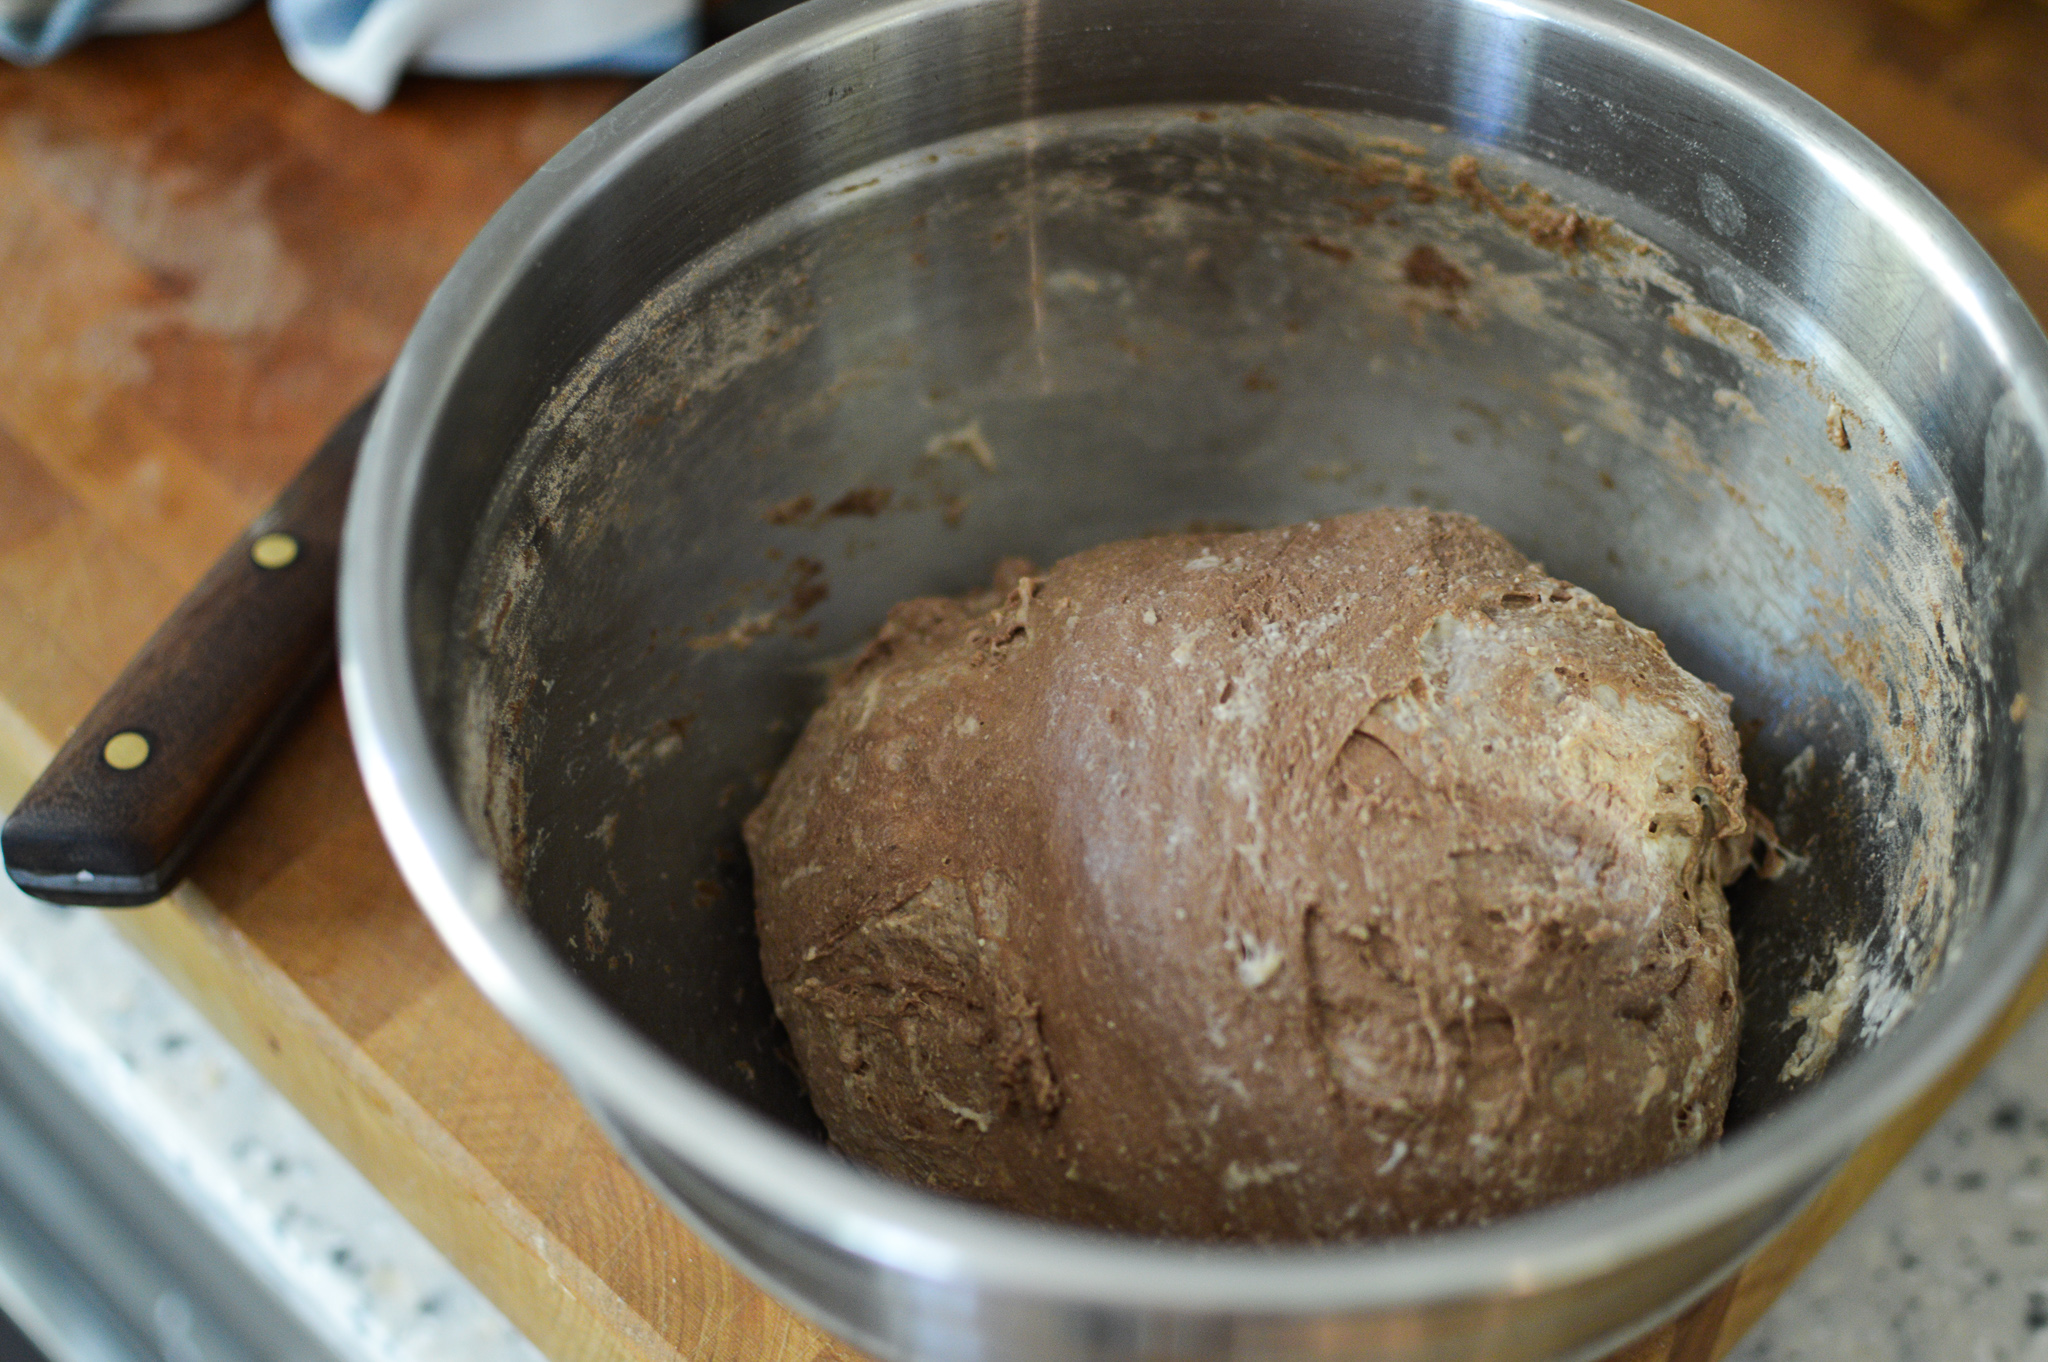
When your starter’s nice and bubbly, start the bread dough. Measure the 290g bread flour, 100g whole wheat flour, cocoa powder, and sugar together in a large bowl and stir to combine. Stir in the 300g cool water with a wooden spoon until you have a shaggy dough, then get in there with your hands and knead a little bit until it’s mostly all mixed—some dry flour will remain, but don’t worry about it. Cover the bowl with a kitchen towel and leave for 30–60 minutes (this is called the autolyse—it’s when gentle gluten development begins, contributing to a better texture and flavor).
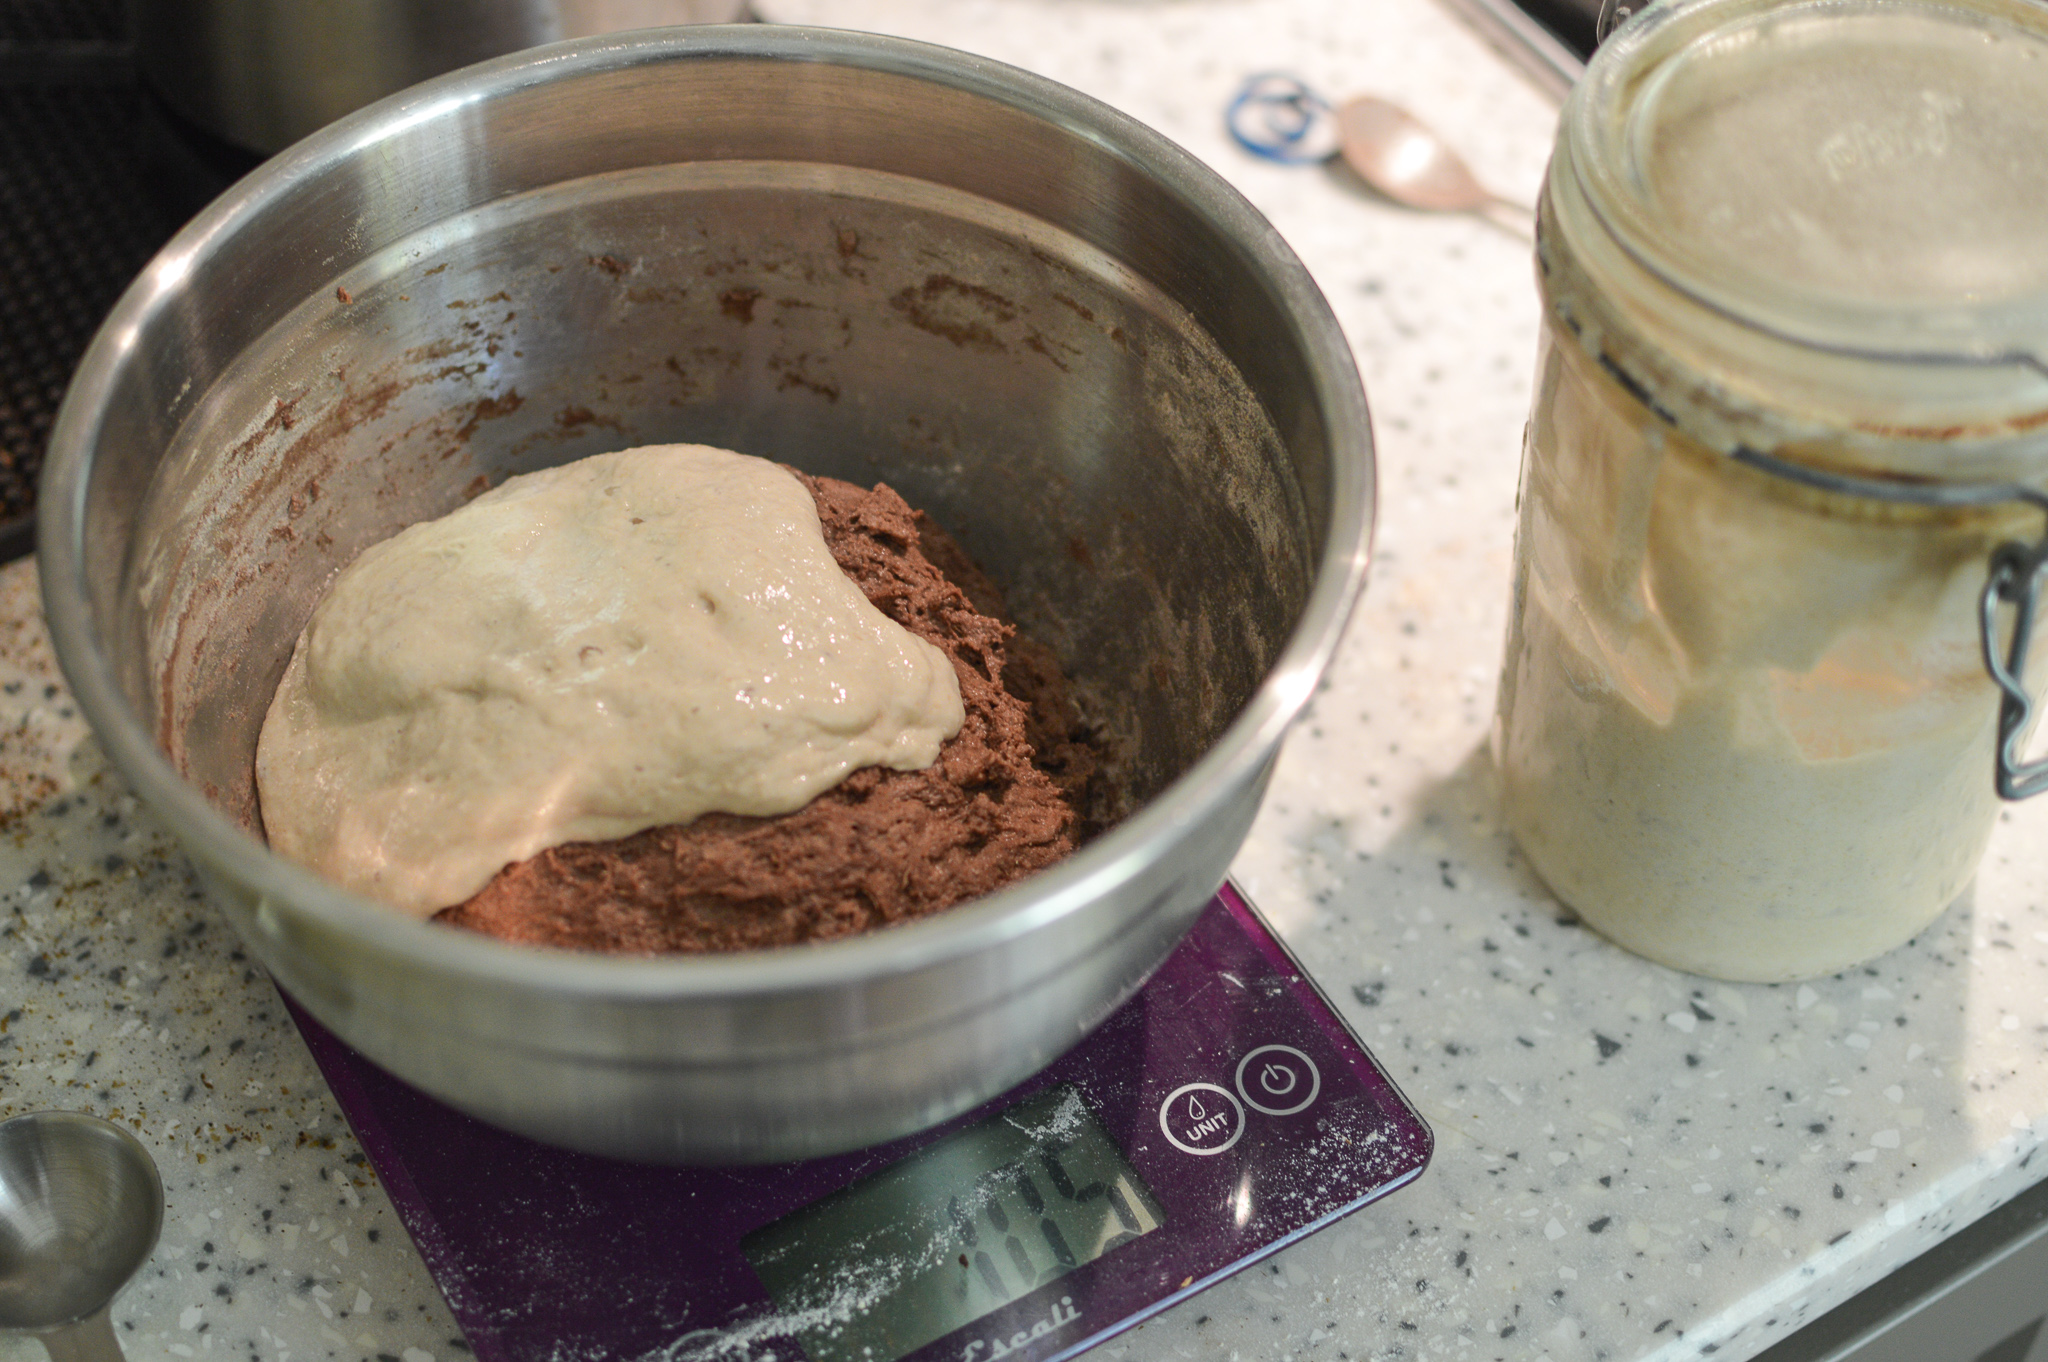
Add the 100g ready starter, or levain (levain is starter that has been fed and is ready to use), and roughly fold/knead it in with one hand. Add 10g salt and fold in by hand until the salt is entirely incorporated and the dough is relatively smooth/cohesive. It will still look a bit rough, and that’s ok.
Close the lid on your remaining starter (don’t fully close the lid) and store it in your fridge (not too near the back or it will get too cold) until ready to use again, ideally within two weeks.
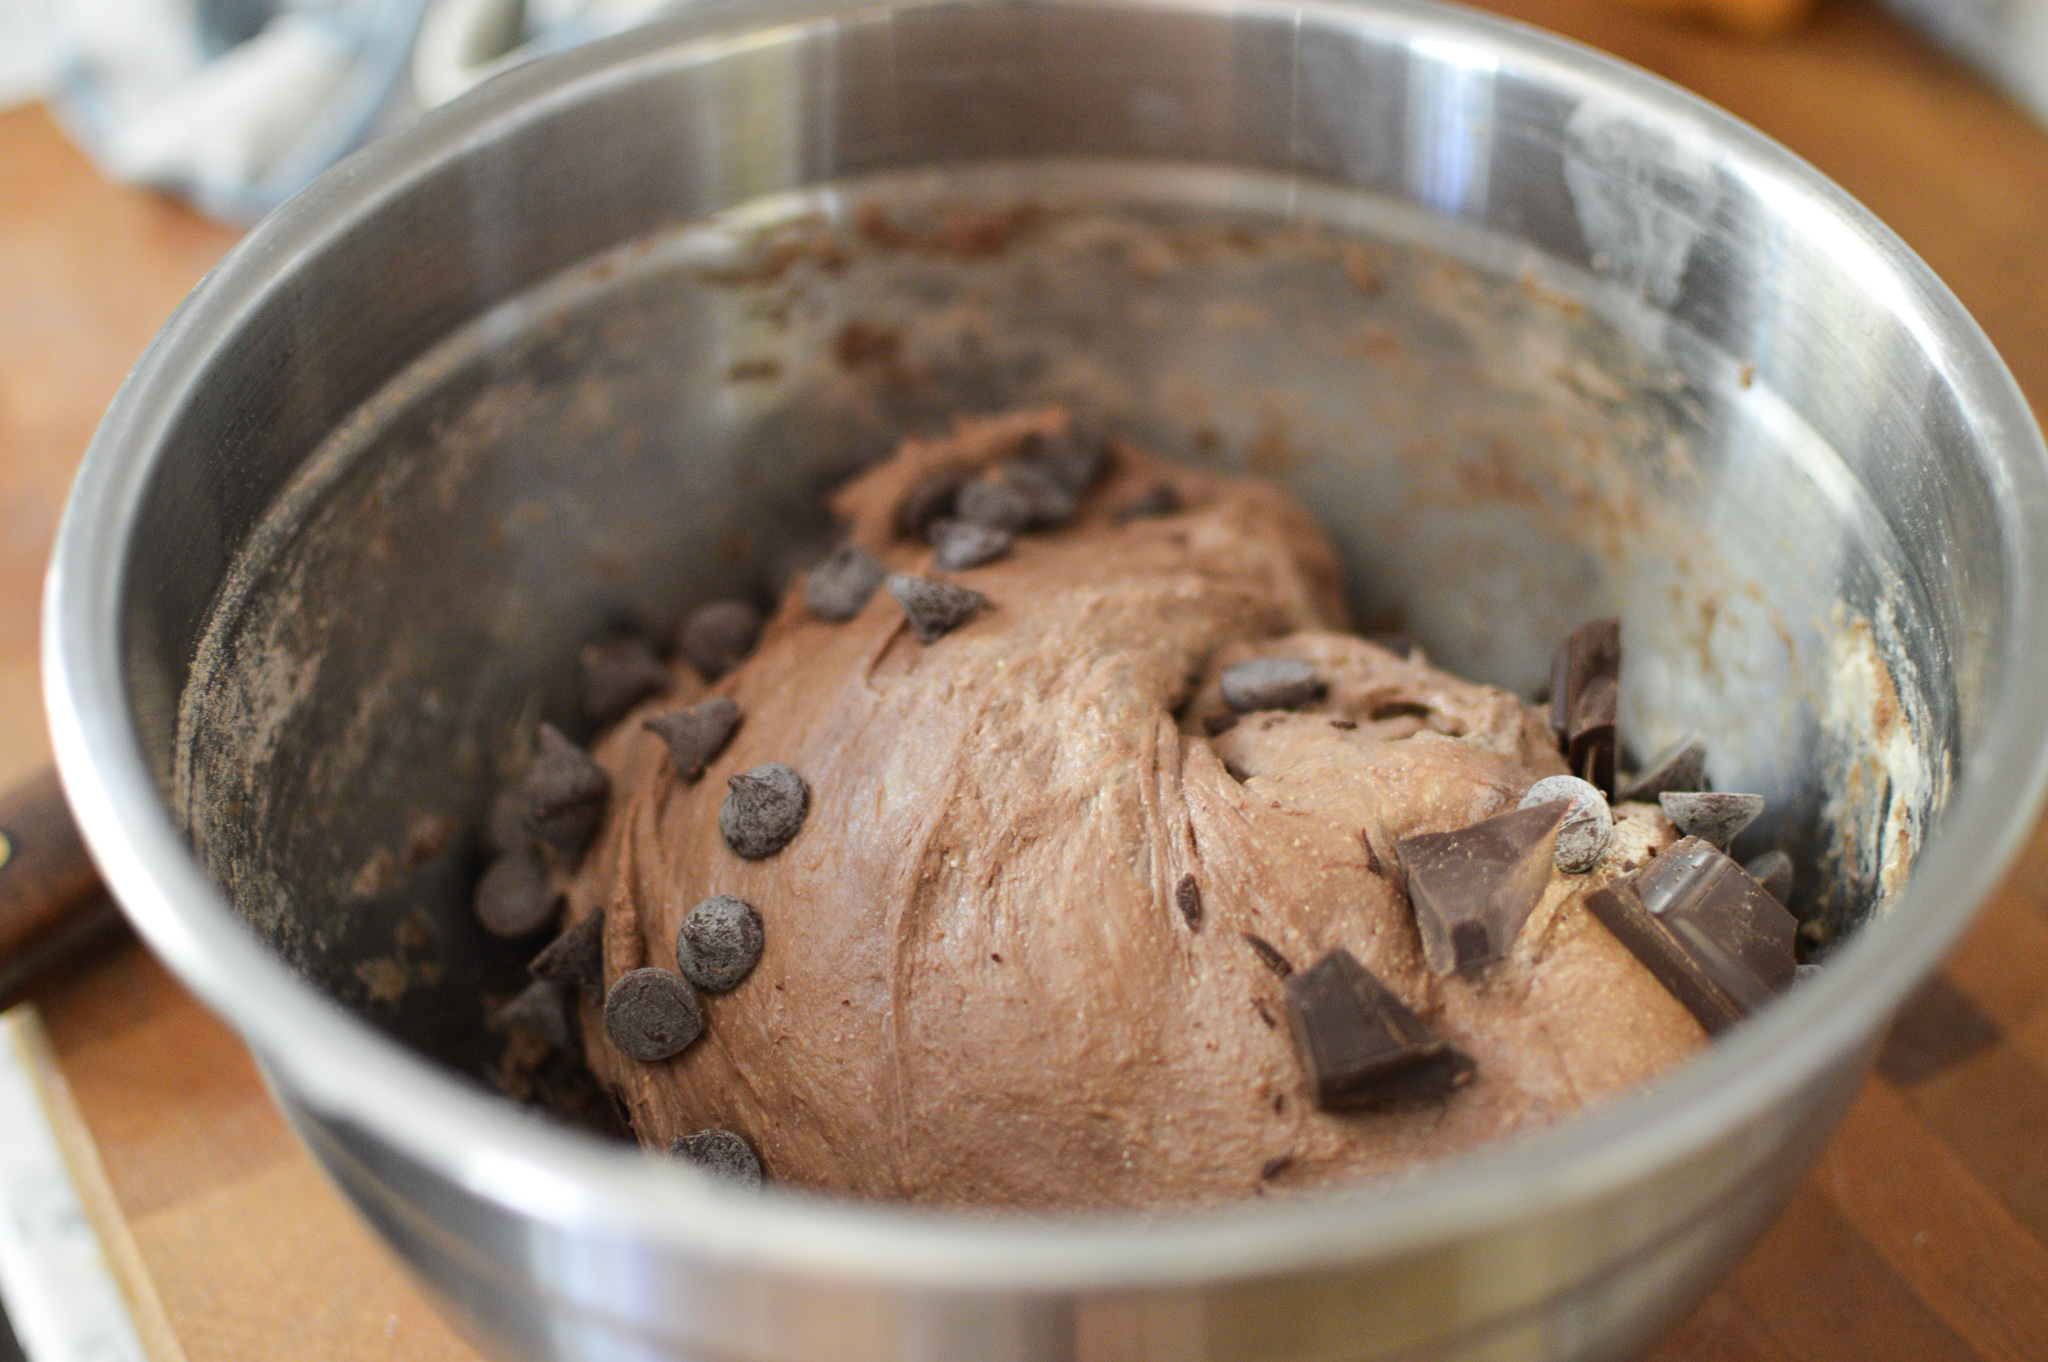
Place the mixed dough in a covered container or bowl (I like to use a professional food storage container with a lid). Leave to rest in a warm spot in your kitchen for 30 minutes. After that initial rest, add the chocolate chunks and chips. Knead the chocolate into the dough as best you can, trying to distribute everything evenly. Cover and set aside to rest.
Every 30 minutes after that, perform a turn, meaning: lifting from the bottom, fold each corner of the dough over itself. Once you’ve completed at least 4 turns (2 hours) and up to 6-8 turns (3–4 hours), let the dough rest, covered at room temperature, for 1-2 hours. Place in the fridge overnight.
The next morning, remove the dough from the fridge and let it warm up slightly on the counter, ideally for an hour or so. If you’re in a rush, work with the dough directly out of the fridge.
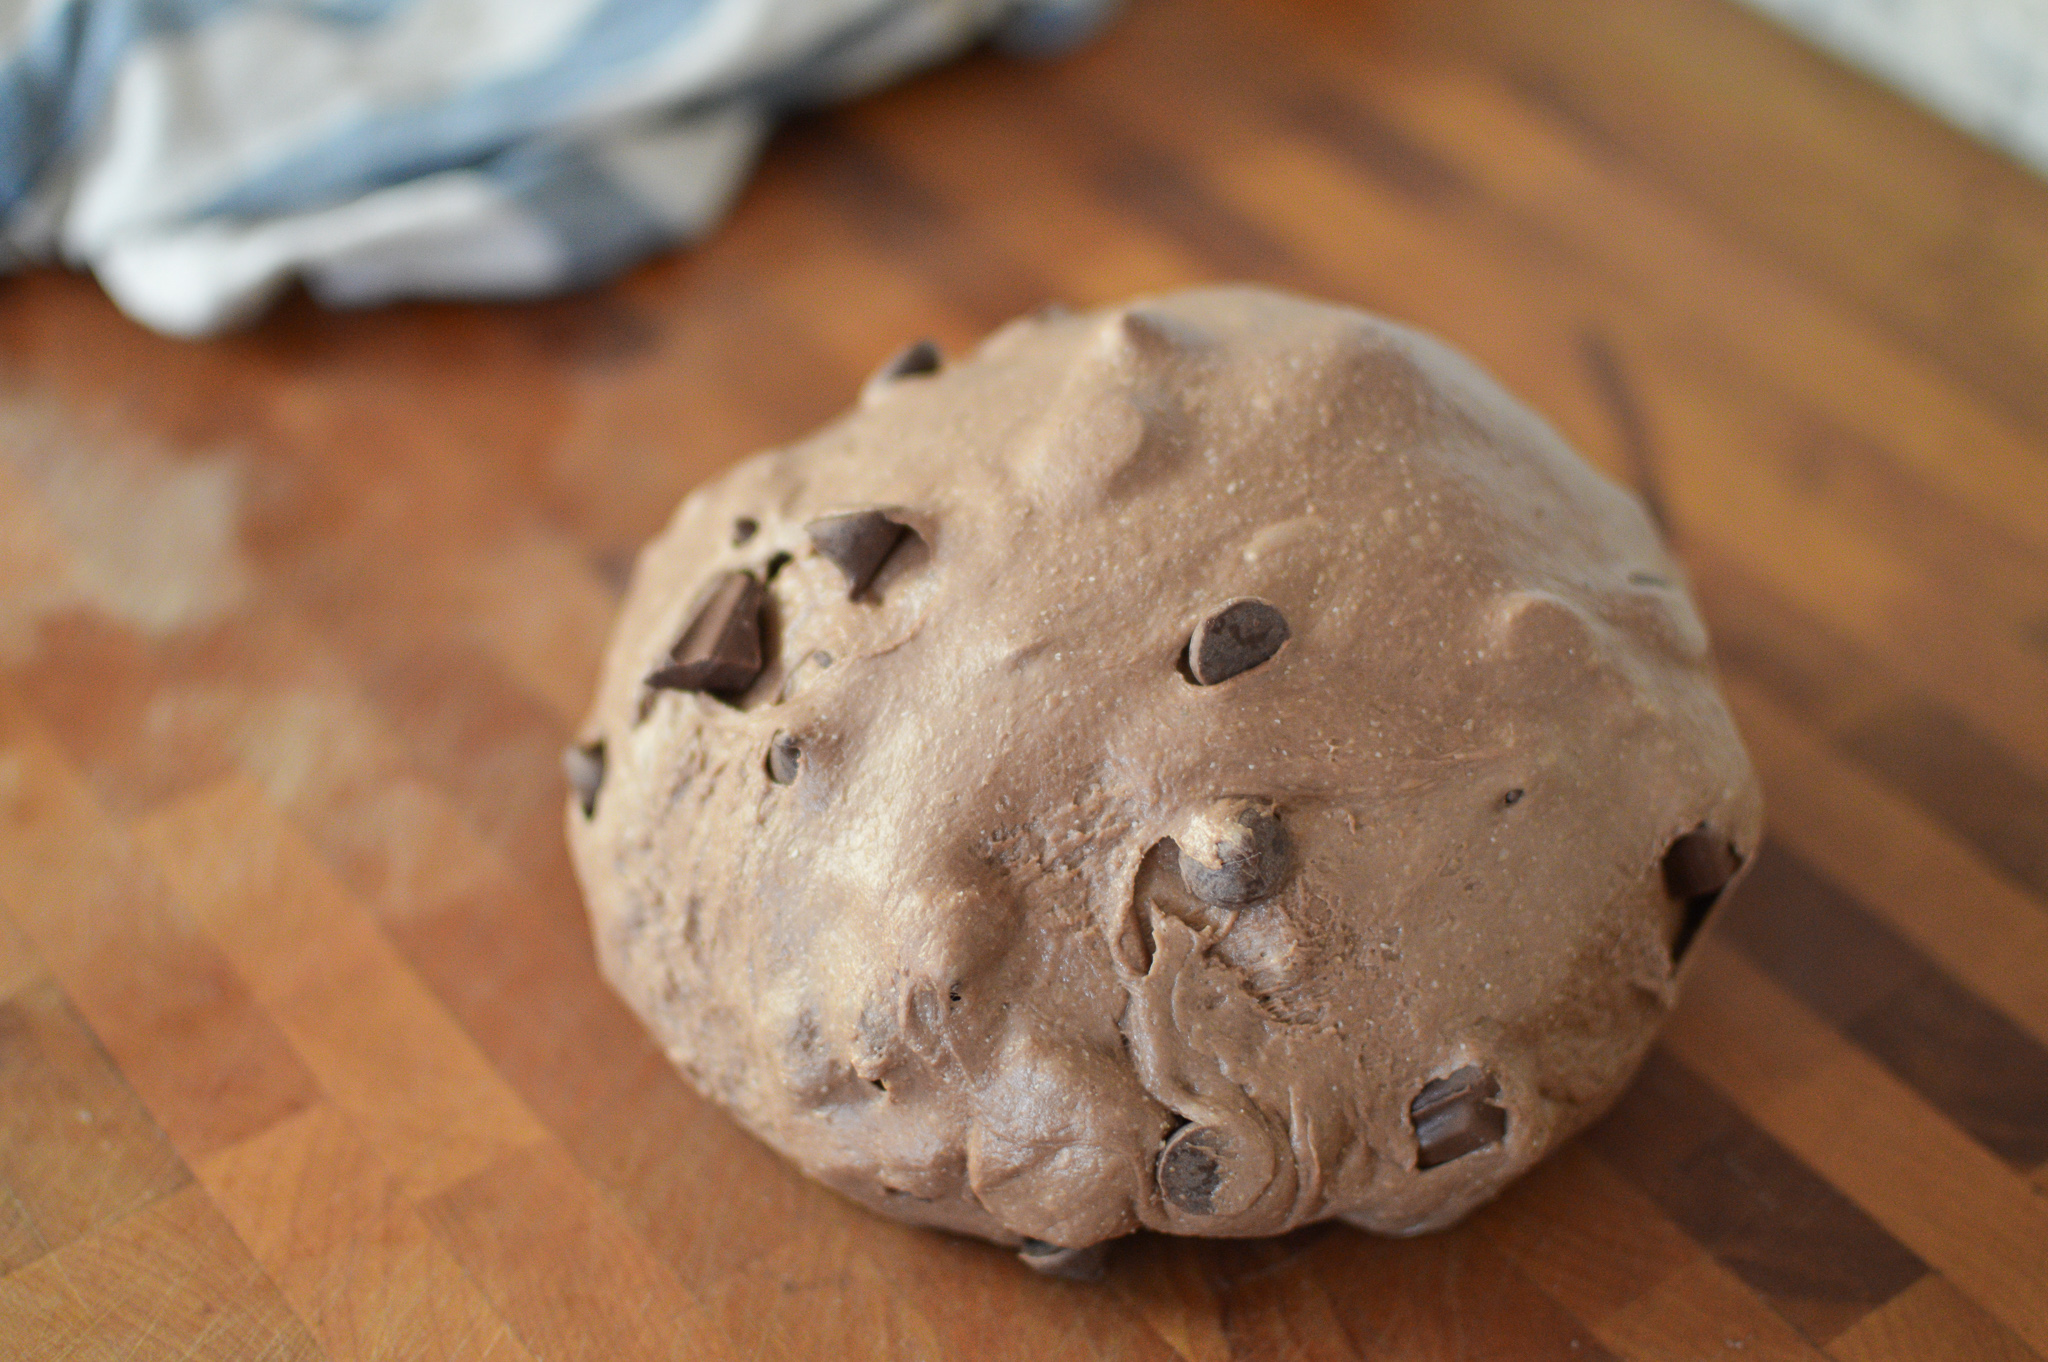
Complete the first shaping: turn the dough out onto a clean surface. (Note that you’ll probably need a bench scraper to make your life easier with this step.) Pat the dough down into a rectangle and fold into your desired shape. For a round loaf, using both hands, fold the corners in, then roll, lift, and lightly stretch the dough until you have a relatively tight ball with a smooth top. For an oblong loaf, roll and press the short side of the patted rectangle towards you, using your thumbs to push the sides in as well. Seal the dough by pinching the seam together, and pat to get an even shape. Rest the dough, seam side down, under a damp kitchen towel for 15-20 min. (Fun fact: the dough in this phase looks like a lot like a giant chocolate chip cookie.)
Pat down the dough and shape once more, using the same method. Generously flour a banneton (bread basket) or a standard loaf tin lined with a kitchen towel and dusted with flour. Place your reshaped dough into the banneton or loaf pan, seam-side up. Cover loosely with a damp towel and let rise in a warm spot for another 2-3 hours.
Preheat your oven to 485°F (or 500°F if your oven runs colder). Place a large dutch oven inside (without the lid) and let it preheat with the oven for 15–20 minutes, or until your oven reaches the right temperature.
Bring the kettle to a boil. Flour a large piece of parchment paper with a sprinkle of flour. Once the oven is ready, turn your bread onto the floured parchment paper (seam side down) and score the top of the bread using whatever design you wish. To score, you can use a serrated knife, kitchen scissors, or a lame, which is essentially a tool made specifically for scoring bread that looks like a razor blade on a stick.
Carefully lower the bread on its parchment paper into the hot dutch oven. Quickly pour 1oz boiling water under the side of the parchment paper (not onto the bread). Immediately cover with the lid (watch out, the steam is hot!) and get it into the oven as quickly, and safely, as possible.
Bake for 20 minutes with the lid on. Turn the oven down to 450°F and bake for another 10 minutes with the lid on. Remove the lid and bake for another 8–10 minutes. (To test for doneness, you can tap the bottom of the loaf once it’s on the cooling rack—if it sounds hollow, it’s done. Just be careful not to burn yourself!)
Using pot holders, remove the pan from the oven and immediately transfer the loaf to a cooling rack. Let the loaf cool for at least 1 hour before slicing, but preferably a few hours to let the steam inside set—otherwise, you might damage the structure.
Store the cooled bread at room temperature, wrapped in bee’s wrap, for up to one week, but honestly this bread is best eaten within three days. If you want to save it for later, wrap it tightly in bee’s wrap and a plastic bag, and freeze. When you’re ready to eat it, thaw in the fridge overnight and it will be ready to slice the next morning.
Enjoy!

2 responses to “Chocolate Sourdough”
Just have to say, Wow!! I love your stories (not the part you got burned …😬 but the way you tell it 😉) I can taste your bread through the email! Love you! Karyn Ps. Love the pics too ❤️ Sent from my iPhone
>
Aww thanks, Karyn!! I have so much fun writing them 🙂 Agreed, the burn wasn’t great but at least the bread was!